3R Home and Barn Project

   / 3R Home and Barn Project
  • Thread Starter
#1,411  
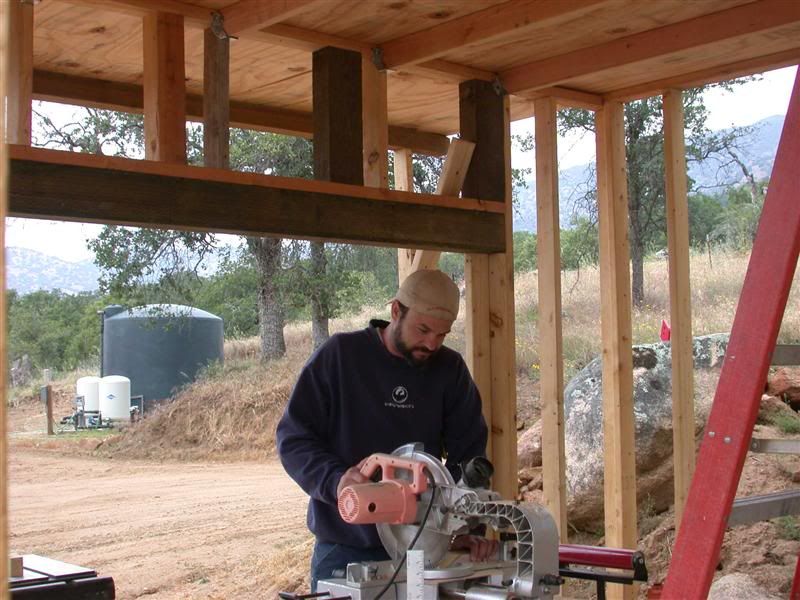
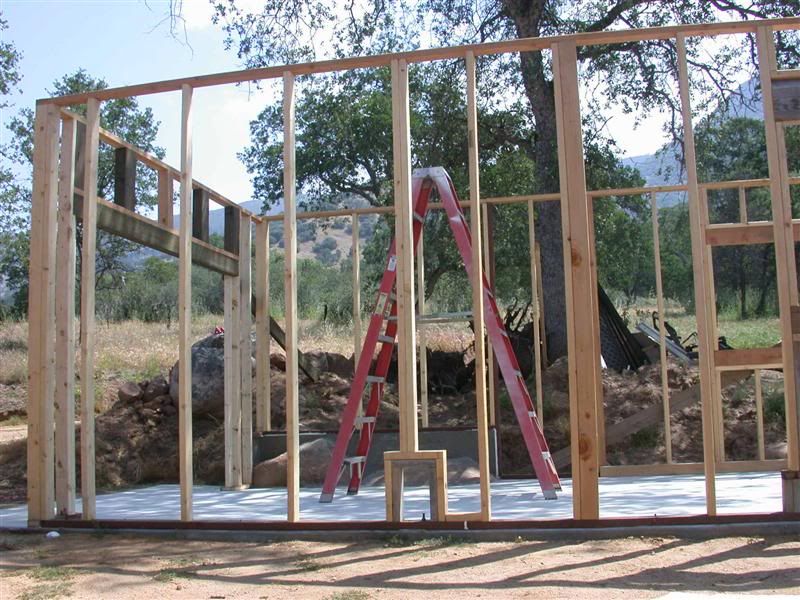
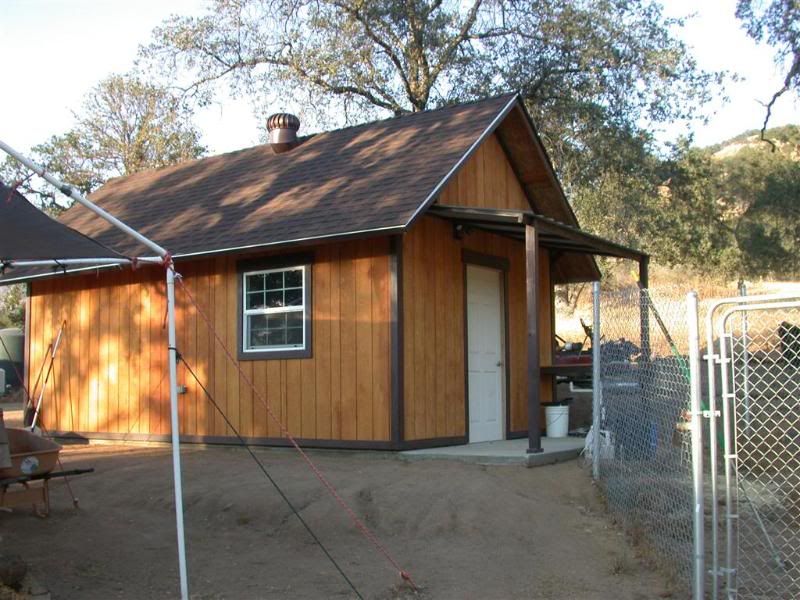
tt - Holy moly haven't heard from you since Oct, Rob. You were already 9 pages back. So more on the shed - please.

OMG. it's been that long already.
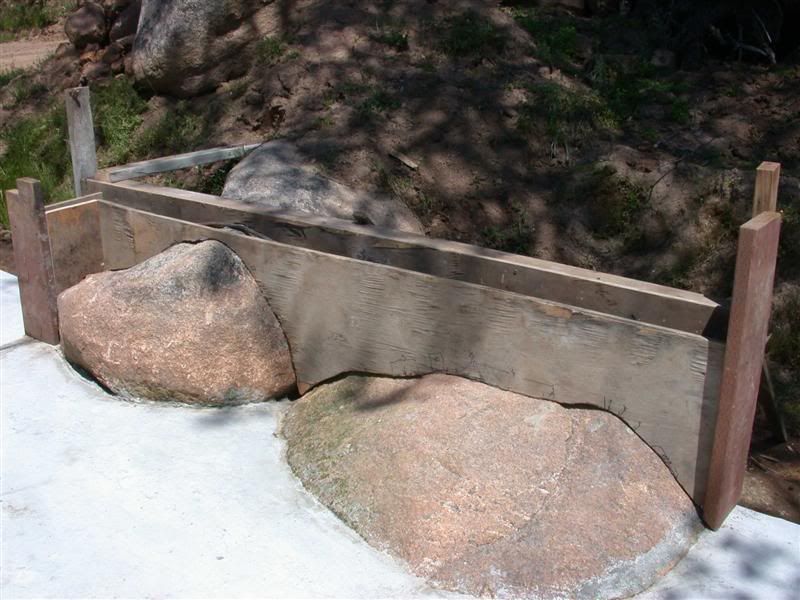
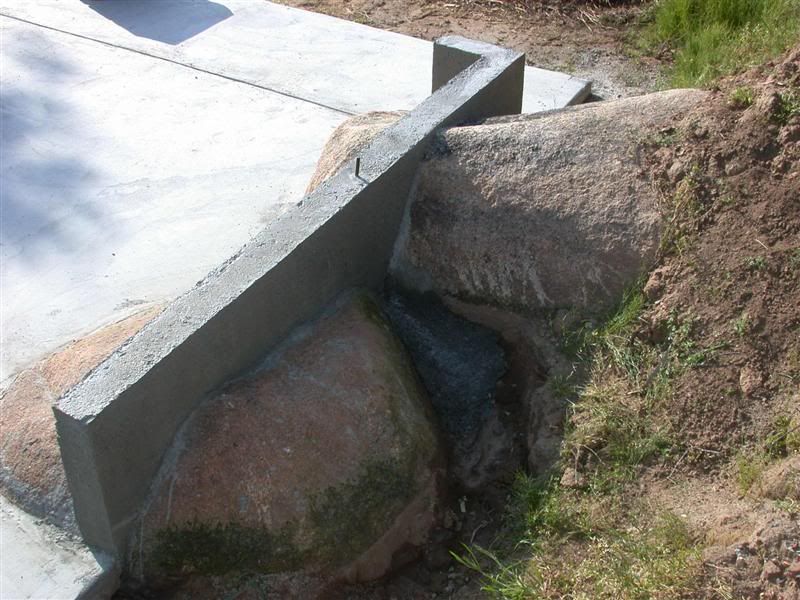
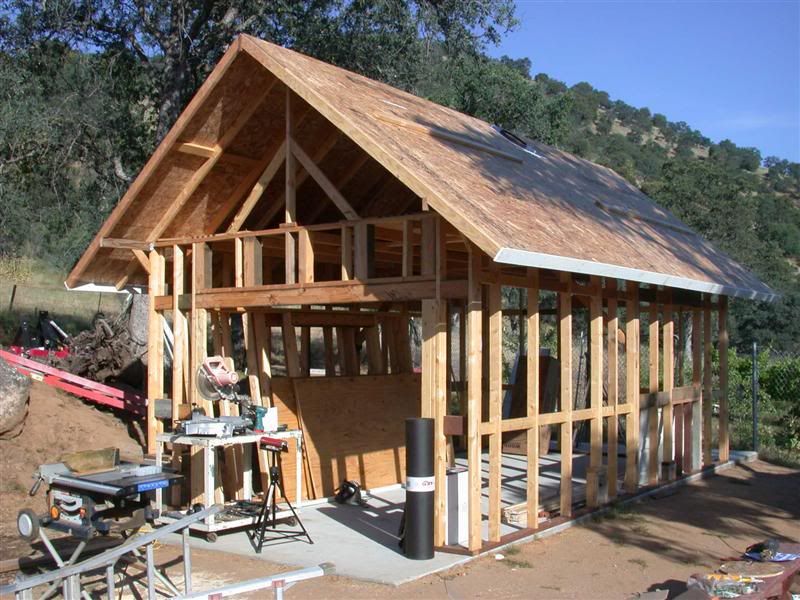
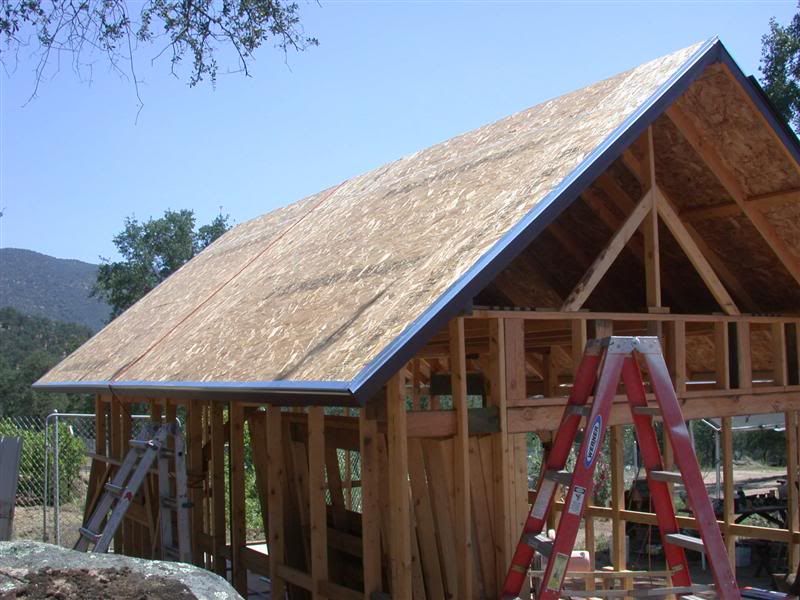
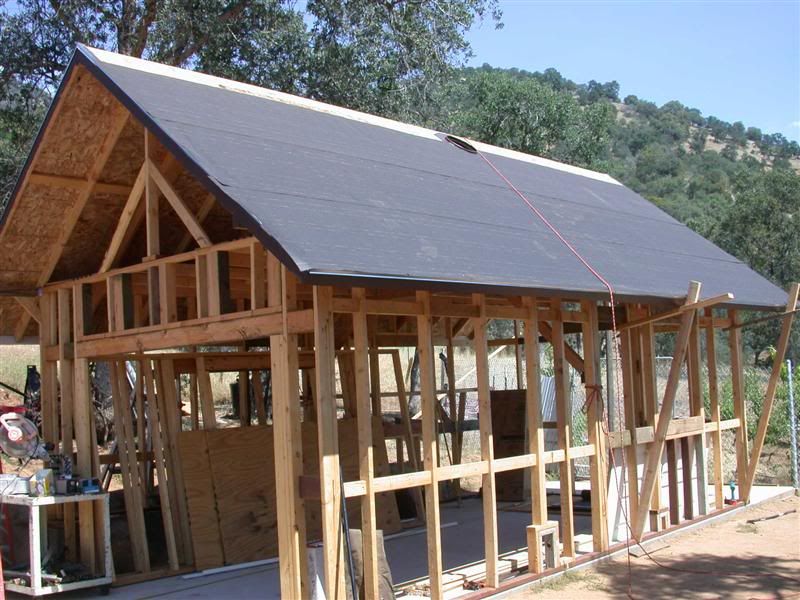
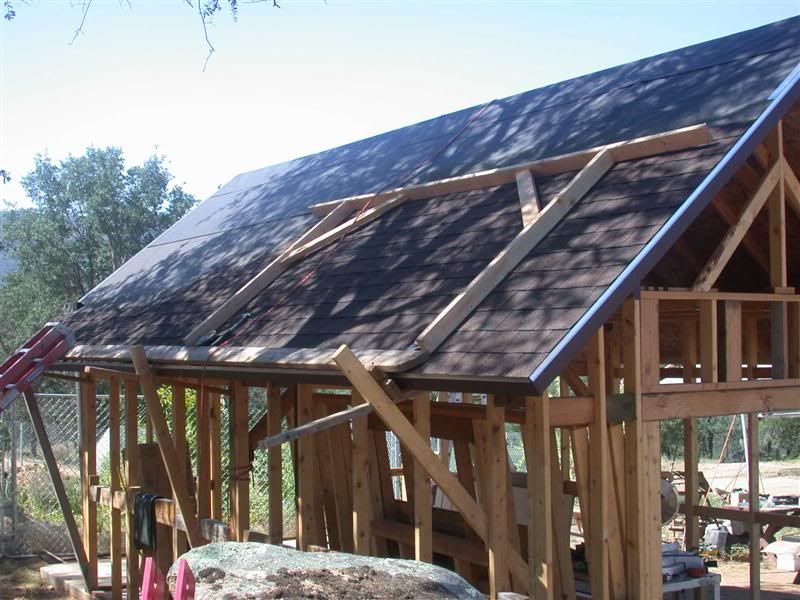
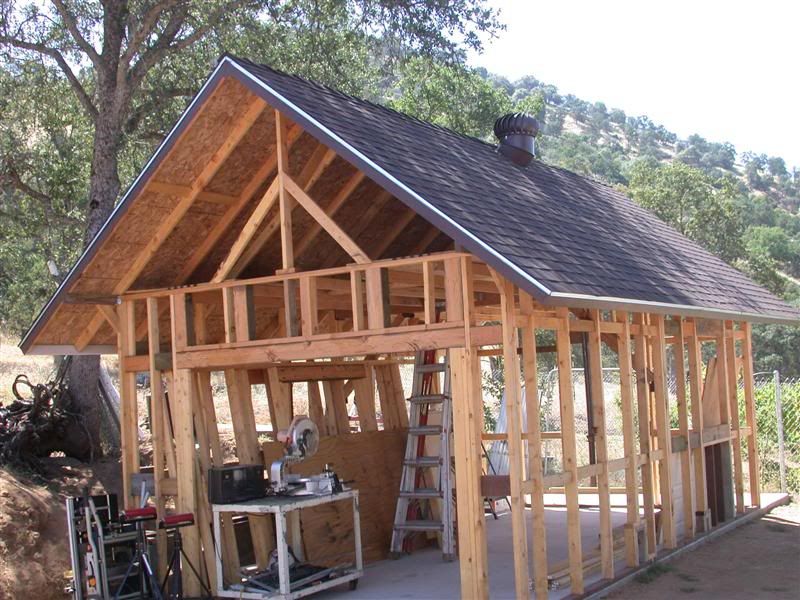
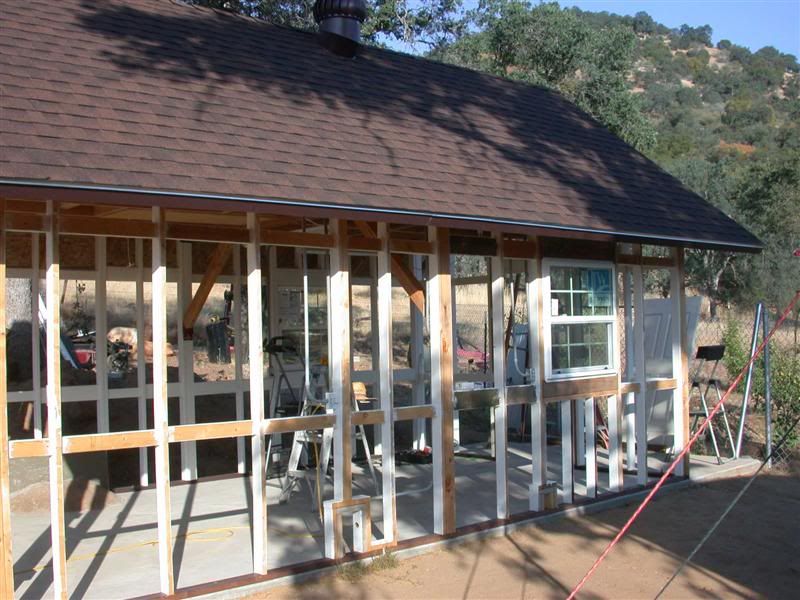
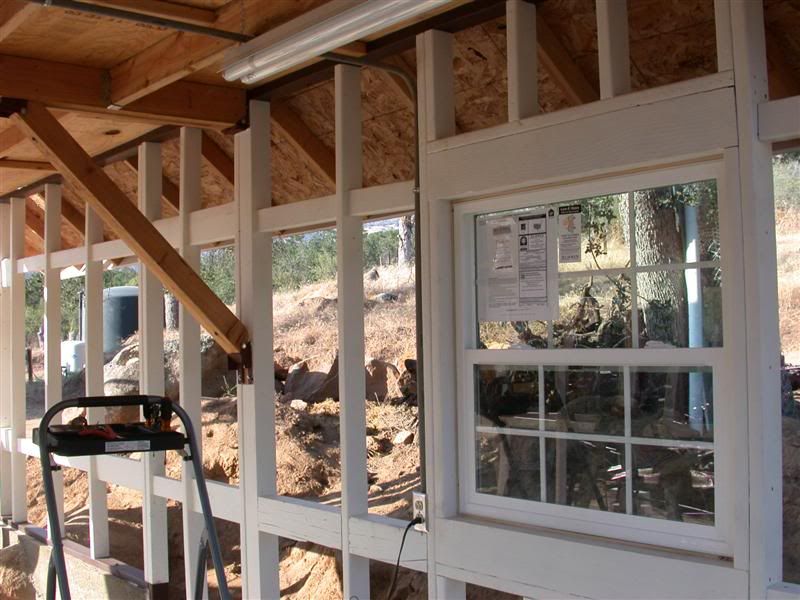
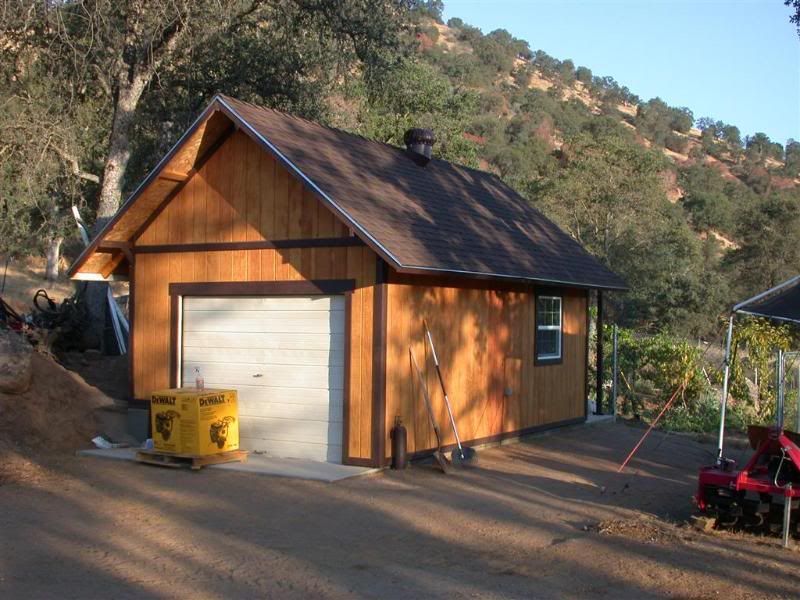
Shows you how things pop up around here (to do) and I forget what I'm doing like posting about the garden shed, lol. I think I left off after the slab was cured, right?

BTW, David ... the slab is only 4" thick with wire screen or mesh in it.
 
   / 3R Home and Barn Project
  • Thread Starter
#1,412  
I also have some photos of how the pour around the rocks was done.
First, I traced out the shape of the boulders and cut them into several pieces of plywood. They would be the forms for the short front and long sides of the pour.

DSCN2354Medium.jpg


In-between the forms, I used a masonry drill bit to install holes for 1/2" rebar.
I bent and connected them between the rocks.

DSCN2350Medium.jpg
DSCN2348Medium.jpg
 
   / 3R Home and Barn Project
  • Thread Starter
#1,413  
I had to use clamps to hold the forms from bulging out too much, but it all worked out fine.
The concrete was hand-mixed in the wheel barrow. This was the last step of the concrete work before we would start framing.

The hardest part was to cut out the plywood forms ... to get them close enough to seal on the front and the back. So I had to cut, place them on top of the rocks, then check where I needed to cut more. Do that over and over again until both front and back forms were fit adequately. Although my cut-outs were not perfect, they were good enough to work and hold the concrete in without too much spill.
Below are a couple photos of how the wall turned out.

DSCN2358Medium.jpg
DSCN2359Medium.jpg
 
   / 3R Home and Barn Project #1,414  
3RRL;2619701The hardest part was to cut out the plywood forms ... to get them close enough to seal on the front and the back. So I had to cut said:
Rob, here's a trick for making that effort much easier: use structural
polyurethane foam, which you can buy in cans at the Home Depot. Get the
hard stuff and not the squishy stuff. Use this stuff to seal gaps in rough
formwork up to 3 or 4 inches. It is a trick I used extensively in ICF concrete
work.

The hardened foam trims easily with a knife or saw, and it scrapes off
from the rock afterwards. It evens seals out the grey water leakage
that will stain the rocks.
 
   / 3R Home and Barn Project
  • Thread Starter
#1,415  
Great tip Dave !!
I didn't even think of that and it makes perfect sense. We just bought another small parcel which will be used for rental income. I may have to use your tip when we start building cabins on it.
Thanks !!
 
   / 3R Home and Barn Project
  • Thread Starter
#1,416  
Getting to the final framing of the shed...
My son Tommy helped me through this whole part. He was having a blast and laughing because we used as much of the remnant beams as possible for headers and such. Some were waaay to big, but it's a garden shed. Some beams we had to rip because they were like 8" x 8"s. Better than turning them into firewood, right? We even welded up some custom made steel brackets for some of the bracing.

DSCN2388Medium.jpg
DSCN2381Medium.jpg
DSCN2387Medium.jpg
 
   / 3R Home and Barn Project
  • Thread Starter
#1,417  
After getting the walls squared up, we started making the roof.
We used the tractor to push on one corner of the building to get it squared up, and then screwed in the bracing and blocking and hung the rafters. The roof came out pretty good. Tommy cut all the bird's mouths at one time and they fit !!

1.jpg
3.jpg


Then we put up the OSB, and flashing and installed a turbine too.

4.jpg
5.jpg
 
   / 3R Home and Barn Project
  • Thread Starter
#1,418  
Next on the list was to put down the tar paper and shingles.
We made a make-shift scaffold so as not to fall off the roof. I cut some 2 x 4's so they would fit onto the wall beams with a hook shape, and screwed them on. We moved them from end to end as we needed.

6.jpg
8.jpg
9.jpg
 
   / 3R Home and Barn Project
  • Thread Starter
#1,419  
Once we finished trimming, the roof shingles turned out pretty good, I think.
You can now see the turbine in the photo below too.

7.jpg


Then we decided to paint all the beams so as not to get paint on the siding.
We also installed the windows, doors and roll up door at that time.

11.jpg
10.jpg
 
   / 3R Home and Barn Project
  • Thread Starter
#1,420  
One thing I didn't get a photo of was the pull-down stairs to the rafters.
We put plywood in there for additional storage. And you already saw the finished shed, but I'll show it once again.
Thanks for viewing this thread !!

DSCN2477Large.jpg
DSCN2469Large.jpg
 

Tractor & Equipment Auctions

2012 WESTERN STAR 4900 (A53843)
2012 WESTERN STAR...
2010 Ford Edge SE SUV (A51694)
2010 Ford Edge SE...
(APPROX 15) 2" X 6" X 20'- 3/8" THICK METAL TUBING (A54757)
(APPROX 15) 2" X...
2012 Cadilac SRX SUV (A53424)
2012 Cadilac SRX...
UNUSED LANDHONOR LHR-DFP10 DSL FUEL TRANSFER PUMP (A54757)
UNUSED LANDHONOR...
2001 INTERNATIONAL 2574 6X4 DUMP TRUCK (A51406)
2001 INTERNATIONAL...
 
Top