A(nother) Home in the (different) Woods

   / A(nother) Home in the (different) Woods
  • Thread Starter
#151  
OK, I'll try to catch up a bit. My last real post here had heat index of 105F...Today we have wind chills overnight in the -20's. What a change a few months bring... It's so cold it is hard to get much done right now, so I might as well do some updates...

So what is done. Well the shop is done for one. Now there is no siding done at all this year. That is going to be next year so when I say "done" consider that.

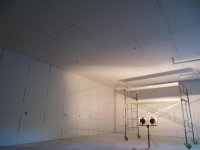
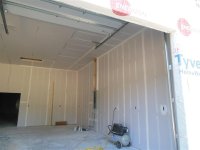
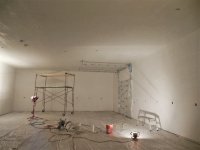
Drywalling and painting the shop. Not a lot of pics here as it started to get busy at this point. I've taken photos where and when I can, but not anywhere near enough. We got such a late start, I have always felt behind the 8-ball on everything, so photos slipped a lot. And then as it got deep into fall, we lost daylight so early, that made it doubly hard to get photos at the end of the day.
shop%u00252520drywall%u00252520%u002525289%u00252529%u00252520%u00252528Medium%u00252529.JPG
shop%u00252520drywall%u00252520%u0025252813%u00252529%u00252520%u00252528Medium%u00252529.JPG
Shop%u00252520mudding%u00252520%u00252528Medium%u00252529.JPG
shop%u00252520drywall%u00252520%u002525283%u00252529%u00252520%u00252528Medium%u00252529.JPG
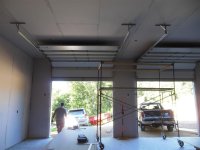
Shop%u00252520painted%u00252520interior%u00252520%u00252528Medium%u00252529.JPG

Painting finished up on 9/21. Two coats of basic white on all ceilings and walls. I bought a low end commercial airless sprayer for all this, and the rest of the house work upcoming. I'll probably just resell it when we are all done. It was really nice to get that painting done as that meant I could finally put stuff in the shop and we now had a work space and staging area. That was a huge step.

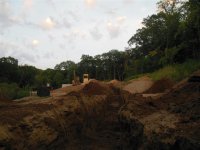
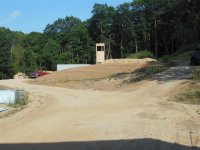
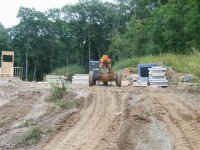
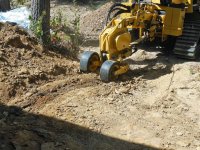
About the same time, the gas company came out to trench in their line. We have had power for a while, but I wanted to get the gas going before it got to be winter. I had run a massive trench from the shop to the house, which included a gas line, but the schedules didn't quite match up, so they did that on a different day than the line to the main at the street. Here they are starting their pull from the shop. They brought the big machine as they knew they were going through woods here. You can see the very end of the trench in the first photo.
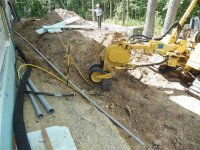
Trenching%u00252520gas%u00252520line%u00252520%u002525281%u00252529%u00252520%u00252528Medium%u0.JPG
Trenching%u00252520gas%u00252520line%u00252520%u002525282%u00252529%u00252520%u00252528Medium%u0.JPG
 
Last edited:
   / A(nother) Home in the (different) Woods
  • Thread Starter
#152  
Trench warfare

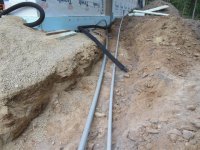
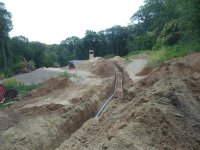
The trench was one of the most awful things of the project (so far...) I hated having to tear up settled driveway and ground to do this, but there was no other way. The excavator made short work of it (took an afternoon after he finished the septic) and buried the water line to the shop at the same time. That needed to be 6' down, so he dug 6' and buried the line as he went with about 2' of fill. Then it was up to me to lay conduit and pull wire for the feed to the house and the low voltage conduit. We pulled 3" PVC conduit for the massive frackin power cable (350 MCM wire due to voltage drop - distance) and 2" conduit for the LV runs ans future expansion. With the LV conduit, we pulled 3 cords at the same time so we can pull multiple wires later on (and will always pull a new string with every wire.

Now after seeing the power cable there was no way in Hades I was going to be able to pull it through a conduit run. The only real option was to lay out the cable and slide the conduit over it one section at a time. I got 20' sticks to minimize joints, but we are still talking a bit over 300' here...

Here is the trench with water line already buried, so it is about 4' deep.
Main%u00252520trench%u00252520%u002525281%u00252529%u00252520%u00252528Medium%u00252529.JPG

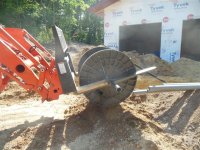
Here is the massive freaking coil of wire. It was 400-500 lbs worth, so the tractor was the only option. I used 2x4 spacers to keep it from binding up on the forks, and a 2" pipe scrap as the mandrel to allow it to unroll.

Laying%u00252520wire%u00252520%u002525281%u00252529%u00252520%u00252528Medium%u00252529.JPG

Laying%u00252520wire%u00252520%u002525283%u00252529%u00252520%u00252528Medium%u00252529.JPG

Laying%u00252520wire%u00252520%u002525284%u00252529%u00252520%u00252528Medium%u00252529.JPG


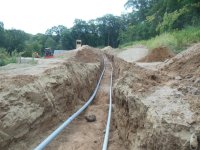
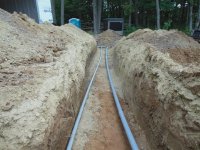
And the trench with the 2 conduits in it. Power on left, LV on right. I have to say, putting that cable in conduit was about the worst day of my life. I had a friend helping, and it durn near killed us both.

Main%u00252520trench%u00252520%u002525287%u00252529%u00252520%u00252528Medium%u00252529.JPG


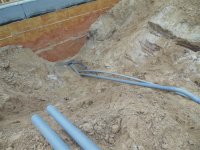
Going under the house foundation. The excavator had to dig out a lot as the sand just kept collapsing on me. You can see the blue water line here too.

Main%u00252520trench%u00252520%u0025252812%u00252529%u00252520%u00252528Medium%u00252529.JPG


Another view towards the shop
Main%u00252520trench%u00252520%u002525288%u00252529%u00252520%u00252528Medium%u00252529.JPG

And at the corner of the shop
Main%u00252520trench%u00252520%u002525289%u00252529%u00252520%u00252528Medium%u00252529.JPG

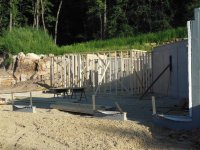
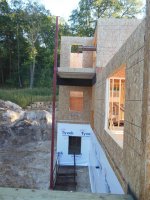
Another look at the distance. That panel wall you see standing up is the stairwell wall. They had made that with some full height posts on either side for structural reasons, so they had to raise it as one unit with the basement walkout walls.

Main%u00252520trench%u00252520%u0025252810%u00252529%u00252520%u00252528Medium%u00252529.JPG

Overall this was one of the most brutal parts of the job (so far...)
 
Last edited:
   / A(nother) Home in the (different) Woods
  • Thread Starter
#153  
Framing the house

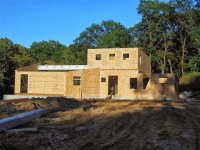
Again SIPs panels for the house, similar to the shop. The delays were killing us on schedule. We were able to get the SIPs guys to split the load and give us the basement walkout panels a bit early. This helped a lot as the framers could get the basement set and the first floor deck in place. That kept them busy for 2-3 weeks or so, and allowed time for the rest of the panels to show up.

Before the panels showed up the framers did some of the structural work they could with interior bearing walls
Lower%u00252520level%u00252520framing%u00252520%u002525284%u00252529%u00252520%u00252528Medium%u.JPG

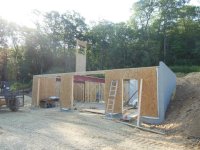
Here is the stairwell wall without the trench in the way...
Lower%u00252520level%u00252520SIPS%u00252520%u002525281%u00252529%u00252520%u00252528Medium%u002.JPG


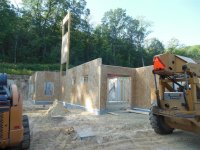
Basement SIPs walls
Lower%u00252520level%u00252520SIPS%u00252520%u002525283%u00252529%u00252520%u00252528Medium%u002.JPG

Lower%u00252520level%u00252520SIPS%u00252520%u002525284%u00252529%u00252520%u00252528Medium%u002.JPG

Lower%u00252520level%u00252520SIPS%u00252520%u002525285%u00252529%u00252520%u00252528Medium%u002.JPG

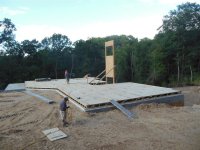
Then moving on to the first floor decking. You can see the screened porch in the back corner

Main%u00252520floor%u00252520deck%u00252520and%u00252520porch%u00252520framing%u00252520%u002525.JPG

Main%u00252520floor%u00252520deck%u00252520and%u00252520porch%u00252520framing%u00252520%u002525.JPG

And finally the main and upper level panels arrived on 9/17/13

Main%u00252520house%u00252520SIPs%u00252520delivery%u00252520%u002525282%u00252529%u00252520%u00.JPG

Main%u00252520house%u00252520SIPs%u00252520delivery%u00252520%u002525283%u00252529%u00252520%u00.JPG

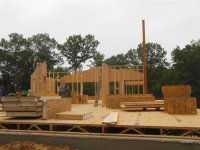
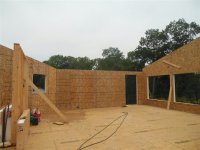
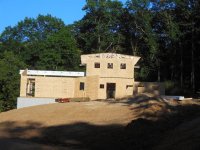
Decent progress on day 1 of framing

Main%u00252520level%u00252520SIPs%u00252520framing%u00252520%u002525284%u00252529%u00252520%u002.JPG

Main%u00252520level%u00252520SIPs%u00252520framing%u00252520%u002525286%u00252529%u00252520%u002.JPG

Made good progress on day 2, but got shut down by heavy rain

Main%u00252520level%u00252520SIPs%u00252520framing%u00252520%u0025252811%u00252529%u00252520%u00.JPG


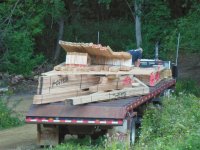
And the roof trusses showed up on 9/20

Roof%u00252520truss%u00252520and%u00252520beam%u00252520delivery%u00252520%u002525282%u00252529%.JPG

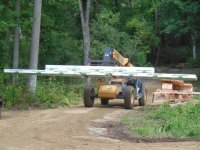
And so did The Big Beam. Plus a few other small beams. The Big Beam is massive.

Roof%u00252520truss%u00252520and%u00252520beam%u00252520delivery%u00252520%u002525284%u00252529%.JPG

This was a a very busy time -mid Sept through Oct.
 
   / A(nother) Home in the (different) Woods
  • Thread Starter
#154  
More house framing

Completed main floor panel framing on Day 3 and got into second floor deck. The second floor is only a partial floor, so it was a lot smaller to deal with. Here is working on the second floor deck on 9-20

Second%u00252520floor%u00252520deck%u00252520framing%u00252520%u00252528Medium%u00252529.JPG

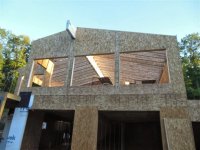
On 9-24 they were done with 2nd floor walls and The Big Beam is in place, still shrouded in plastic.

Upper%u00252520level%u00252520SIPs%u00252520framing%u00252520and%u00252520main%u00252520beam%u00.JPG

A look at the back (east ) side

Upper%u00252520level%u00252520SIPs%u00252520framing%u00252520and%u00252520main%u00252520beam%u00.JPG

Upper%u00252520level%u00252520SIPs%u00252520framing%u00252520and%u00252520main%u00252520beam%u00.JPG

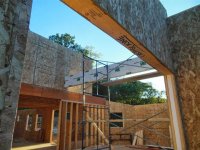
The Big Beam
Upper%u00252520level%u00252520SIPs%u00252520framing%u00252520and%u00252520main%u00252520beam%u00.JPG

The next day they got the roof trusses going on the upper level

Roof%u00252520framing%u00252520%u002525281%u00252529%u00252520%u00252528Medium%u00252529.JPG

Roof%u00252520framing%u00252520%u002525282%u00252529%u00252520%u00252528Medium%u00252529.JPG

And sheathed the following day
Roof%u00252520framing%u00252520%u002525285%u00252529%u00252520%u00252528Medium%u00252529.JPG

The next day the raised trusses and sheathing on the lower level roof
Roof%u00252520framing%u00252520%u002525287%u00252529%u00252520%u00252528Medium%u00252529.JPG

Then after the weekend they kicked into gear doing the cathedral roof on the great room
Roof%u00252520framing%u00252520%u002525289%u00252529%u00252520%u00252528Medium%u00252529.JPG

Roof%u00252520framing%u00252520%u0025252811%u00252529%u00252520%u00252528Medium%u00252529.JPG

And waterproofed the finished sections. With the low 3:12 slope, the plan was to put ice and water dam down on the entire surface, so that is what they did here.

Roof%u00252520Framing%u00252520week%u00252520of%u002525209-30-13%u00252520%u002525282%u00252529%.JPG

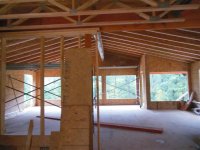
And from the inside:
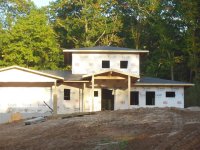
Roof%u00252520Framing%u00252520week%u00252520of%u002525209-30-13%u00252520%u002525285%u00252529%.JPG

Finally on 10-2 the crew stayed really late to get the great room roof sheathed and dried in with ice dam, as there was forecast to be big rain the next few days. I'm glad they stayed late, as the weather "did not disappoint" We got inundated starting that night. It wasn't perfect, but it did help keep 90+% of the structure dry, which was a big help as we started leveling and compacting the basement sub-base that weekend, and getting slab insulation in place during the monsoons.

Roof%u00252520Framing%u00252520week%u00252520of%u002525209-30-13%u00252520%u002525283%u00252529%.JPG

Framing is not complete at this point. That's all I can do for now. There is a lot more, but I need sleep :)
 
   / A(nother) Home in the (different) Woods #155  
Wow! thanks for the updates, everything looks great. Those trench pics made me cringe as I just completed mine after a long and miserable 2 1/2 years. Same deal, 3" and 2" 1800' long. Still waiting for the power company to do their thing.
 
   / A(nother) Home in the (different) Woods #156  
Is the house wrapped on the outside and are the windows in? I'd hate to go through winter with the OSB exposed to the elements for that long.

Eddie
 
   / A(nother) Home in the (different) Woods
  • Thread Starter
#157  
More framing work

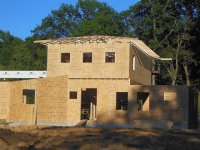
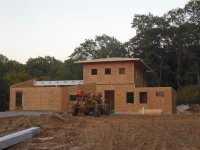
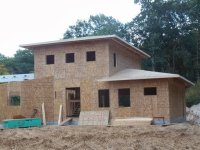
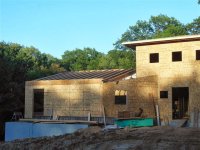
Here is showing the Kitchen deck and the front entry porch. You can see they pretty much finished Tyvek on the house too, Eddie. It will go through the winter with Tyvek for siding. They still had to finish cutting out the Tyvek on the 3rd window on the upper floor. This is Mid Oct

Front%u00252520entry%u00252520framing%u00252520%u002525281%u00252529%u00252520%u00252528Medium%u.JPG

Front%u00252520entry%u00252520framing%u00252520%u002525282%u00252529%u00252520%u00252528Medium%u.JPG

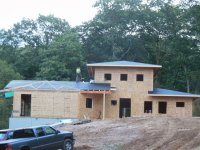
Roofer showed up finally on Oct 26 and took 2 days to finish. The first day was Sat and only a few guys showed up and they stood around half the day. It was a crew of Hispanics, which usually go to work like maniacs, so I was surprised to see this. Some of them came back Sun with a larger crew and they really went to town then and wrapped it up. But I am very glad I was there the whole time, or they would have messed up a few things. This was not as simple as the shop roof, so I really needed to keep an eye on things.

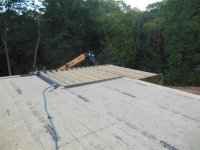
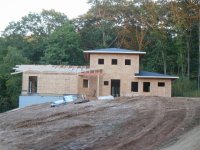
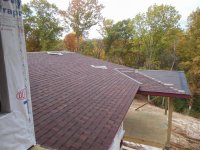
Here is a pic after Day 1, I didn't take any on Day 2 - too busy. This is from the upper deck. This worked out nice, as you can just walk right off the deck onto the roof here (you can see the deck corner in the lower left) and basically access the entire roof quite easily. At this low pitch, it is very easy to walk on.

Roofing%u00252520day%u002525201%u00252520%u002525281%u00252529%u00252520%u00252528Medium%u002525.JPG

The framers wrapped up and pulled everything out on Oct 24, just before roofing started. While it was nice to have that part completed, it was a bit disconcerting to not have them around after all this time. The main framer guy is a friend to a degree as our daughters go to school together and we have worked well together, so it was always good to have him to bounce ideas and questions off. I can still call when I need to, but it was nice having him there.

A lot of other things were happening at this time too. Oct was the mad rush to get everything in before winter hit. The well got drilled and plumbed in. The pump is in and the line is run inside, but the Pressure tank is not yet in, and we don't actually have water yet. But it's close. Well was 240' by the time they wrapped it up. Here it is, it's a well head, you know what it looks like...

well%u00252520%u00252528Medium%u00252529.JPG

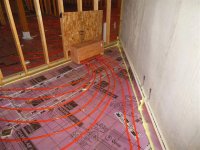
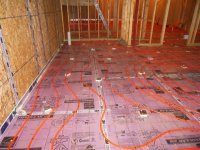
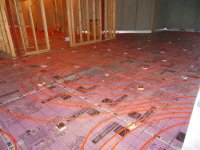
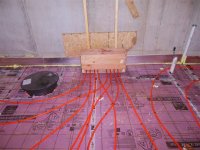
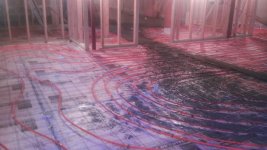
So while the framing was in the late stages, we were getting the basement slab prepped and ready to pour. As previously noted, we did a lot of that during the monsoons in early Oct, but since they had the roof mostly dried in, it was not bad in the basement. So here is the basement with 4" of foam, mesh and tubing in place.

pics%u00252520around%u00252520garage%u00252520%u002525281%u00252529%u00252520%u00252528Medium%u0.JPG

pics%u00252520around%u00252520garage%u00252520%u002525287%u00252529%u00252520%u00252528Medium%u0.JPG

pics%u00252520around%u00252520garage%u00252520%u002525288%u00252529%u00252520%u00252528Medium%u0.JPG

pics%u00252520around%u00252520garage%u00252520%u0025252816%u00252529%u00252520%u00252528Medium%u.JPG

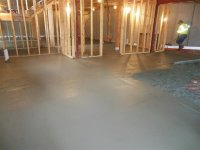
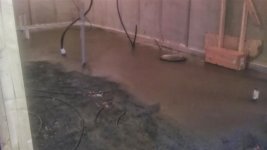
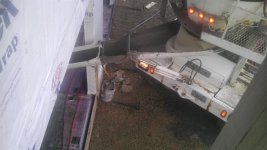
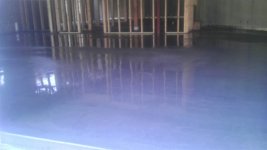
Then they finally came to pour the basement on Oct 18, and it was getting cold. Still not bad enough to be real concerned, but it was getting there due to an early cold snap.

Basement%u00252520slab%u00252520%u002525281%u00252529%u00252520%u00252528Medium%u00252529.JPG

IMAG0582%u00252520-%u00252520Copy%u00252520%u00252528Medium%u00252529.jpg

IMAG0584%u00252520-%u00252520Copy%u00252520%u00252528Medium%u00252529.jpg

IMAG0587%u00252520-%u00252520Copy%u00252520%u00252528Medium%u00252529.jpg

IMAG0590%u00252520-%u00252520Copy%u00252520%u00252528Medium%u00252529.jpg

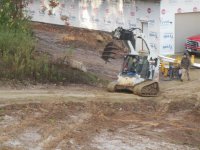
Due to it getting cold they also wanted to get the post footings in for the front entry porch. They brought the bobcat up with the 24" auger for this. Nice to get that out of the way right then too. We put a pretty massive amount of concrete into the holes for those. Went down 8' to get to undisturbed ground at 24" dia. That should hold...

big%u00252520auger%u00252520and%u00252520post%u00252520footings%u00252520%u002525281%u00252529%u.JPG
 
   / A(nother) Home in the (different) Woods
  • Thread Starter
#158  
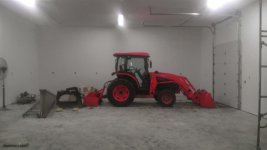
Right at the end of Sept, the shop was painted and we got the lights up and going. That was the final thing I was waiting for. Now the tractor could get parked inside! Woo hoo! I put it in the back shop area temporarily, but it is now residing in the front garage where it will stay.

Tractor%u00252520parked%u00252520inside%u00252520-%u00252520first%u00252520time%u00252520%u00252.jpg

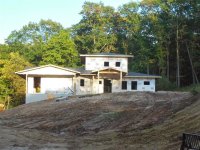
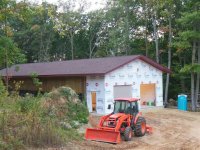
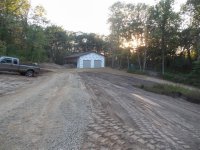
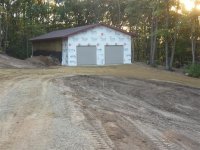
Here's what the shop looks like mostly finished. There was a bit more Tyvek still to be done before the framers left, but these show it about where it sits now. We have done additional grading since this point to try and get the water moving the right direction, and clean things up a bit, but this is pretty close

Shop%u00252520before%u00252520siding%u00252520%u002525281%u00252529%u00252520%u00252528Medium%u0.JPG

Shop%u00252520before%u00252520siding%u00252520%u002525282%u00252529%u00252520%u00252528Medium%u0.JPG

Shop%u00252520before%u00252520siding%u00252520%u002525283%u00252529%u00252520%u00252528Medium%u0.JPG


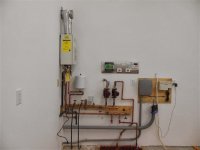
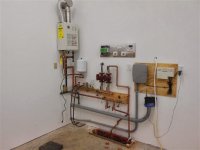
As I had time, I got started on the Radiant heat in the shop. This was a lot of head scratching at first trying to sort out layout, and then just a lot of cutting and fitting of pipes. I do not trust my soldering abilities, so once I was done and it cooled off, I pressure tested it with air for 24 hrs. Amazingly it held without a problem, so I was looking to get it filled and going. By the time I was ready to fill, it was Mid Nov. Here is the system almost built. Still needed to do the thermostat wiring.

Shop%u00252520heat%u00252520plumbed%u00252520%u002525282%u00252529%u00252520%u00252528Medium%u00.JPG

Shop%u00252520heat%u00252520plumbed%u00252520%u002525281%u00252529%u00252520%u00252528Medium%u00.JPG


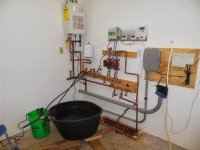
And here is filling on Nov 15. Since we don't have water service yet, I brought 40+ gal of water from home and used a submersible pump and a large tub to fill the system. It worked great. Here is filling.

Shop%u00252520heat%u00252520filling%u00252520%u00252528Medium%u00252529.JPG

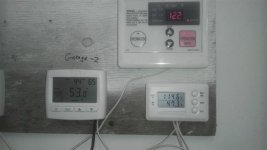
And then I started it up about a week later once I got the inspector out to look at this and the electric service for the house.

Yeah, it was getting pretty cold... But everything worked as expected and I now have heat in the shop! A big milestone. Now I can fully utilize the space for workshop and for staying warm.

IMAG0611%u00252520-%u00252520Copy%u00252520%u00252528Medium%u00252529.jpg
 
   / A(nother) Home in the (different) Woods #159  
And here is filling on Nov 15. Since we don't have water service yet, I brought 40+ gal of water from home and used a submersible pump and a large tub to fill the system. It worked great. Here is filling.
View attachment 348982
Looks like you got internet setup as well.

Aaron Z
 
   / A(nother) Home in the (different) Woods
  • Thread Starter
#160  
Electric to the house

You've seen the Trench Of Doom already. That work sat for several weeks after we got all that wire and conduit in place (and covered) as we needed to do other things. Now with framing wrapping up and concrete slab in the basement, we needed to get power to the house. The framers had been running off a 300'+ extension cord from the shop until this point. The voltage drop was pretty awful, but they got by. The week of Nov 10th, I got the main panel set in the house, and prepped the switch box at the meter to feed the house. Nov 15th the inspector was coming out along with the power co to do the final inspection on this service and make the connections. The power co guys were really great here and even helped out a bit. This contrasts dramatically with their behavior during the initial main power run where they worked half days and slept in the trucks. I was certainly grateful that they were so accommodating as I was not expecting much, but they were great guys and made things move along quicker. So we got the power connected and I now have great power at the house. I wired in a few bathroom GFCI circuits so we have plenty of power in the house now. That certainly helps a lot.

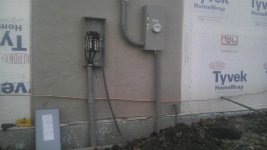
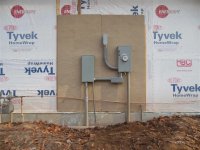
Wisconsin requires a switch box if you feed a service from another building. Seems redundant to me, but OK. But then the inspector said I had to run the house as a subpanel from this, which I was very NOT OK with. This is a main service, and should be run as such. NEC says nothing about this that I could find, but I ran an extra ground to appease him. I think it is the wrong way to do it (and have questioned his judgement at many points), so I still think he is quite wrong, but I did it rather than fighting it. So here is the switch box for the house that sits on the shop. All utilities come to the shop first and are metered from there.


IMAG0610%u00252520-%u00252520Copy%u00252520%u00252528Medium%u00252529.jpg

Electric%u00252520service%u00252520for%u00252520house%u00252520switch%u00252520box%u00252520%u00.JPG

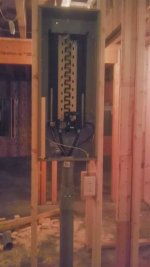
And the new main panel in the house

IMAG0605%u00252520-%u00252520Copy%u00252520%u00252528Medium%u00252529.jpg

Having good electric service at the house was another big milestone. But I'm still not caught up here. More to come...
 
 
Top