Attaching & removing 3 point implements

   / Attaching & removing 3 point implements #11  
I love my Pat's Easy Change for just this purpose. It makes hooking up implements so much easier.

 
   / Attaching & removing 3 point implements #12  
My big crowbar works well, however it would be nice to have a set of Stabilworks stabilizers and Pat's ends.

L2800 w/FEL - 72" Land Pride rake
 
   / Attaching & removing 3 point implements #13  
I would hate to see you drop that implement on your feet because you can now reach those levers.

L2800 w/FEL - 72" Land Pride rake

That's for sure, Paul. My DK35 has a remote three point lever. It is nice, but I find I must be very careful when using it. Mounting can be just as dangerous as dropping. A danger when raising an implement is that it can swing to one side because you have the extendable arms lengthened and/or the stabilizers loosened.

I like the rear lever but need to be disciplined to resist tempting shortcuts such as leaning over from the left side to operate the lever (which is on the right side).

My big crowbar works well, however it would be nice to have a set of Stabilworks stabilizers and Pat's ends.

L2800 w/FEL - 72" Land Pride rake

My DK35 has extendable ends, easily adjustable stabilizers and a rear lever. But it still takes fiddling to mount equipment. I put Pat's Easy Hitch on a month ago and highly recommend it. I got the mounting spacer bar with it but don't need it. 90% of the time I can back in and lift the rotary mower, finish mower, landscape rake or rear blade right from the driver's seat as they all have the same width. I back in with both hooks just below the pins and make sure the left side is aligned. Even if the right side is a bit out it is just a matter of pushing it over and lifting the arm by hand to latch the hook. The hitch always releases simply by lowering the arms.

The hitch does put the implement 4" further from the tractor. That was not an issue for my equipment, my three PTO shafts(2 mowers and a snowblower) are all long enough as are my top links (I have separate top links for each implement). The 4" further spacing was actually good for my finishing mower because it was too close before.

I recommend the Pat's Easy Change but you need to determine if your PTO and/or top links will work for you. Also, you need to take time to mount and align the hitch correctly.
 
   / Attaching & removing 3 point implements #14  
==================================================================================

I'd sure love to have that feature on my Kubota L3400! Sounds too easy.

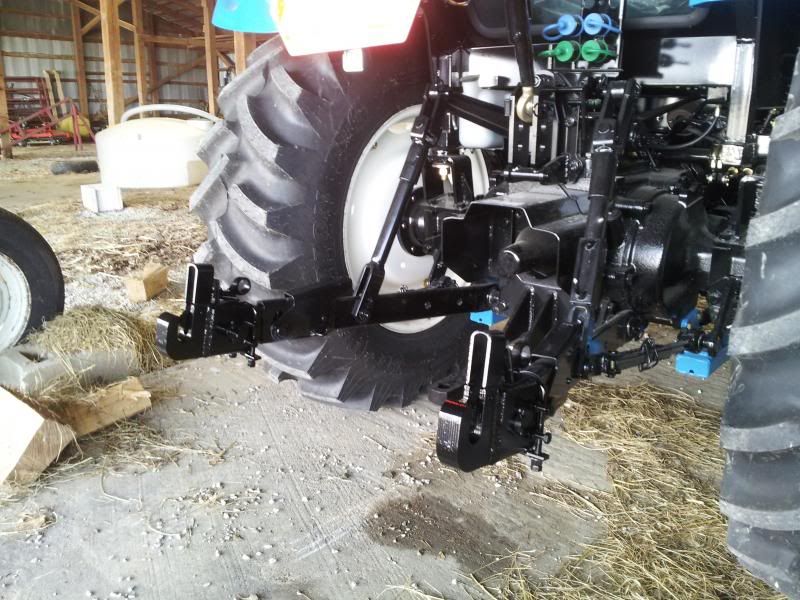
I thought for a long time it was 'required' to bust a gut changing implements. My current improvement is to put casters on the bottoms of every pallet and sit the implement down on those. That allows easy rolling into place, and lets me arrange them however I want or need to. That only works though IF you have a concrete slab to store them on, which I do have. Well - the Top N Tilt also takes a lot of the pain out of the task.

That's nice, I use a pallet on one or two of the HF furniture dollies (~$6@)

The caster and pallet idea works fine unless you are talking about a 8' wide Rhino shredder that weighs 875 pounds! :rolleyes:

Then you need more power -

I love my Pat's Easy Change for just this purpose. It makes hooking up implements so much easier.


That helps also.

I'm using PEC's, I drop my chipper (~900lbs) on the pallet which is on the furniture dollies, then hook up my hoist for fine maneuvers if needed.

chipper-hoist.jpg.
 
   / Attaching & removing 3 point implements #15  
IF your implements are compatible a quick hitch or pats sure is nice.

But even old school way isnt bad if you know how to do it, which most people dont.

First, there is usually only 1 adjustable side link. The part that attaches the arm to the part that lifts it. This is the LAST one you want to hook.

Start by backing in and having the hitch LOWER than the pins. No need to use the lever to raise it till it lines up. 3PH floats up easily. Just lift it and slide it on. Then move to the side with the adjustable link. IF the implement or tractor arent level, you can adjust that til things are line up and hitch it up. Re-adjust once its hooked up.:thumbsup:
 
   / Attaching & removing 3 point implements #16  
hooking up 3-pt attachments is a dangerous job either by yourself or with a partner - it can be frustrating and time consuming particularly when you want to get to real work in a hurry - but this is a poor time to take short cuts and add more danger...after owning a JD 750 with finish mower and box scraper - any attachment which digs into the ground needs to be left on a hard surface unless you want to hurt your back - (also a box scraper on a JD750 is a poor idea anyway - either digging too deep or out of the ground) - moldboard/disk plows, disks and box scrapers are particularly difficult due to the their very nature - the quick hitch is a great idea until you figure out that your implements are different widths (on the pin locations) and then you create another new problem of not being able to smoothly disengage the 3 point when through...Pat's Easy Change System seems to have solved some of those problems - when I have worked with a very experienced partner I do not like to be the one standing between the wheels and the implement - I want the tractor shut off and in gear and nobody in the seat when I work back there -
 
   / Attaching & removing 3 point implements #17  
I made a remote lever to do this on my Ford 1920. Turned out well but heed the warning of others that it could be a toe crusher if you're too focused on something else. I took it off before I sold the tractor so I wouldn't get sued.

Rather than extending the control handle, I just made another lever coming off the control shaft to the rear of the tractor, underneath the sheetmetal floor. Here's the link:

http://www.tractorbynet.com/forums/customization/34561-3ph-control-behind-tractor.html?highlight=
 
   / Attaching & removing 3 point implements #18  
I sit my heavy implements on two pieces of 3" galvanized pipe. Since the pipe is round you have a small area of steel to steel. Back up with the arms a little lower than the pins, using a pry bar move the implement a little if needed and put the arm on the pin. Go to the other side and move the implement a little again with the pry bar. Very easy. It helps that I spent the early part of my career fitting large pieces of steel together to be welded. Like anything else the more you practice the better you get.
 
   / Attaching & removing 3 point implements #19  
Pat's Easychange for me. I bought a longer toplink to go with it. Not a perfect system of course but it works pretty well. The linchpin setup mine came with was so-so, I made my own replacements with bolts and heavy washers. Thus far, they work well.
 
   / Attaching & removing 3 point implements #20  
Quick Hitch and Top & Tilt get my vote hands down. I flip the handles open before I get in the tractor and can pick up any piece of equipment I own without leaving the seat. Well, I do have to get out to flip the handles closed or hook up the PTO but my days of struggling with implements are over.

I can't horse around any Cat II implement I have anyways so I make sure everything I have is QH compatible. For me it's a safety issue. Not only busted knuckles and strains but something more serious. Like many on here I do most everything by myself and am not sure how many days it would be before they found my body if something happened.

I switch out implements quite often during the day and for doing it quickly and safely, a QH and TNT is hard to beat.
 

Tractor & Equipment Auctions

WANCO 6K LIGHT TOWER (A47001)
WANCO 6K LIGHT...
Box of Clevis (A47809)
Hay Wagon (A47809)
Hay Wagon (A47809)
Roller Inspection Table (A47369)
Roller Inspection...
Pequea 7ft Tedder (A47809)
Pequea 7ft Tedder...
Hoof Trimming Table (A47809)
Hoof Trimming...
 
Top