Creating a Workshop & Home

   / Creating a Workshop & Home
  • Thread Starter
#531  
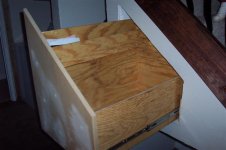
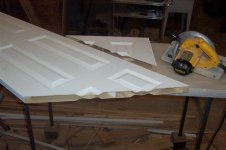
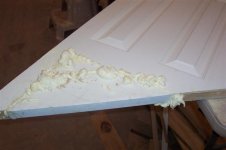
I cut up the piece I removed into two pieces and put the door back together. I used blocks, glue and staples to hold it together, but wasn't really happy with how that was working. Next I drilled some holes in the back and put a little expanding foam in along all the seams and clamped it tight. I did this on the outside too.

The next day when everything was dry, it was quite solid.

After this picture was taken, I cleaned it up and sanded sanded it smooth. Since I wanted the fake wood grain, I went over the sanded areas with my dremel.

Eddie
 

Attachments

  • 830468-100_4252 (Small).JPG
    830468-100_4252 (Small).JPG
    26.3 KB · Views: 945
   / Creating a Workshop & Home
  • Thread Starter
#532  
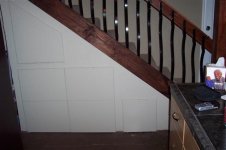
One suprise that I wasn't expecting what the top inside edge of the door catching on the top of the frame. I had to cut it down to a point and bevel the edge half way up. Now it opens and closes just like it should.

I'll paint the door when I buy the trim. Otherwise, it's done.

Eddie
 

Attachments

  • 830470-100_4254 (Small).JPG
    830470-100_4254 (Small).JPG
    14.6 KB · Views: 894
   / Creating a Workshop & Home #533  
Eddie, you are a genius. Who else wouldda thunk up a solution like that? Pure genius.
 
   / Creating a Workshop & Home
  • Thread Starter
#535  
bones,

Thank you.

Eddie
 

Tractor & Equipment Auctions

2014 Peterbilt 320 Altec AH150 Boom Truck (A49461)
2014 Peterbilt 320...
SpotWeld RockerRite 480V Arm Type Spot Welder (A50322)
SpotWeld...
2005-  3412 ENGINE (A50854)
2005- 3412 ENGINE...
CATERPILLAR 259D3 SKID STEER (A50458)
CATERPILLAR 259D3...
PALLET OF AIR CHISELS (A50854)
PALLET OF AIR...
1264 (A50490)
1264 (A50490)
 
Top