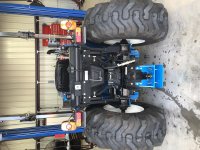
First repair that needs to be completed on my new LS3025H

   / First repair that needs to be completed on my new LS3025H #1  

Wishbonez51

Bronze Member
Joined
Jun 14, 2018
Messages
78
Tractor
LS XG3025H
Back history to the needed repair.

Purchased brand new 2018 LS3025H from Hobby Tractors in Utah. I live outside of Phoenix AZ and chose them due to them being on of two dealers closest to me. They promised me they would take care of me and allow me to make most warranty repairs if needed since I have my own shop and do all my own work to save me time and money on bringing all the way back to the dealership for repairs.

Completed first 50 hour service per manual using all LS filters and recommended oils. Hydraulic fluid was not changed per manual.

After change at around 65 hour mark, started getting a whine noise (ONLY) at initial start up of the tractor in the morning. Manual states this can be caused due to air in the system, but if goes away not be alarmed. Called my dealer and spoke about issue. Owner and also ahead of the service department stated I should change the hydraulic fluid as the fluid from factory is break in oil and due to my use, "could need to be changed". It wouldn't hurt and should of been done at the 50 hour mark. I told him I sure would of liked to know this when I did the 50 hour service as now I have to buy the filters all over again. Needless to say I ordered the filters and purchased the hydraulic fluid recommended by him. He uses NAPA's Premium hydraulic fluid for all LS tractors he services.

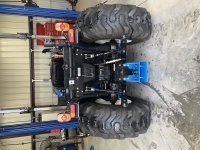
I completed the service and noticed I was a couple quarts low when I checked the fluid. I do switch out the back hoe at least a couple times a week but this should not account for that much fluid loss. So I started to ponder actually having a leak. Low and behold with my amazing luck, I found a leak!:mad::( My rear left axle seal is leaking and causing fluid to drip on the tire and you wouldn't really notice it if I was parked in dirt for a while.)

So I called my Dealership and he ordered the seal for me. He also agreed to send me a pdf copy of my service manual since I will be doing most of my own repairs. I now have everything I need to perform the repair and I have to say, it is NOT an easy repair and requires taking apart some of the rear casing to do so.

Would everybody like me to take pics and or video on my GOPRO of the repair and create a new post on it?
 
   / First repair that needs to be completed on my new LS3025H #2  
Pics would be great at certain times, maybe at the tricky or difficult times. Sometimes videos get boring. Sorry to hear that you have to replace a seal like that so soon.
 
   / First repair that needs to be completed on my new LS3025H #3  
Sorry to hear. Good luck with your repair!! Being in Flagstaff AZ I also had to purchase from an out of town dealer (although just about 1.5 hours away). I recently payed the dealer $150 to pick it up and haul it back when some warranty work needed to be done. I thought this was very reasonable considering what it would have been for me - 4 trips with a trailer (gas and miles on truck) and 6 hours of time.
 
   / First repair that needs to be completed on my new LS3025H #4  
Yes! Videos and/or photos would be greatly appreciated.

Sorry to hear that you are experiencing these issues. Kind of mind numbing to think that a seal has already gone out with such low hours. Good luck and please keep us informed.
 
   / First repair that needs to be completed on my new LS3025H #5  
Video would be cool, mine's a couple years older than your but I've had zero issues " hope I don't jinx myself " except the dealer's driver bending my bumper.

I had a odd whine once or twice but it went away, I just assumed it was air.

I'm due to change my hydraulic fluid again but have been putting it off.
 
   / First repair that needs to be completed on my new LS3025H
  • Thread Starter
#6  
That whine is exactly that. Sometimes this can happen and should correct itself, but if it doesn't, you should suspect a leak. Once I changed the fluid I had no problems the past 15 hours. I am going to reuse the hydraulic fluid as it should last at least 300 hours. I did buy two 5 gallon buckets and have one for the next change over. Even though your tractor is older, they are the same. As to why the seal went bad, the dealer said it is a fluke and can happen. Most likely due to bad installation and possibly nicking the seal when installing the shaft.
 
   / First repair that needs to be completed on my new LS3025H
  • Thread Starter
#7  
First day being able to get started on the repair and all ready came up with a snag. So I could use some suggestions before I tackle it in the morning.

The first thing that had to be done was a good wash to make sure there was no dirt or globs of mud since I need to reuse the new hydraulic fluid that is currently in the tractor.
IMG_6287.JPG
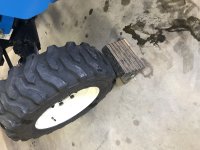
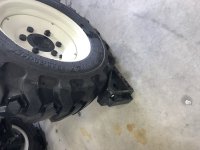
After that was done, I chocked the front wheels and raised the FEL so the back of the tractor can be jacked up without the FEL dragging or causing shifting problems.
IMG_6295.JPGIMG_6294.JPG

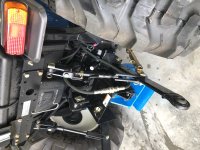
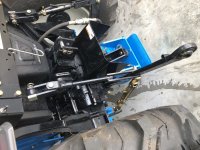
Once that was done I than proceeded to take off the two 3 point hitch arms.
IMG_6289.JPGIMG_6288.JPG

And with the arms removed, we can now proceed to jack up the rear of the tractor.
IMG_6296.JPG

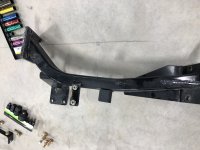
Now for the problem. Since I have the Back Hoe for my tractor, I have the sub frame mounted to the frame of the tractor which attaches right below the FEL and at the back right under the rear axle/tranny. I have to drop the sub frame in the back so I can take off the left rear case final drive assembly as well as unbolt the fender from the top side of the case final drive. The issue is finding a spot to use the jack stands under. You would typically place the jacks under the axle shafts or even the sub frame. However, I have to drop the sub frame AND I have to take off the left rear tire and axle shaft which is attached to the case final drive of course. Since the tractors front end is a center pin style, when I jack up the rear of the tractor from the Back Hoe sub assembly at the rear of the tractor which is blue. The tractor can easily tee totter from either side. I need to find a way to put a jack on the left side in which I am taking the tire off so I can start disassembly. I forgot to take pics of it jacked up, but I do have a ramp under the right rear tire, but I need the tractor jacked up another 8" or so, this way I can place my platform table jack to get the massive tire off without killing myself.
IMG_6292.JPGIMG_6291.JPGIMG_6290.JPG
The only thing I could think of was to some how tie down the right rear tire anchored to the deck. This would keep the tractor from wanting to teeter to the left side in repair. The only question is "HOW"?

Some more news as well. I ordered the two rear remotes for rear implements in which I did not have installed from the dealer due to time constraints and my dealer has never installed them. So I will be doing that install at the same time as this since I will have better access. I will do another write up of that installation. I sure cannot wait for that major upgrade. I am still tossing which new implement to purchase that best suits my needs to help for grading work.
 
   / First repair that needs to be completed on my new LS3025H
  • Thread Starter
#8  
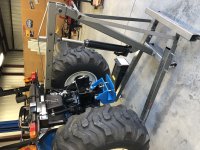
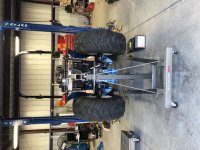
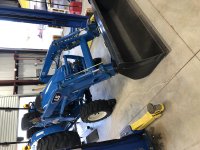
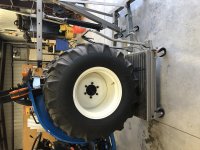
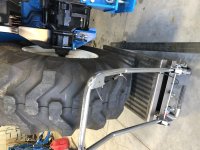
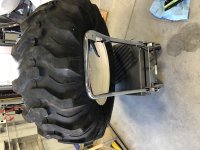
Got a lot done today on the repair. Had to call my Tractor Dealer to go over another hiccup in which we will discuss a little later. For starters, After writing up on needing advice on how to jack up the tractor. In the tractor manual that comes when you purchase new. It discusses jack up points and also states IF you are unable or need to service the drive axles to jack up using the three point top link. So I used my engine hoist to jack up the tractor with no problem. I also used my platform jack for the massive tire.
IMG_6297.JPGIMG_6298.JPGIMG_6299.JPGIMG_6300.JPG
Since we still had the issue with the tractor wanting to tip to either side. The simple solution is to lower the FEL onto the deck. Have to be careful in this situation. You want to make sure you move the joy stick in all directions to release pressure from the lines.
IMG_6301.JPG
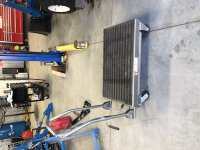
Here is the Platform jack taking the tire off.
IMG_6302.JPGIMG_6303.JPGIMG_6304.JPG
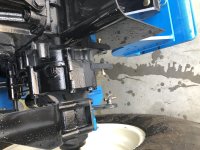
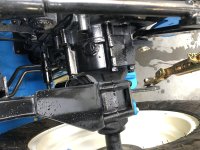
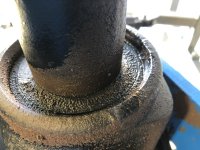
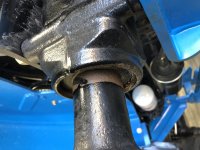
Now with the Tire out of the way, we can clearly see the bad or defective driveshaft seal.
IMG_6306.JPGIMG_6307.JPG
 
   / First repair that needs to be completed on my new LS3025H
  • Thread Starter
#9  
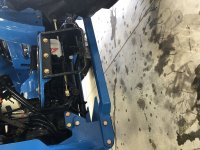
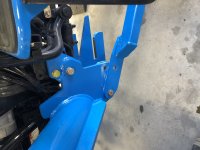
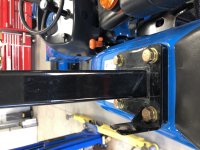
Next steps is to take off everything in the way of getting the final drive assembly off. The first is the left side lower sub frame mount for the Back Hoe.
IMG_6312.JPGIMG_6311.JPGIMG_6308.JPG
After you take off that sub frame, you will than take off the lower plate for the 3 point hitch rail.
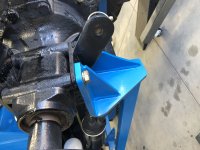
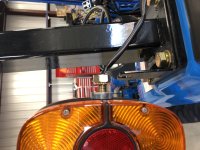
Next on the list were the blinker assembly and the rear tail light assembly. These have to come off so you can take the ROPS support member out. Make sure you take out the two star screws from the tail light assembly before trying to take it off.
IMG_6313.JPGIMG_6316.JPG
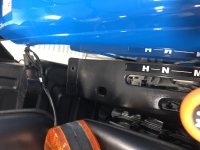
Next on the list was to remove the handles for the range selector and the 2wd-4wd lever. After that was done, you can take off the plastic bezel. This bezel is attached to the ROPS frame support. Make sure you get the two back bolts.
IMG_6317.JPGIMG_6324.JPG
 
   / First repair that needs to be completed on my new LS3025H
  • Thread Starter
#10  
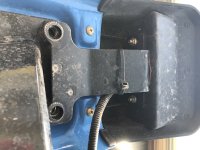
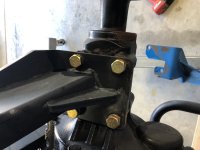
After that was all completed, I than finished taking the 4 bolts out of the ROPS frame supporting rail system on top as well as the 4 bolted to the rear final drive casing.
IMG_6315.JPGIMG_6314.JPGIMG_6318.JPG
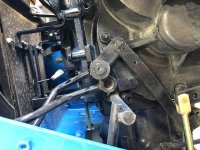
Once that was complete it was now time to take the linkages off for the range selectors, and the brake assembly.
IMG_6309.JPGIMG_6310.JPGIMG_6323.JPG
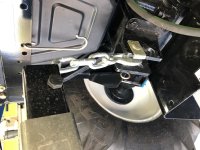
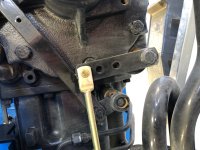
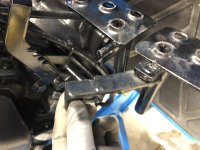
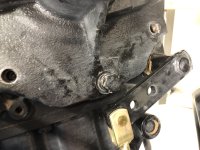
This part is "CRITICAL" in order to take one of the bolts out of the final drive hub, you will have the brake actuating lever in the way. You "cannot take this out for this procedure!" If you attempt to take this lever out, you will cause harm and the braking assembly will come lose in the transmission. In order to get the brake actuating lever out of the way. The first thing you will do is disconnect the pedals acting as one.
IMG_6327.JPG
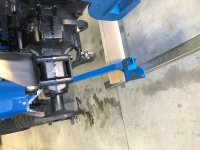
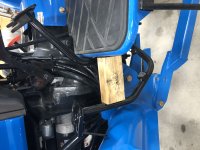
After you disconnect the two pedals, you will now either need a second hand, or in my case I used a piece of wood to wedge the pedal down so this would move the brake actuator lever away from the bolt.
IMG_6328.JPGIMG_6329.JPG
 

Tractor & Equipment Auctions

John Deere Gator Utility Cart (A50324)
John Deere Gator...
Cattle Chute (A50515)
(4) 24' Stand Alone Texas Panels (A50515)
(4) 24' Stand...
2018 Toro Grounds Master 7200 72in Zero Turn Commercial Mower (A50322)
2018 Toro Grounds...
2021 Kubota RTV X900 4x4 Utility Cart (A50322)
2021 Kubota RTV...
2022 CHEVROLET 2500HD CREW CAB TRUCK (A51406)
2022 CHEVROLET...
 
Top