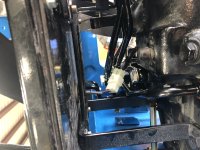
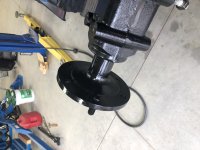
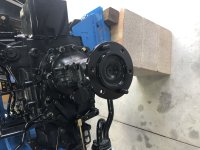
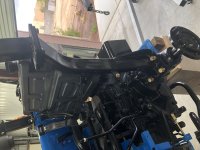
First repair that needs to be completed on my new LS3025H

   / First repair that needs to be completed on my new LS3025H #41  
Wishbonez51;
Good job on the repair, nice photos.
Your descriptions of the brakes are interesting,
they sound like the old dry disk brakes that where common in Olivers and the IH's.
Lets hope that they last a lot longer.
One comment when you got started you had trouble keeping the front of your tractor stable,
one of the more common ways is tapered wood wedges on each side of the front axle to the frame.
Good workmanship, enjoy your tractor.
 
   / First repair that needs to be completed on my new LS3025H
  • Thread Starter
#42  
Got to finish up the tractor today and I have to say "WHAT A RELIEF" its ALL done!!!!

Here are the steps I took to put the tractor back together. Take it slow because putting her back together smoothly means re installing stuff a certain way.

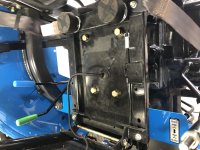
I started off with the seat. Make sure to re install the sensor under the seat.
IMG_6814.JPGIMG_6815.JPG

Oh and here are some pics of the axle shaft painted, all brand new.
IMG_6812.JPGIMG_6813.JPG

Next item is to install the ROPS sub frame.IMG_6818.JPGIMG_6819.JPG
 
   / First repair that needs to be completed on my new LS3025H
  • Thread Starter
#43  
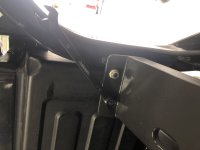
Next step is to re attach the rear back brace that ties in the two ROPS main frame braces. You will need a punch awl to line up the holes as the system is really tight. Be careful not to strip threads. You can also re attach the gas tank strap.
IMG_6821.JPGIMG_6820.JPG

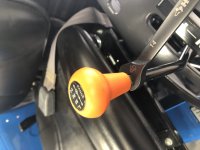
The next thing you will want to attach is the plastic gear range mold. You have 4 bolts and they use a #12mm wrench. No need to over tighten these or you can and will break the plastic.
IMG_6822.JPGIMG_6823.JPG

Now you can put the selector knobs back on.
IMG_6824.JPG

this next step you need to be careful and use one hand to guide the fender back into place, while the other hand will push up on the ROPS to allow enough space for the fender to slide in between the two braces.

IMG_6825.JPGIMG_6826.JPG
 
   / First repair that needs to be completed on my new LS3025H
  • Thread Starter
#44  
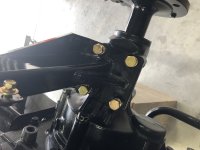
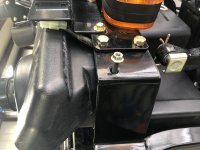
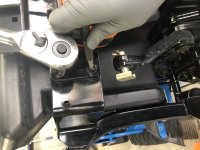
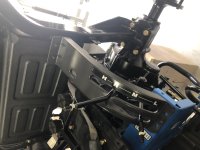
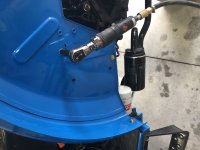
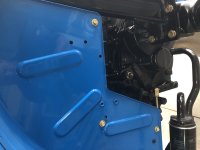
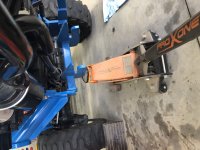
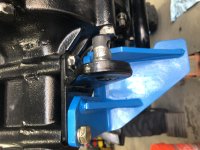
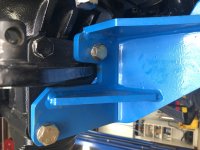
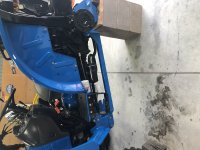
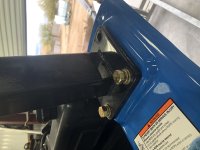
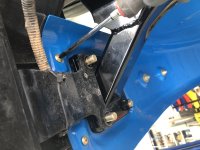
The next step for me was to re install the sub frame for the backhoe. If you don't have the backhoe you will omit this steps of course. I used a jack to make sure the bracket holes would line up. I put in the very front bolt, than swung it up into place and added the rear bolts. Once all bolts were in I used the impact gun to cinch them all up.
IMG_6827.JPGIMG_6828.JPGIMG_6829.JPGIMG_6830.JPG

For this step on re attaching the ROPS on top you will want to use the two front bolts first. You will need to use one hand to line things up while installing the bolts. Than you can add the bracket for the turn signal, followed by adding the rear tail light. You will need to re attach the screws underneath before adding the nuts.
IMG_6831.JPGIMG_6832.JPG

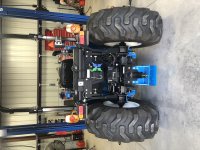
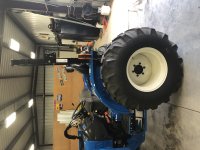
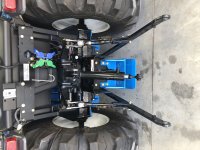
Last steps are to re install the tires. I like to use my fingers to run the bolts down to seat the rim before using the impact. This way there are no chances of cross threading. Once tires are on and the tractor is back on the ground, I re attached the three point arms. Filled with fluid, started tractor and got it up to operating temperature. Checked fluid level, added more. Once it was full I backed the tractor up and pulled forward in L M and high gear and in 2 wheel and 4 wheel assist. Everything runs PERFECT and NO LEAKS. Checked oil level and all is good. This repair is now complete.
IMG_6833.JPGIMG_6834.JPGIMG_6835.JPG
 
 
Top