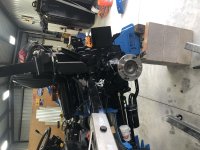
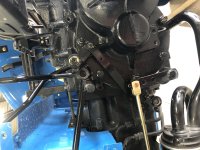
First repair that needs to be completed on my new LS3025H

   / First repair that needs to be completed on my new LS3025H
  • Thread Starter
#21  
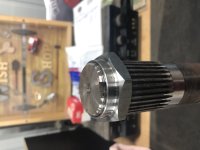
Yes, you can tell I was a Captain in the Fire Department. I tend to call the beginning to the start of threads higbee cut, of course they call them tapered pipe threads for generic terns and in America National Pipe threads. I know these thread types do not eliminate cross threading, but the premise is still the same right? Where they started the threads in relation to the nut making contact with the gear and allowing 8lbs. of torque applied so the tab on the nut sits within the tab opening on the shaft. Just a thought of why the nut was "over torqued" and caused this problem. Thanks
 
   / First repair that needs to be completed on my new LS3025H
  • Thread Starter
#22  
UPDATE!!!

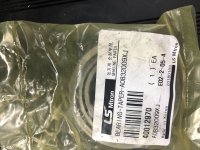
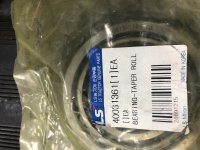
Well we have good news and bad news. The good news is I received the new drive shaft, bearings and nut today in record speed fast delivery from LS. So it looks like I will be putting the final drive assembly back together first thing tomorrow morning. I will post step by step pics of the install.

BAD NEWS! Well it started off as good news. I also received my new rear remote kit at the same time. I opened the kit in which it is really extensive and has loads of parts to put into the tractor. Was looking over everything which looked awesome. So than I start to read the instruction manual "booklet" and it just so happens to be the kit for the "WRONG" tractors!!!! No flippen way. So I call Scott at the Dealership and he calls LS and LS somehow accidentally sent me the wrong kit.. So needless to say, this kit is going back and they are sending me the "correct" kit ASAP. Another issue was with the system itself. Since I have the Back Hoe, in order for it to connect to the rear remotes, you also need to order the "detent" kit with the rear remote kit which cost more money. I don't know how much it costs but Scott is NOT charging me for it due to the mess ups.

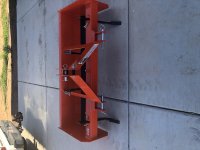
I also purchased a new box for the new tractor as my older box is a 4 foot and there are a couple things I really do not like about it. So here is the new box
IMG_6651.JPGIMG_6650.JPGIMG_6649.JPG
IMG_6648.JPG
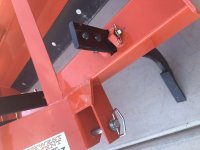
I also purchased the TOP LINK and hose kit as well. I will explain more about the hoses and the hydraulic ram later.
IMG_6647.JPG
 
   / First repair that needs to be completed on my new LS3025H
  • Thread Starter
#23  
INSTALLING NEW PARTS IN FINAL DRIVE!!!

1.) Make sure the inside of the final drive hub is clean and dust and lint free before starting. Make sure the mating surface that buttons up to the tranny is spotless as well and ready for gasket maker.
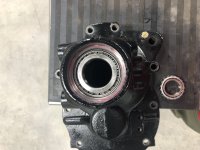
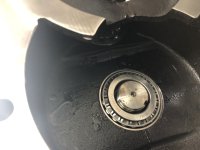
2.) Install outside race and bearing.
IMG_6661.JPGIMG_6654.JPGIMG_6663.JPG
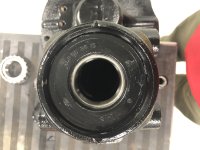
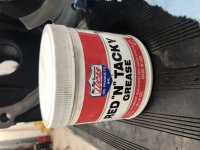
3.) Now Install the Outside Seal. This is a two part seal and is best to be installed as one. Once installed, Scott with Hobby Tractors recommended using LUCAS RED "N" TACKY Grease for the seal and the brake clutches in which we talk about heavily.
IMG_6664.JPGIMG_6667.JPGIMG_6660.JPG
 
   / First repair that needs to be completed on my new LS3025H
  • Thread Starter
#24  
4.) Install inner race and inner bearing. I tipped the final drive unit upright to make things easier as the bearing will just fall out otherwise.
IMG_6653.JPGIMG_6662.JPG
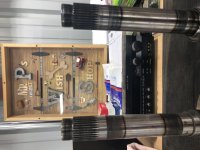
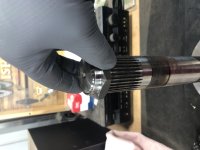
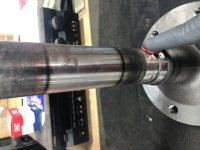
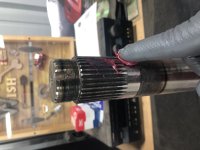
5.) This part I did things my own way. First I matched up the old damaged shaft with the new shaft. I took out the wheel studs. We learned much by getting the new shaft. You can see the rainbow heat transfer is from factory machine work of the shaft being built. So that is good news. It also comes un painted. I will paint after she is all installed.
IMG_6658.JPGIMG_6659.JPG
6.) Now at this point I wanted to chase the new threads with the new nut. This was not too difficult but you should make sure to start the threads by hand before using the socket to walk it down till the end of the shaft. Once this was complete I could use my fingers to take it back off. This is how it should be to take it off, but in my case it was damaged.
IMG_6665.JPGIMG_6666.JPG
7.) Now we add sticky grease to the shaft in the locations where the bearing meets the shaft.
IMG_6668.JPGIMG_6669.JPG
 
   / First repair that needs to be completed on my new LS3025H
  • Thread Starter
#25  
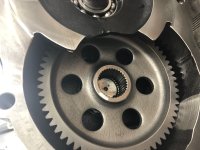
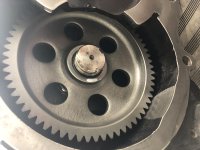
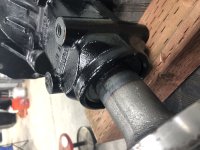
8.) Time to install the shaft into the final drive casing. This task could be done easier with two people but once again I had to do it by myself. In my case I had the final drive on my jack platform with the 4X4 wood block under the final drive casing to keep it level. Then you have to "carefully" start inserting the shaft through the outer seal and outer bearing. This will require you to use the dead blow hammer and gently hammer the shaft till the shaft meets the second or inner bearing.You have to make sure to keep the inner bearing from falling out. I took the drive gear and installed it and than held my hand over them to keep pressure so they wouldn't fall down. Then finish using the dead blow till the shaft bottoms out on the seal.
IMG_6671.JPGIMG_6670.JPGIMG_6672.JPGIMG_6673.JPG
9.) Now once the shaft is installed all they way, you can now install the nut by hand till it meets the surface of the gear. This should be easy since we traced the threads earlier. Once that was done you have to torque down the nut. The book says to torque down between 130lbs-147lbs. Scott and I agreed to torque to 135lbs. In order to accomplish this you have a couple of ways you can do it. I typically have to do mechanical work on my own and this would be almost impossible. So I am sharing an old secret I was taught many years ago. Put the two studs back on the shaft. You will also need the platform jack for this procedure. You will lower the platform jack till the final drive assembly and the studs fit in the heavy tire. Once you install the tire, bolt down the two studs. This will be enough force to keep the shaft steady while you use the torque wrench.
IMG_6675.JPGIMG_6676.JPGIMG_6677.JPGIMG_6679.JPG
 
   / First repair that needs to be completed on my new LS3025H
  • Thread Starter
#26  
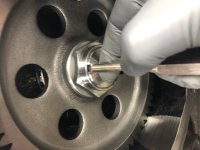
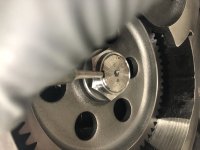
10.) Now the nut has been torqued down, its time to use a punch die to bend the tb in on the shaft indention. You want to use a punch just the size of the shaft indent. Do not over do this as you can break it off. Just enough that it will not allow the nut to back off.
IMG_6681.JPGIMG_6680.JPGIMG_6682.JPG
11.) Now its time to cry as this next steps are not only the most challenging, but will test your patience as well as your mits of not throwing tools or causing damage to your tractor or your shop. This part was me being the ginnie pig and boy was I. I took lots of pictures of this step but I do not want to confuse anybody who will be tasked in completing this repair. I am not going to include "ALL" of the steps the manual tells you to do. Main reason is "IT DOESN'T WORK". Even with two people the manuals method is no good.
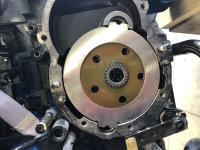
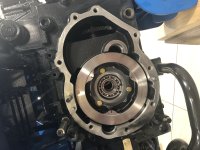
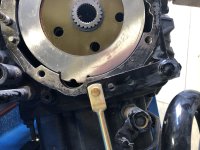
Lets go over the brake clutches. The brake clutches consist of 1 unit of the brake clutches c clipped together on both sides. The last clutch disk is all by itself. These disks must be in the transmission correctly. The clutch pack goes in first with the brake disk inwards towards the transmission. Followed by the last remaining clutch plate. In the transmission you can see where the two camel humps on each side of the brake clutches that fit within the transmission. They are half circles as you can see in this picture. You can see the clutches installed in these pics.Those pictures were before I cleaned the tranny gasket surfaces. The last picture shows the tranny cleaned without the brake clutches installed.
IMG_6337.JPGIMG_6336.JPGIMG_6351.JPG
12.) For the installation of the final drive unit, I had to take another couple steps in which could of been done from the beginning. First, make sure you took out both studs that are installed in the transmission. This should of been done when you were taking the final drive off. Than to make things much easier, you should take the fender off. This should of been done during disassembly, lucky me, the pig to work out the kinks. Once I took off the fender it made using the engine crane real easy.
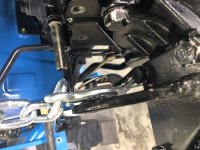
13.) Now for the creativity part. Due to the balance issues with the final drive assembly. It is pretty heavy. I would "NOT" attempt to install it by hand. I promise you, you will knock the brake clutches out of the tranny and make a real mess. Using the engine crane makes this final step the easiest and painless way. Man I sure wish I had a second hand for this part but my most trusted mechanic friends were not around. So I had to do it alone, if you can get somebody to help you I would wait till you got help. I was stuck as I already applied the gasket maker to the final drive unit and time was ticking which required me to install the unit ASAP. Ok, so in order to use the engine crane I used the lower bracket support which is a triangle and is for the outside lower 3 point sway control. I bolted it up on top of the final drive hub. The shaft and the quick link was used for the hook of the engine crane. Somehow I forgot to take a clear picture of it installed before attempting the install. I only have the completed picture showing the hook on the mount which is bolted to the final drive hub and the hub is bolted to the tranny.
IMG_6696.JPG
 
Last edited:
   / First repair that needs to be completed on my new LS3025H
  • Thread Starter
#27  
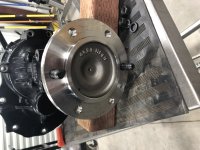
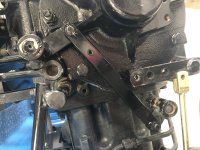
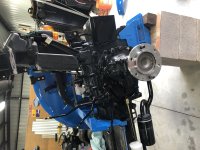
14.) Another critical part. The brake pedal needs to be pushed all the way down and held down with the piece of wood again. This will also cause the brake clutches hanging on by a thread in there slots. You need to be very careful or you will knock the clutches out and into your gasket maker and cause you to take it all back out and clean them before re applying and starting again. This will also cause the final drive assembly to not be able to seat to the tranny by hand. You will have to start installing bolts carefully on all 4 corners so you can tighten the hub assembly to the tranny in unison. DO NOT OVER tighten your bolts, just snug. Once the 4 bolts have been installed. Take a break and get your favorite drink out. Once done you can disconnect the engine hoist and take off the mount that goes underneath the hub assembly. Now you can install the two studs in their perspective spots and the rest of the bolts. After an hour you can now torque all the bolts in a criss cross sequence at 30lbs.
IMG_6695.JPGIMG_6697.JPG
15.) Now you can release the brake pedal block. Once this has been done you can install the linkages again and you will be done with the repair. I will now paint the shaft so it is protected and wont rust with gloss black. Now you will need to reinstall the fender, ROPS bracket and sub assembly's, lights and tire. HOWEVER, I am waiting to finish till after I am done with the rear remotes install. I will not add them to this thread. I will start another thread for that install.
IMG_6698.JPGIMG_6699.JPGIMG_6700.JPG
 
   / First repair that needs to be completed on my new LS3025H
  • Thread Starter
#28  
I want to also take a moment to Thank my Dealership Hobby Tractors in Northern Utah. Scott is truly a GOD send and very gracious in being there for me through the repair. He answered all of my questions and concerns, gave guidance and opinions on a repair neither of us had made before with LS tractors. Scott also made sure my parts were ordered and delivered real fast so we could get this repair completed in the shortest time frame possible. Scott also went above and beyond when more hiccups and mistakes were made when finding out we needed more parts to complete the repair. Thank You Scott for everything.
 
   / First repair that needs to be completed on my new LS3025H #29  
Very nice! Well done!! :applause: :thumbsup:

And thank you for posting those pictures and walking us though your repair!

A good dealer is a great thing!
 
   / First repair that needs to be completed on my new LS3025H #30  
Excellent job!
I have been curious how the wet brakes worked on these newer tractors. I think I understand them now from.your pictures.
 

Tractor & Equipment Auctions

2015 Dodge Charger Sedan (A50324)
2015 Dodge Charger...
UNUSED FUTURE BOX OF MISC RATCHET STRAPS (A51243)
UNUSED FUTURE BOX...
Wolverine Mini Skid Steer Stump Grapple (A50515)
Wolverine Mini...
2015 PETERBILT CLASS 8 CEMENT MIXER TRUCK (A51243)
2015 PETERBILT...
(2) 18.4-34 TRACTOR DUALS (A51244)
(2) 18.4-34...
Quick Attach Pallet Forks (A47384)
Quick Attach...
 
Top