Scott,
Thanks for the compliment. I see you joined Jan of 2012, if not already said - a warm welcome to TBN.:welcome:
I'm struck you found and replied to this 4 year old thread. After viewing this I imagine you realize the scale of this project. 100's of design hours, CNC plasma cut parts, three months of fabrication, custom machining (many hours of machining), metal bending, welding, hydraulics, and a few scrounged up one of a kind part's.
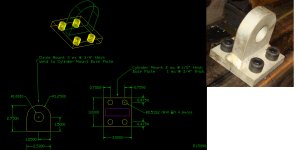
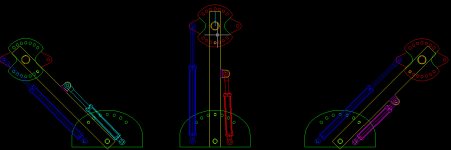
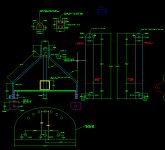
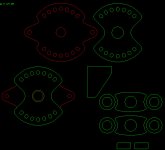
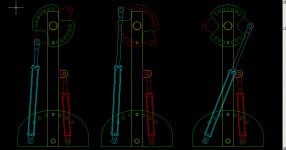
I still have the "Auto"CAD file I drew up for the plasma cut parts, metal bending and the cylinder placement geometry layout. Most of the fabrication and assembly was a 3D picture in my minds eye. The only "plans" so to speak are what I posted here. Have you a program to read AutoCAD 2004 *.DWG files? CNC plasma cutter? Mill, rotary table etc, If you have the time and means to copy this and are serious about doing so, PM me.
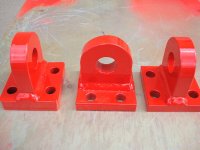
Some small parts I custom made but did not detail in the build are attached along with a sampling of the AutoCAD DWG file. The thumbnails look blackened out but when open full size show some detail.
Larry