Jersey
New member
Great projects! I just built a rake for my tractor which, by the way was my first project for the tractor. It's not as detailed as yours but its working good. Ill post some pics soon. I look forward to seeing your progress.")
3RRL said:Gee Larry, I feel left out.
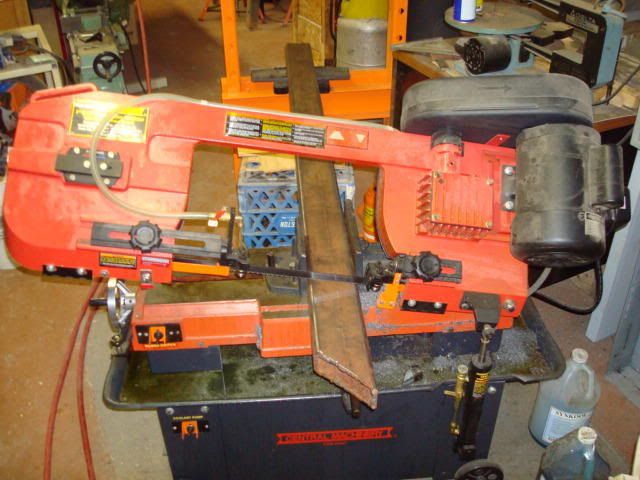

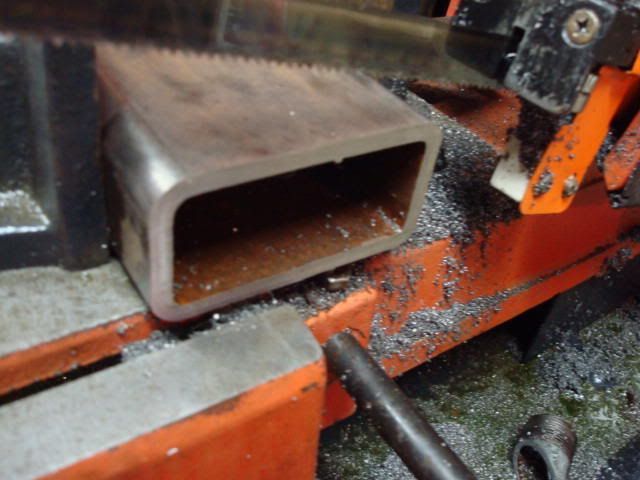


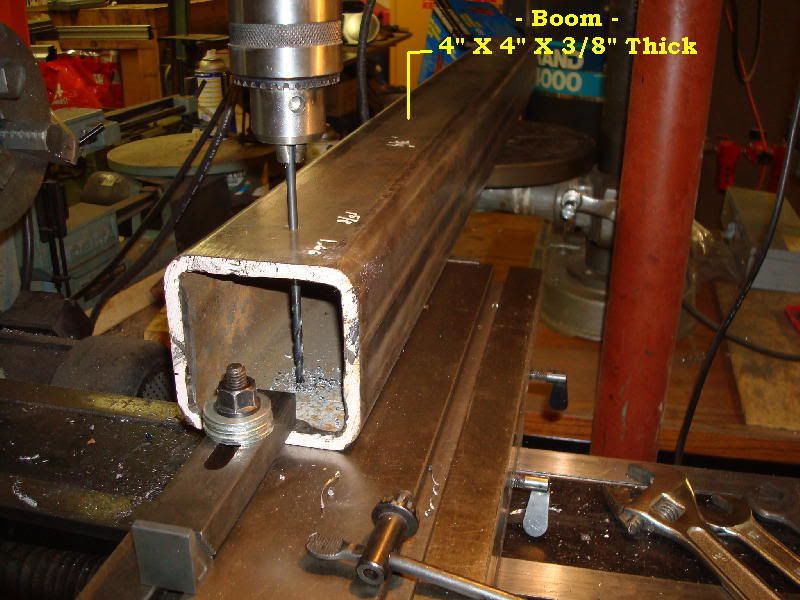
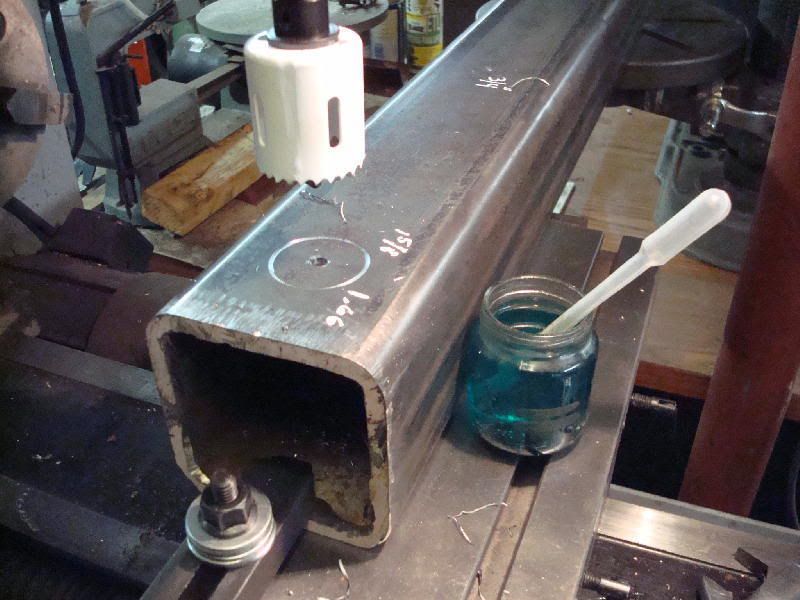

MJ - Yea the new camera with sound, got to love that. Powder coated? How much is that going to set me back? I was thinking more like the 96 cent deluxe rattle can finish from Wally World.mjncad said:Ah yes the squeal of a hole saw on steel, I hope you have the ear muffs handy. Anyway, the project is looking great and I look forward to seeing it completed and powder-coated before you head off into the dirt to make it earn its keep.
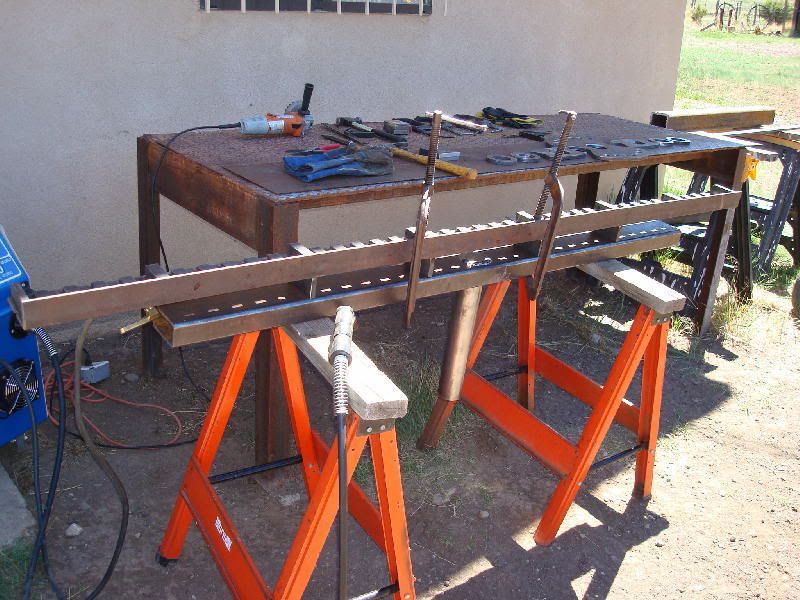
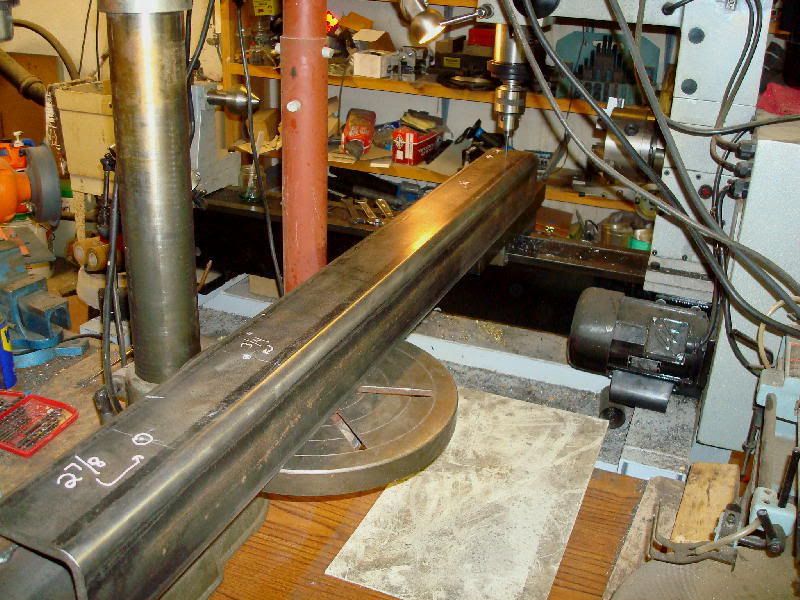
EX3200 - No joke, this project is huge, plus it's starting to get a little on the heavy side. At least it's keeping me out of trouble.EX3200 said:Very impressive. After seeing what goes into building one, I don't feel as bad about the $700 I spent on mine. Nice work!
Jim - Great info about operating a rake and what to expect. I was hoping you would chime in with your first hand experience, it's much appreciated.jimgerken said:Larry, your pics are great. Glad I could help too. Yes, the rake angled does wonders. It does a great job of sifting out soil and moving rocks, reluctantly, to the side. I have found that going in reverse, with the rake angled also works, even without turning the rake around. Mine does not turn around. As you rake a trail, for instance, lets say its ten feet wide, the first few passes everything flows toward the side pretty well, but then the material builds up and the action becomes sluggish. At this point, angle the rake the other way (do not turn it around though), and back up. It will not sort dirt out in this mode, but the big windrow you made sure moves to the side nicely. When you get to the side of the trail, you can now also offset the rake, and keep moving the rocks off the trail, even while keeping your tire away from the edge of the trail, for safety.
If you don't angle the rake, you are gathering stuff till you have to dump it in a big pile. If you are angling, you are sorting, grading the materials off to the desired side of the trail/road, removing large rocks and leaving inch-minus.
SkunkWerX - Thanks for the feedback on cylinders, and making provisions for gauge wheels. Not sure I want gauge wheels yet or not, However it would be easy to add them in the future. I'll get the basic part of this working, and if it doesn't fall apart we'll see where it goes from there.SkunkWerX said:Larry,
wow! it's looking great! as would be expected of your projects.
As far as cylinder geometry goes, I like the shorter extensions.
Keep in mind the longer extensions are gonig to stress the cylinder rod more when fully extended. Just my two cents, I vote for a shorter/beefier cylinder.
edit: **Larry, also, I may have missed this in your description, but definately keep in mind the ability to add/install height-adjustable gauge wheels at some point.
rhett said:greetings Larry,
your project is awesome. one question though.
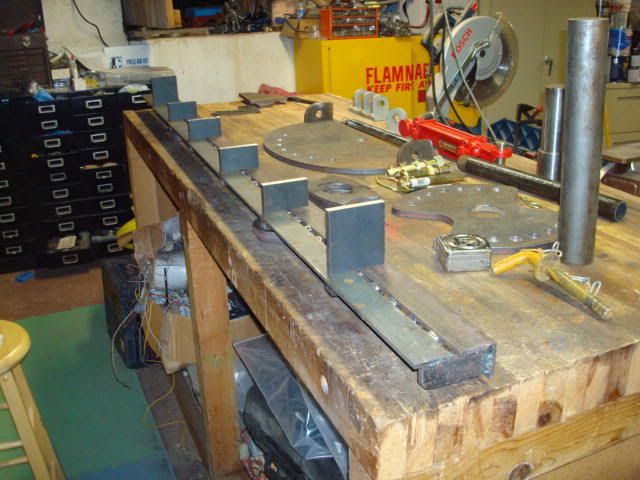
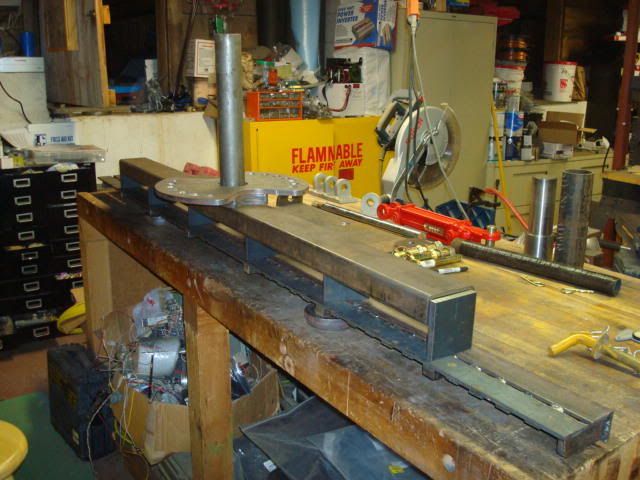
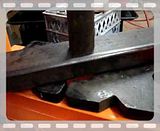
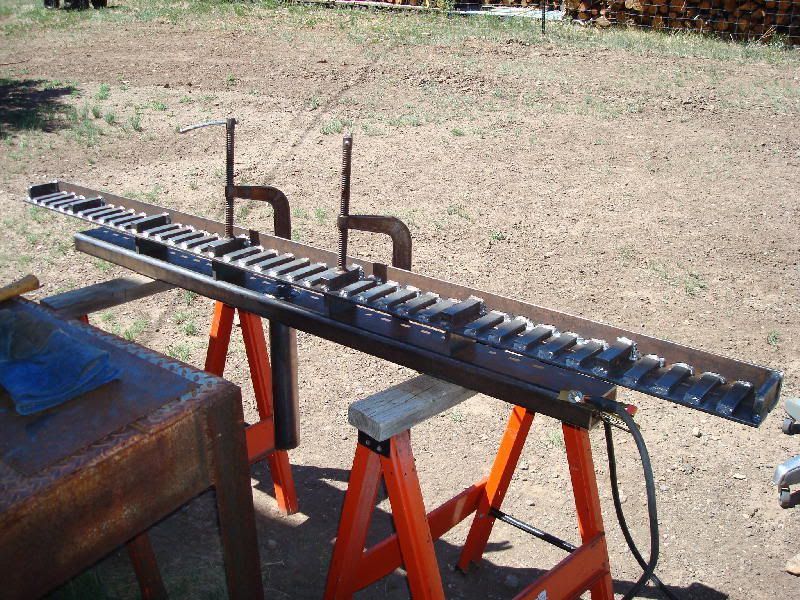
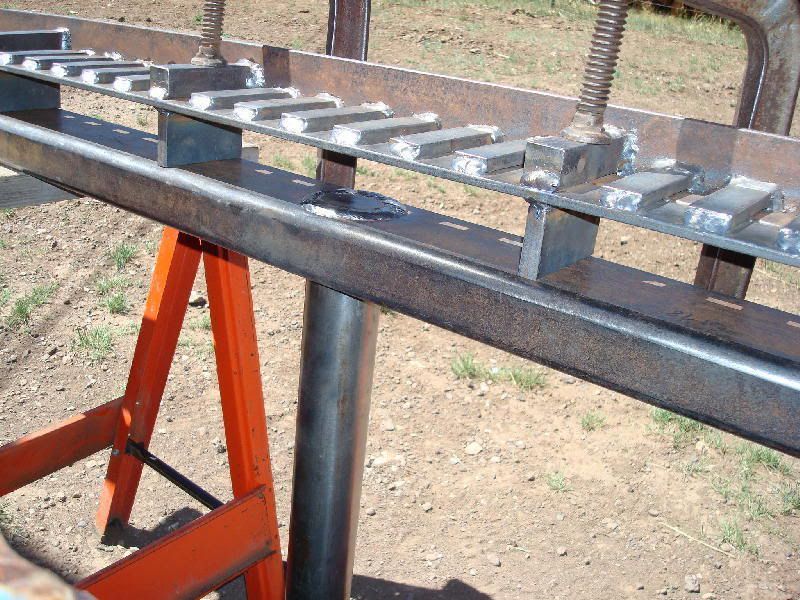
by welding the tine spacers, doesn't that keep all tines inline for 90 degree settings only?
the reason i ask is i just got a TSC 6 foot landscape rake. after turns with the unit not raised the tines would shift and misalign. though after a few passes all tines realigned.
therfore my question, if an angle is desired during raking, should not the tines be allowed to shift angle for proper spring action?
if pictures are desired to visulize my thoughts, just ask.
Thanks
Rhett
GuglioLS said:MJ - Yea the new camera with sound, got to love that. Powder coated? How much is that going to set me back? I was thinking more like the 96 cent deluxe rattle can finish from Wally World.
Larry