Landscape Rake Build

   / Landscape Rake Build #141  
GuglioLS said:
J.J.,
The channel is 4" wide. The die I made is 4" X 4" square. Do I think it would bend 1/2" x 4"? On a 20 ton press it would be close, maybe right on the edge of it's limits. You are correct in that it did bend 1/2" x 3" hot rolled flat bar, the 20 ton air over hydraulic bottle jack was straining a bit. 1/2" x 4" would be a close call. If not, the width of the die could be increased to 5". I think for sure it would bend 1/2" x 4" that way, but of course the radius of the bend would increase a bit.

In the video you quoted me on, that was a test piece of 1/2 x 2.5" if you go back and listen to the sounds of the air motor on the test piece and compare it to the sound on the 1/2" x 3" wide bar (page 7 reply# 63) there is a noticeable difference in the load on the press motor. If I had a scrap piece of 1/2" x 4" I'd try it out for you to find out for sure. Did you still want me to make you an Anvil? if so I need a picture of your press and the O.D. of the stock anvil so as to machine one to fit.

Larry


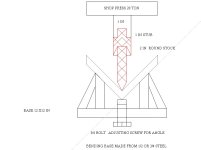
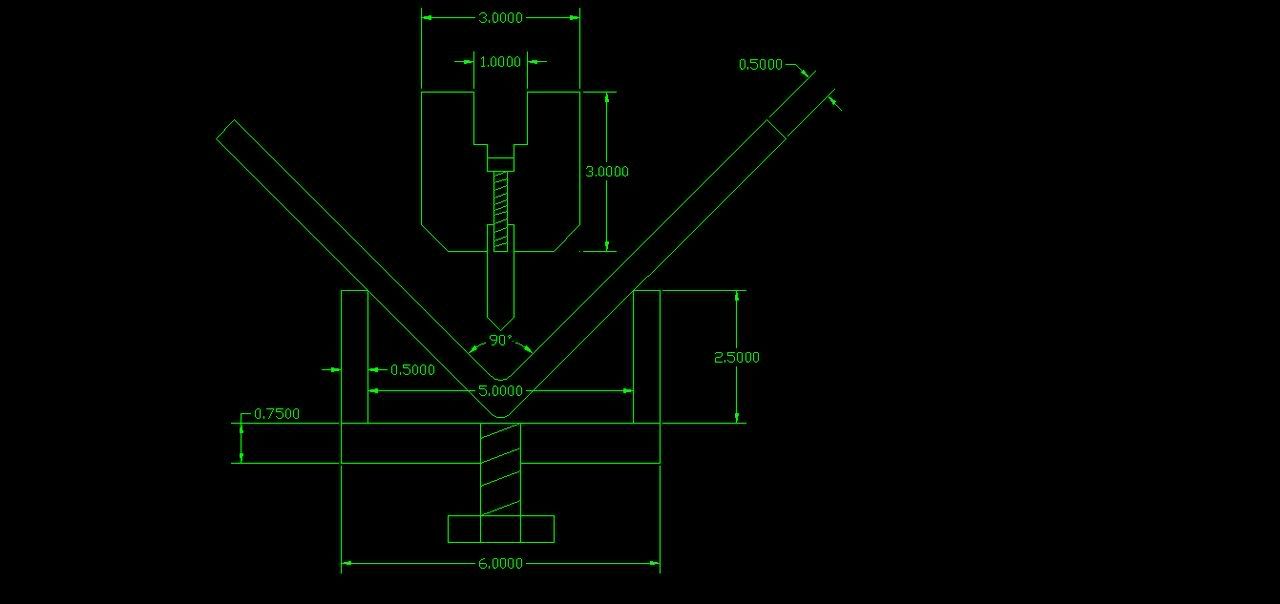
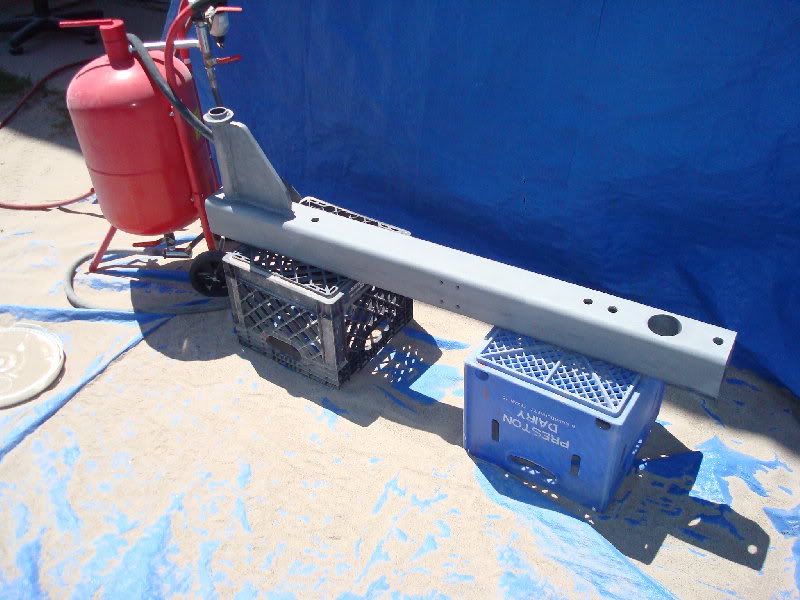
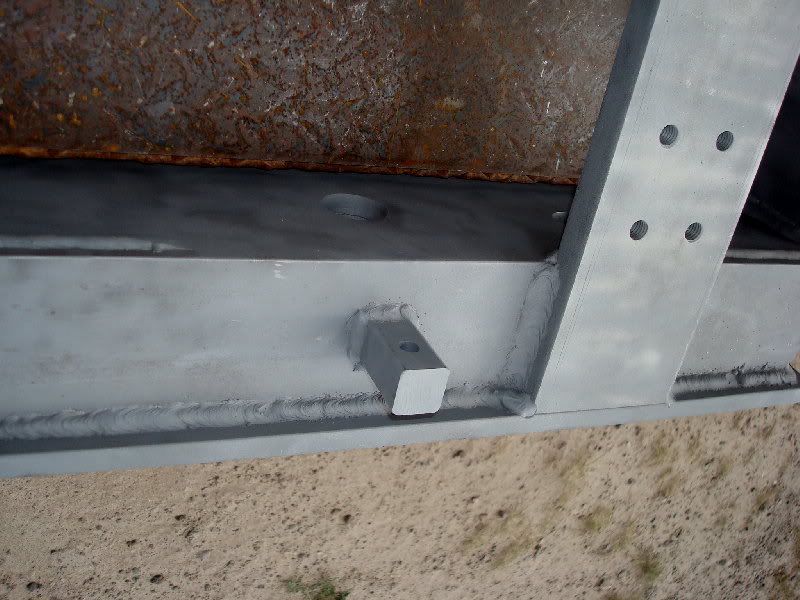
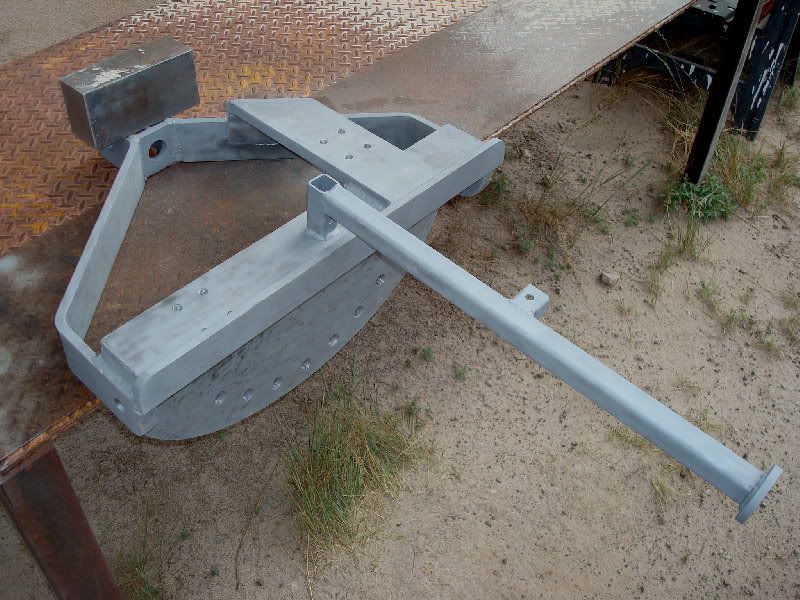
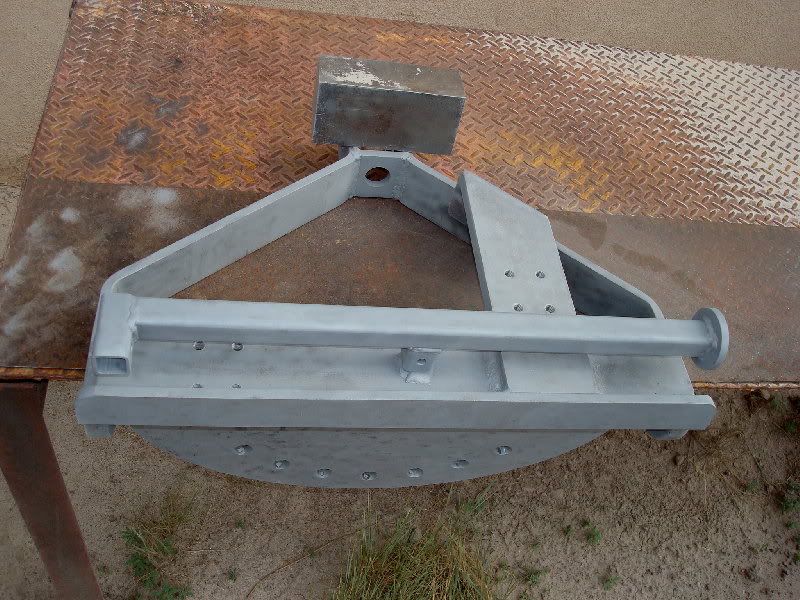
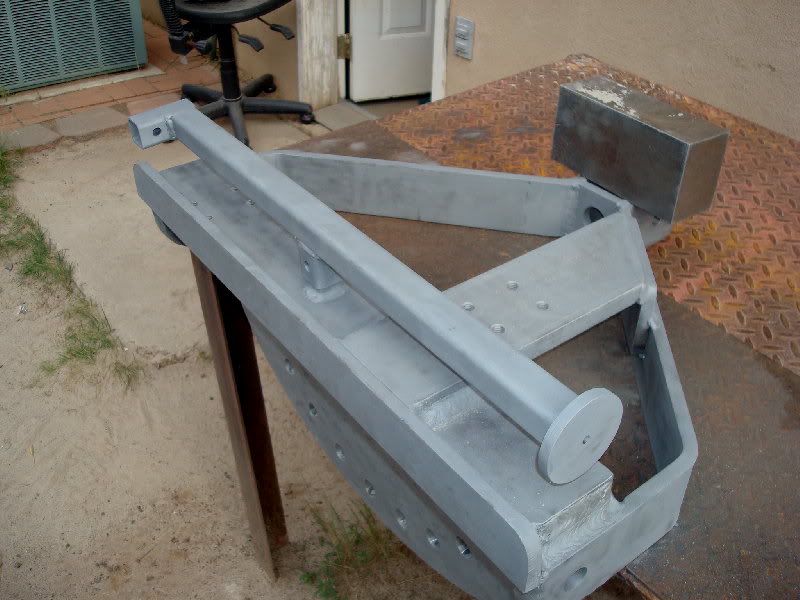
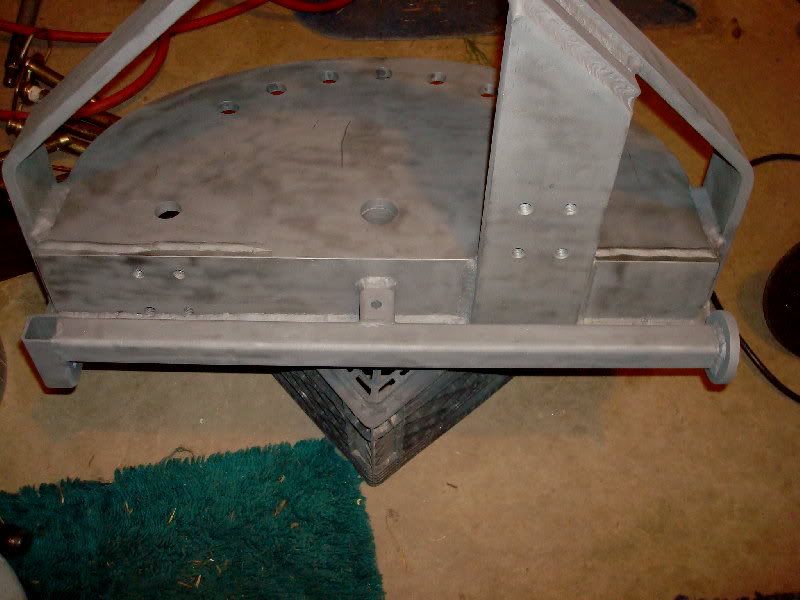
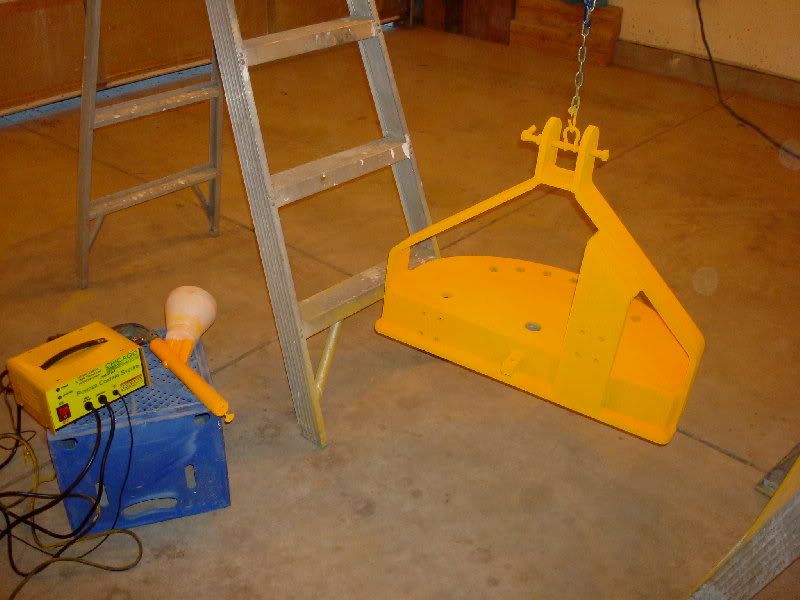
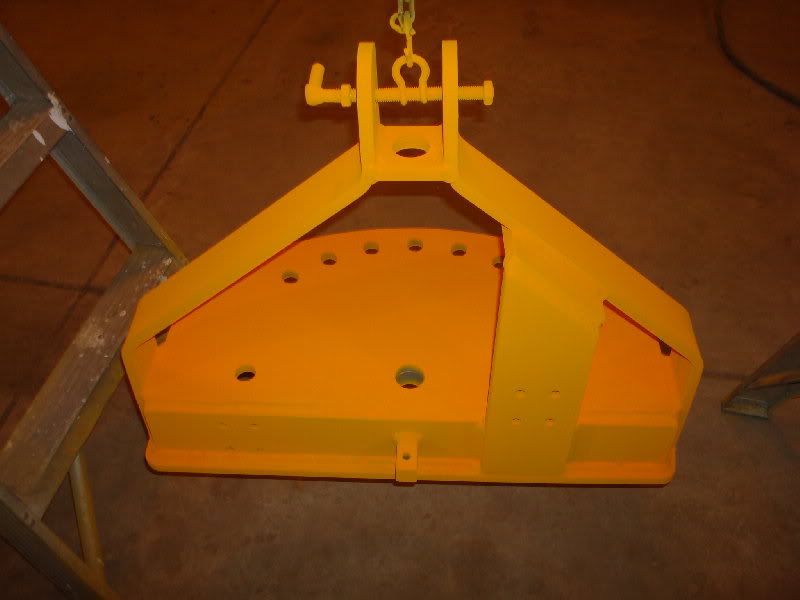
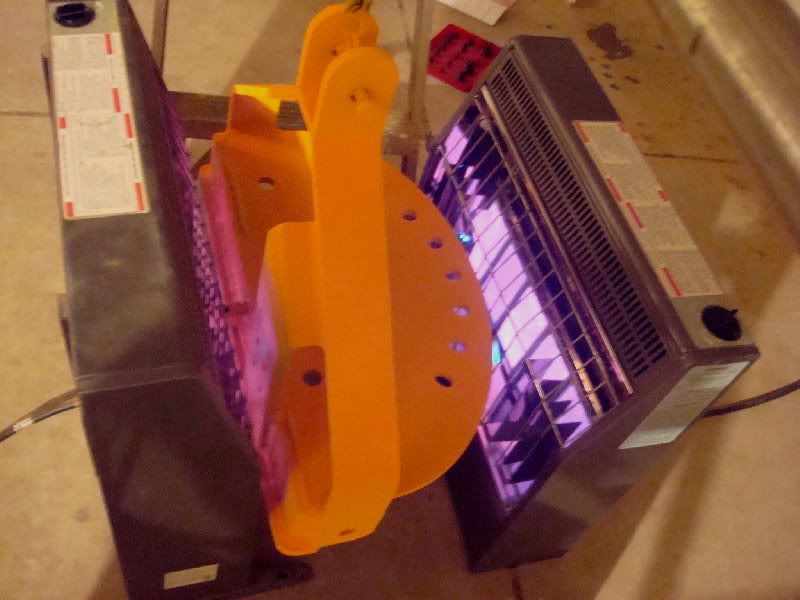
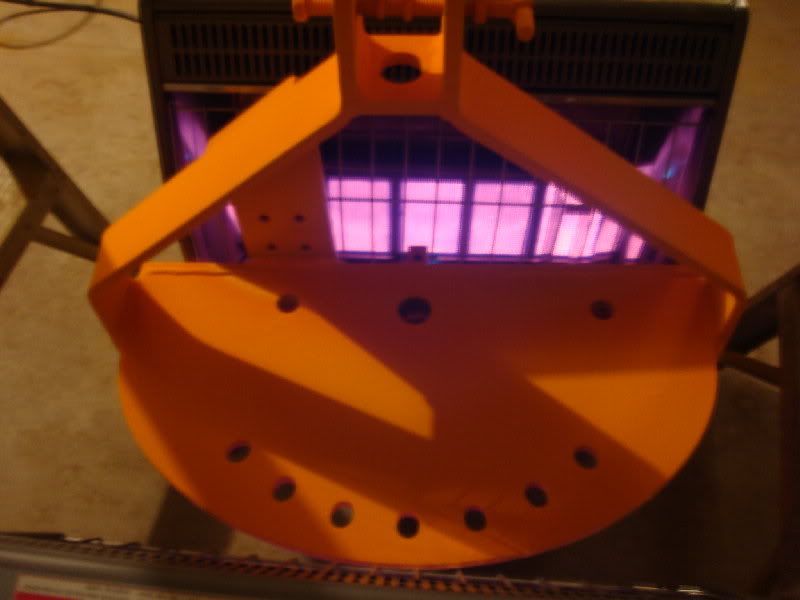
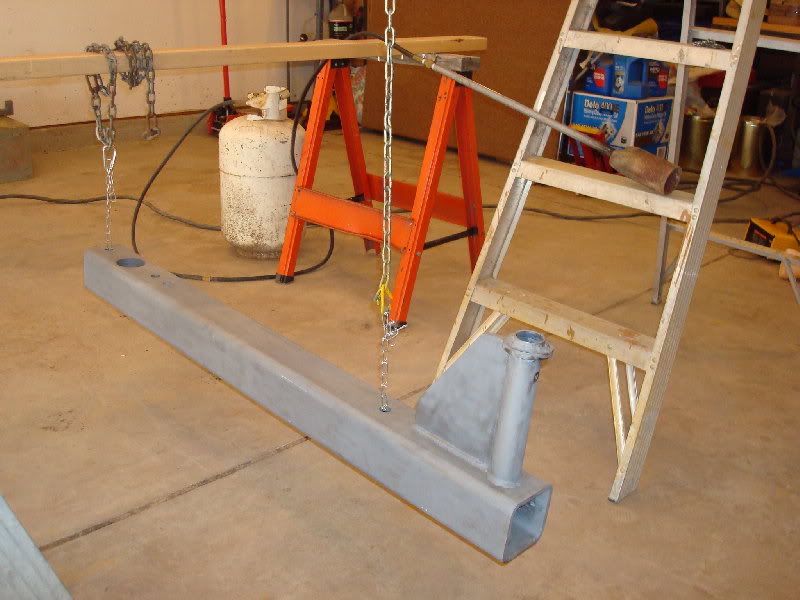
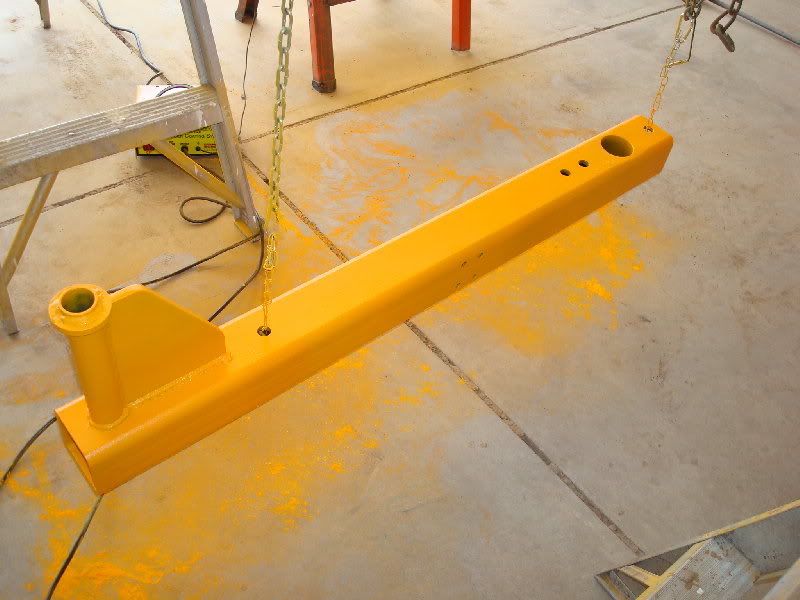
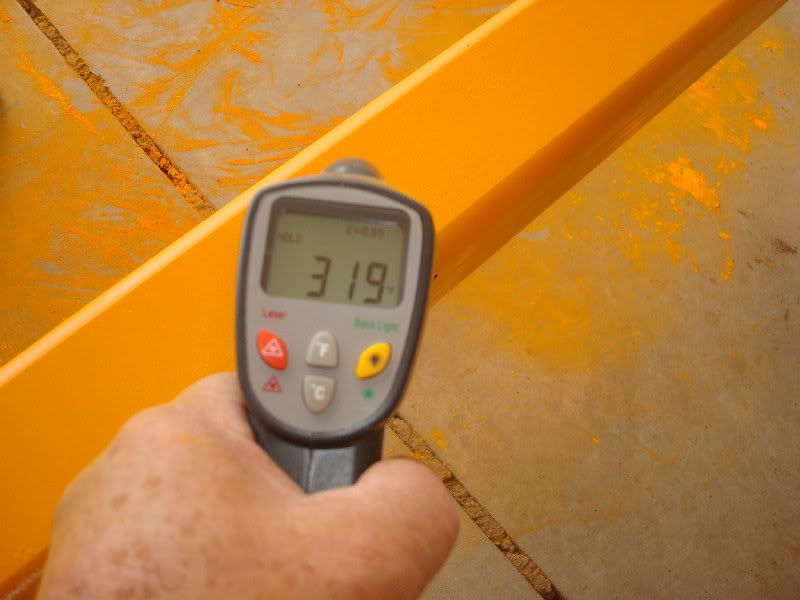
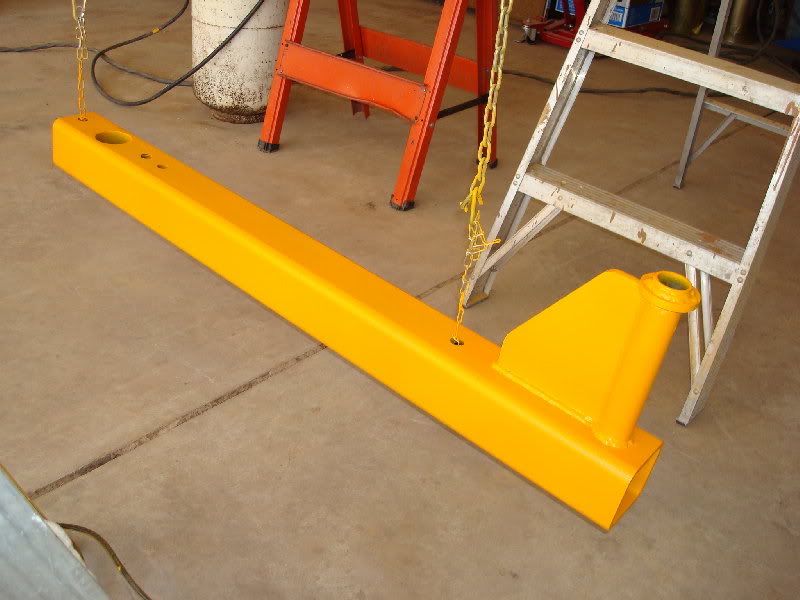
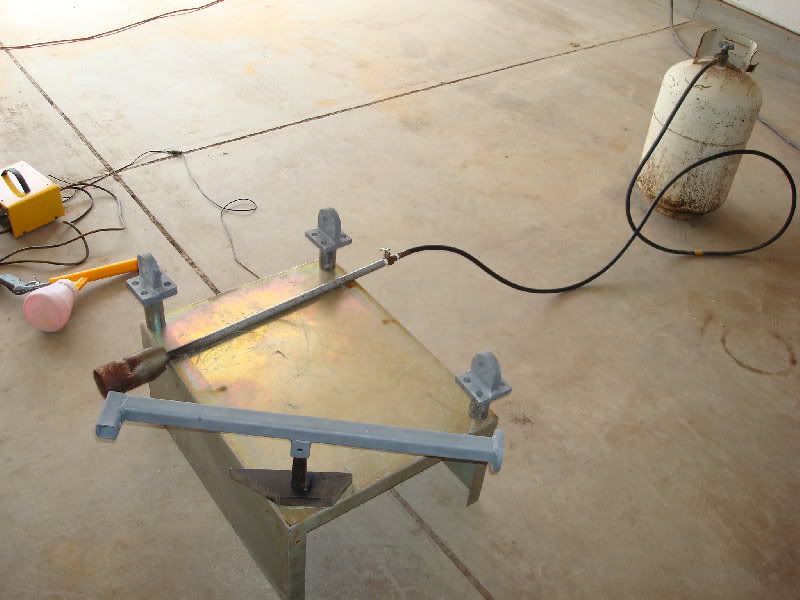
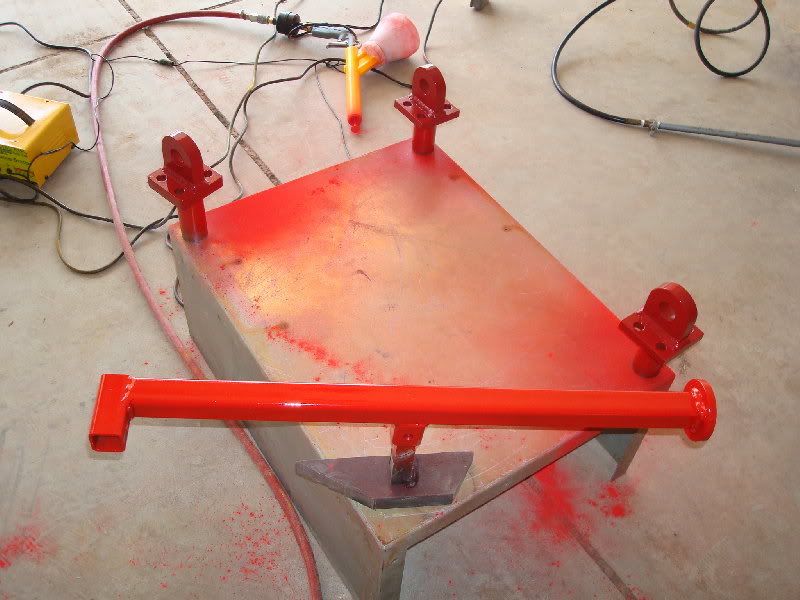
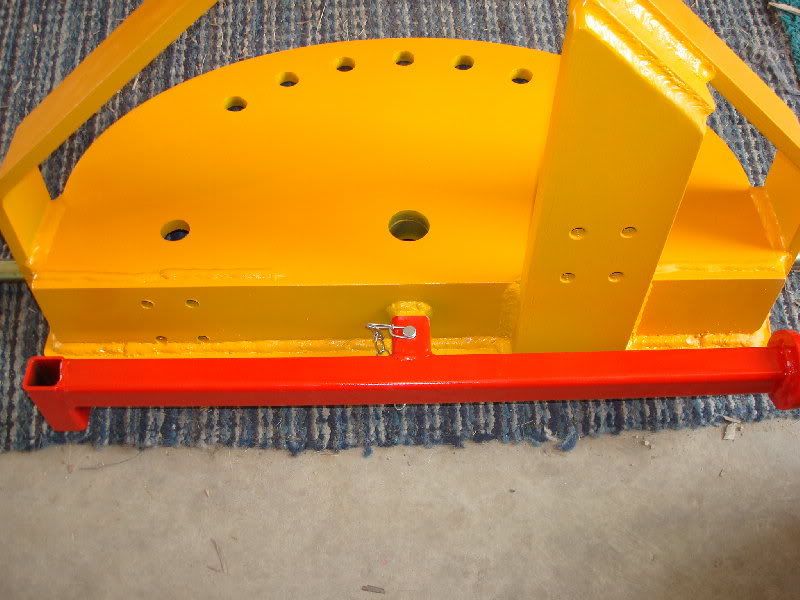
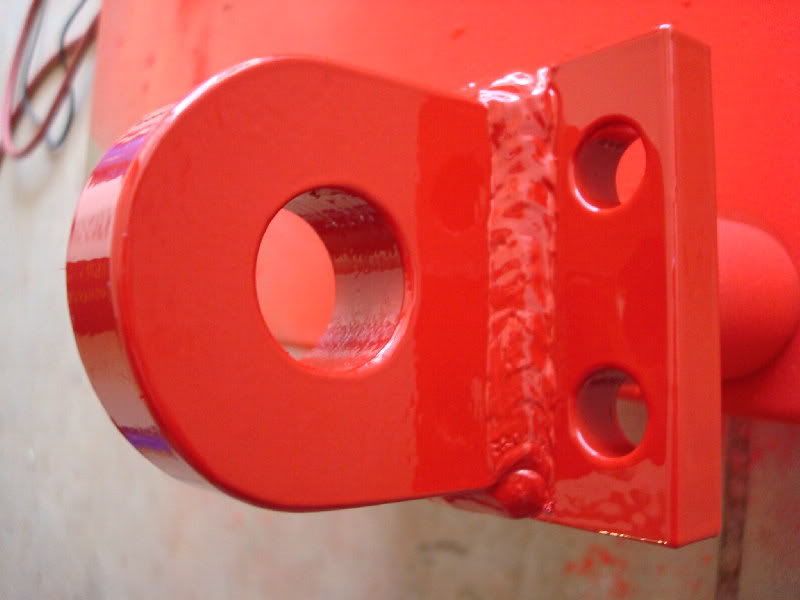
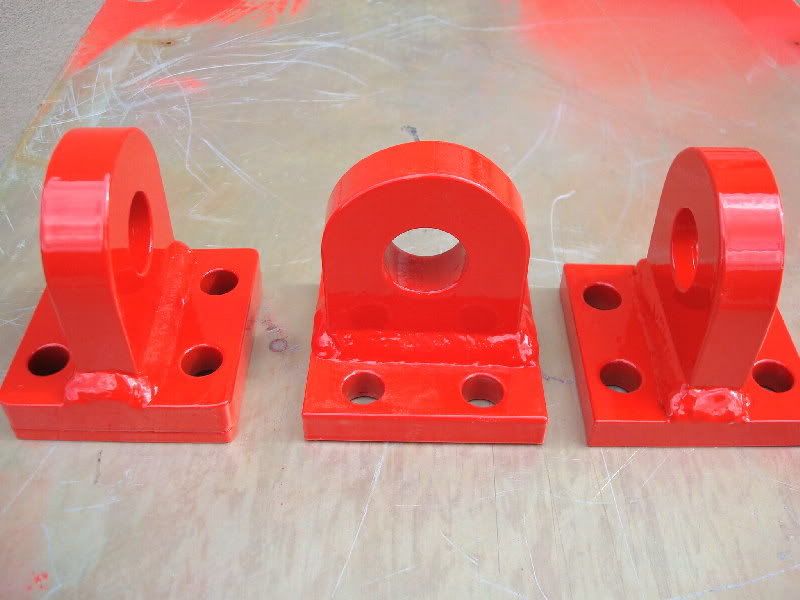
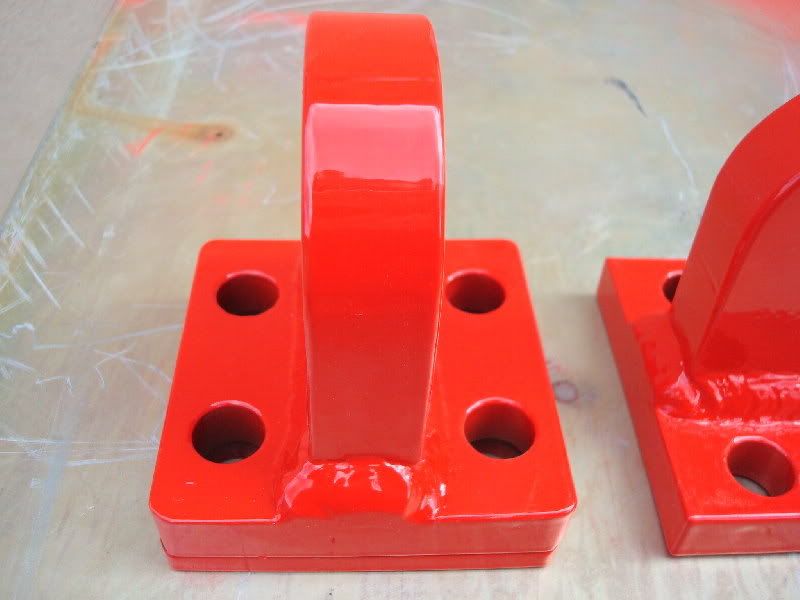
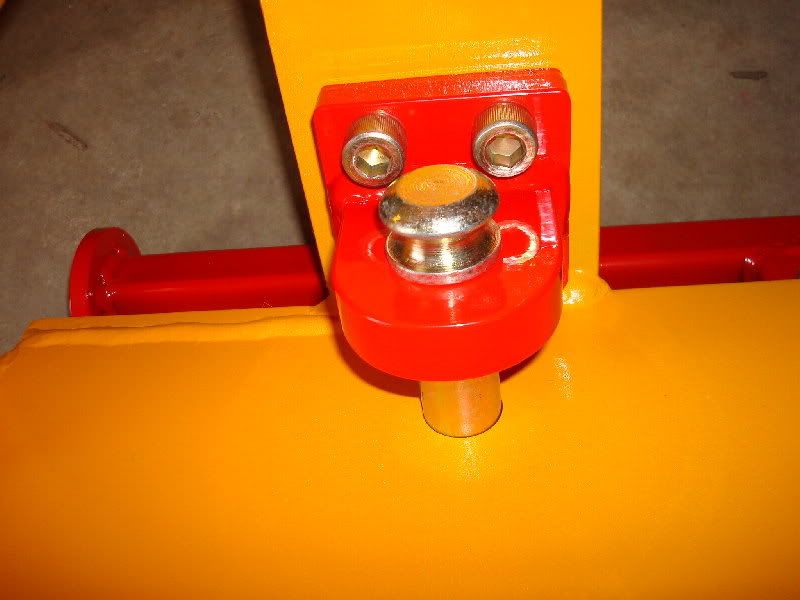
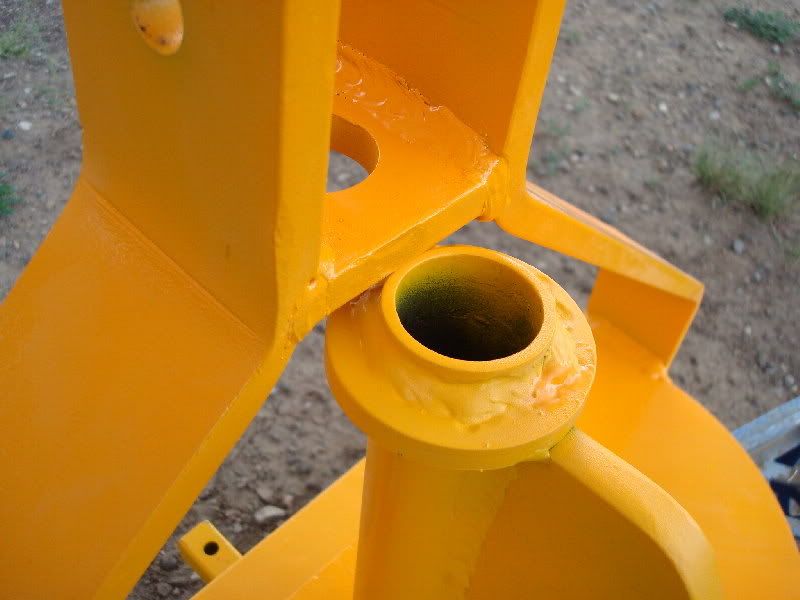
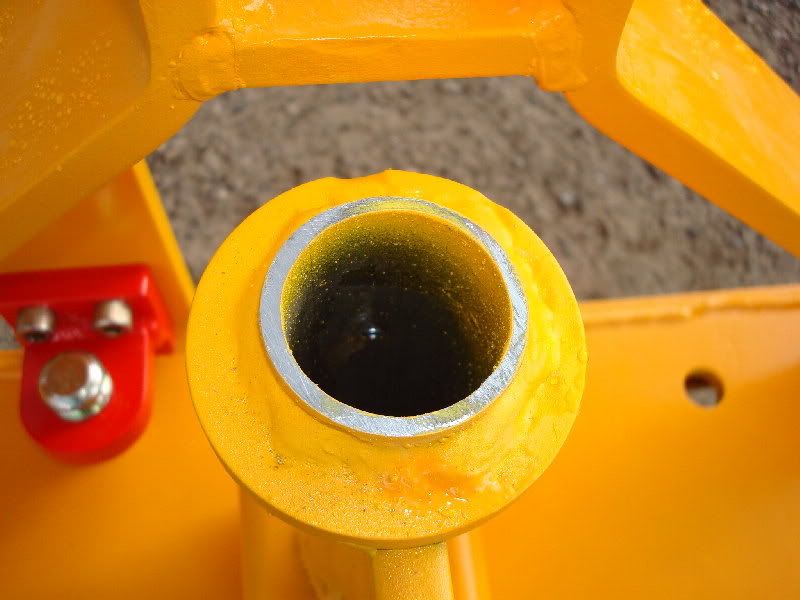
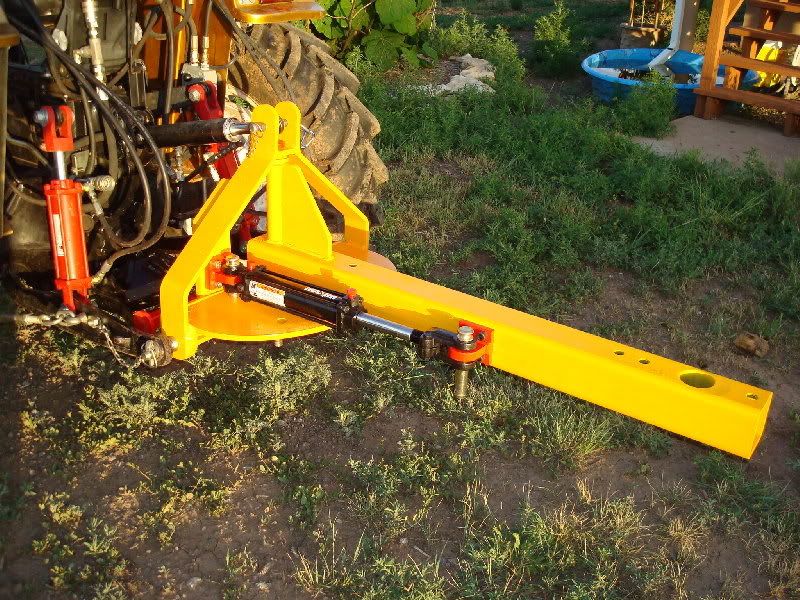
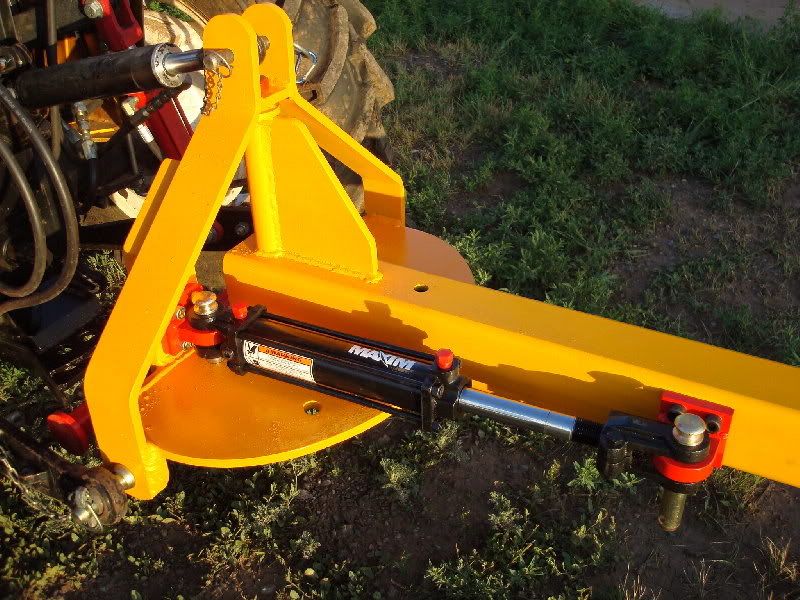
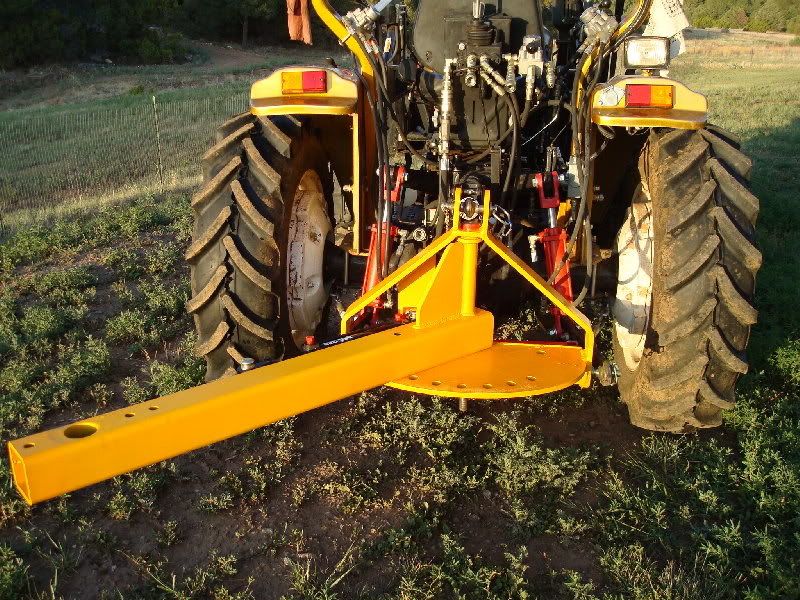
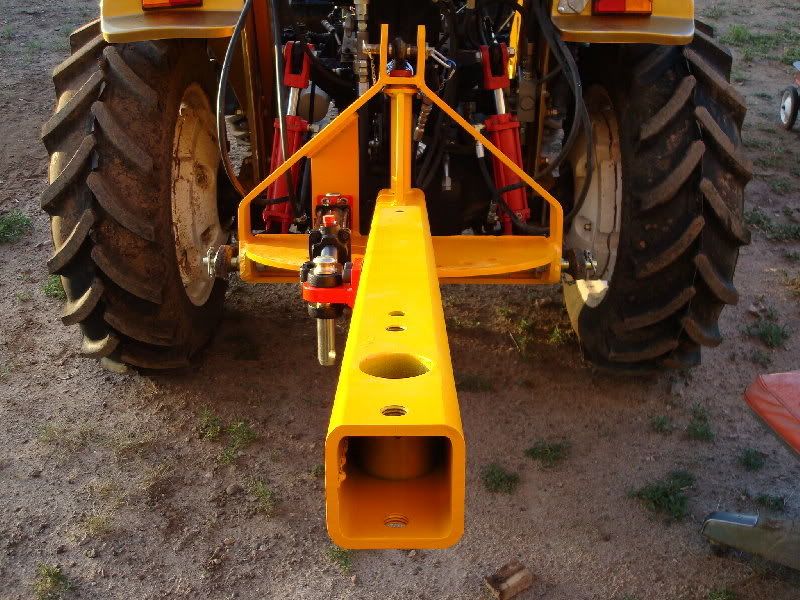
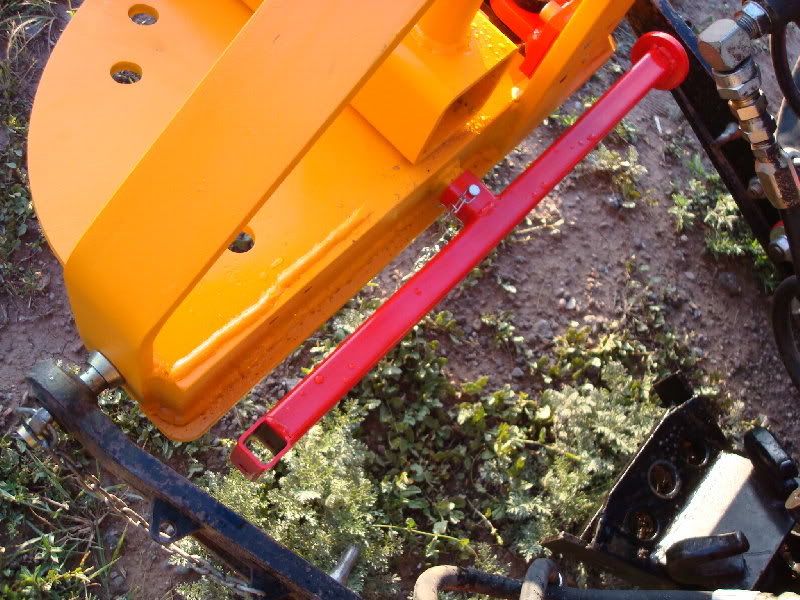
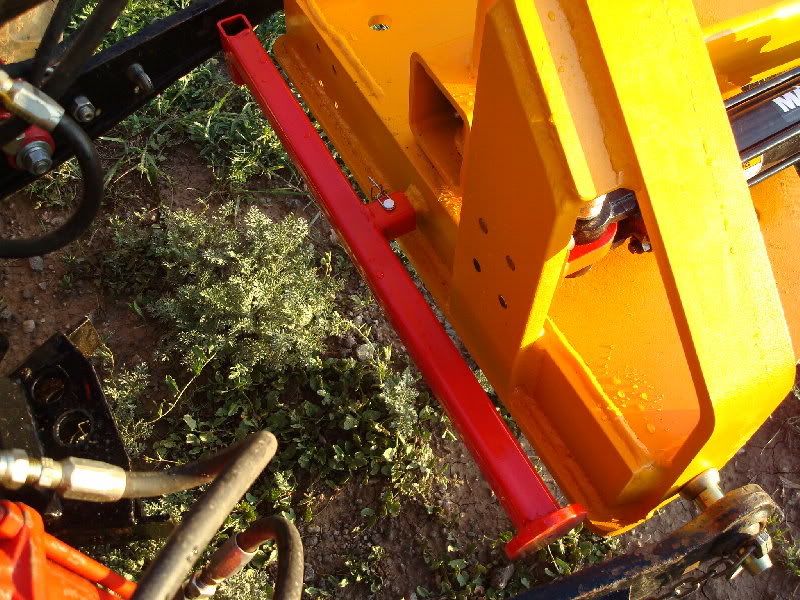
LARRY, Can you do something like this?
 

Attachments

  • BENDER BASE3.jpg
    BENDER BASE3.jpg
    47.3 KB · Views: 270
   / Landscape Rake Build
  • Thread Starter
#142  
J.J.

How about something like this?:


The base plate is 6" x 6" x 3/4" thick (1/4 the size and weight of your proposed 12" x 12" base plate). It would still do job, be less costly in material and shipping plus more manageable to machine. Gussets could be welded on the ends just like I did to make my el-cheap-o die out of 4" channel. Is the 1" ID counter-bore at the top of the anvil correct? or does your press have a 2" OD stock anvil? OH and your idea to use a 3/4" Bolt to set bend depth / angle is a really good one. This design will produce a 90* bend without the depth bolt screwed in. I think this anvil and die combination will work just fine on 1/2" x 4" flat bar stock and smaller. I would still back it up with press plates underneath it. Let me know what you think........

Larry
 
   / Landscape Rake Build #143  
Most pre-CNC benders, used an adjustable pushrod.
Do you know these hydraulic bottle jack with a screw inside the plunger, to lengthen the jack ?

Well it was kinda that principle. When adjusting the screw, you could adjust the maximum stroke. The stroke results in the bending angle.
 
   / Landscape Rake Build #144  
GuglioLS said:
J.J.

How about something like this?:


The base plate is 6" x 6" x 3/4" thick (1/4 the size and weight of your proposed 12" x 12" base plate). It would still do job, be less costly in material and shipping plus more manageable to machine. Gussets could be welded on the ends just like I did to make my el-cheap-o die out of 4" channel. Is the 1" ID counter-bore at the top of the anvil correct? or does your press have a 2" OD stock anvil? OH and your idea to use a 3/4" Bolt to set bend depth / angle is a really good one. This design will produce a 90* bend without the depth bolt screwed in. I think this anvil and die combination will work just fine on 1/2" x 4" flat bar stock and smaller. I would still back it up with press plates underneath it. Let me know what you think........

Larry

This is an update on the anvil after our talk this morning.
 

Attachments

  • Anvil.jpg
    Anvil.jpg
    26.7 KB · Views: 199
   / Landscape Rake Build
  • Thread Starter
#145  
J.J. - Hey your starting to get good at AutoCAD. OK I see exactly what you need now. Thanks for clarifying that. I will get right on it. I might make a few small mods to your design for ease of machining. I will post that after I draw it up for you to take a look and work at getting your stamp of approval. I told J.J I would call him around 9:00 to discuss the anvil he needs, well I got carried way blasting, it was 9:20 am. J.J. must have thought I forgot all about him, so he called me while I was right in the middle of this mess, it was time for a break and I'm glad he called so we could introduce ourselves and discuss the bending anvil design.


OK, Here is July 5th's Rake progress report...
Set up a Harbor Freight 40# pressurized sandblaster. Blasted just about everything in sight. It works great as it has much more pressure and stripping power than my little hand held sissy gun. I was just about ready to powder coat the A frame when I realized I needed an integrated support stand. How come one of you guys didn't let me know ahead of time to make one of those ???


Here the support stand is neatly tucked away in the stow position. After that was done, I set the A frame up between two ladders, and Powder coated it with the Harbor Freight powder coat gun I got for fathers day.... that was easy.


Larry
 
   / Landscape Rake Build
  • Thread Starter
#146  
After powder coating, I setup two 25 thousand BTU Propane heaters I had laying around. Those heaters are to bake the snot out of the powder coating so it will cure hard as rock. I know the metal was going to absorb allot of energy, so I pushed the heaters up close to within 1/4" of the A frame, then fired them up. Well actually I fired them up first to get them glowing with no flame, the powder coating is highly flammable when it's curing, Oh just great..:eek:


It only took THREE HOURS to get the temperature up 405* F, no flames, no burns, no disasters, whew, I'm glad that's done. I will take a different approach to powder coating and curing the boom. I did some experimenting and I have a plan to knock out the powder coating on the boom in 1/4 or less the time it took to cure the A frame. All in all, it came out pretty good for the first time I have ever done anything like that, don't you think?


Larry
 
   / Landscape Rake Build #147  
That is pretty neat! That is a lot of HEAT! You ought to rig up a sheetrock, rockwool "tent" to do that in so that you can contain some of the heat where it is needed. It would not have to elaborate or expensive. I know that you cannot cut off all air sirculation (the heaters need it) but seems to me that you should contain it a bit, or at least slow down its escape.:D

It looks absolutely gorgeous though!!

Mike
 
   / Landscape Rake Build #148  
Larry,

Glad to see the HF blaster worked for you! You made a mess! :D

The powder coat looks great, I like how you matched the color of the powder coater's power supply box. ;)

You are gonan force me to invest in a powder coater!
I have an old upright metal cabinet in the workhop, was thinking it would make a fine makeshift oven with the addition of a heating element.
 
   / Landscape Rake Build
  • Thread Starter
#149  
Mike,

Thanks for the reply and your good suggestion to contain the heat. I gave up on those "little" heaters, it took forever. If I had made a "tent" to contain the heat like you suggested I'm sure it would have worked much better. I was not in the mood to make any more stuff to get this project out of the shop and onto the tractor. In just a few minutes you will see my "redneck" solution that speeded up the process considerably.

Skunk,
HaHaHa, yea I made a big mess alright, one of the few things I'm really good at.

Larry
 
   / Landscape Rake Build
  • Thread Starter
#150  
For lack of a giant powder coating oven, In my last update I mentioned I was experimenting with alternative methods to "bake" the powder coating . My solution was to use a weed burner full blast to heat the metal first, then spray on the powder, I have to say that "technique" works like a charm. Below are pictures of the boom, it's 4" square tube X 3/8" wall X 48" long. Using the weed burner full blast along the length of the tube for about 20 minutes I got the temp up to ~ 400* F. After that, the powder was sprayed on, it melted on contact. About 20 minutes later the temp slowly dropped to ~ 319* F, perfect, the powder has cured hard as nails.


After the boom cooled, I took it down and set it aside to work on cylinder mounting brackets and the stand. Take a look at those cylinder mounts, they look delicious, I swear the finish looks just like candied apples.


The last photo shows chasing threads with a 1/2"-13 tap to remove excess coating.


Oh and here is a video of my Redneck powder coating oven: I used the Zippo lighter Rob gave me as a gift, and that straw hat, Rob gave me that too, what a guy.


Larry
 
   / Landscape Rake Build #151  
GuglioLS said:
I was just about ready to powder coat the A frame when I realized I needed an integrated support stand. How come one of you guys didn't let me know ahead of time to make one of those ???

Larry

What? And spoil your fun Larry...:rolleyes: The rake is looking good and I'm glad you're powder coating it instead of rattle canning it. That much work and craftsmanship deserves better than a Mal-Wart paint job.

I'm interested in seeing how your DIY powder coating works out.
 
   / Landscape Rake Build
  • Thread Starter
#152  
After chasing threads with the tap, the cylinder clevis mount was attached. I then hauled the A frame and boom outside to attach the two together with a King pin. Uh Oh, Houston we have a problem, seems the coating is a little too thick or my machining tolerances too tight. The boom will not fit underneath it's mount. Quick get a file it's starting to rain.


After filling down the coating, I was able to fit the boom underneath the A frame, then slide in the king pin. Next was to see if this will actually connect to my tractor - WOW it fits!!!! Good thing too, because I never checked till now, I just worked off my CAD plans, sure hope the rake tine holding bar is correct.


Well I guess I better get busy wrapping up the tine bar, still got a "little" to do on that and connect a few hydraulic hoses and fittings.
Thanks for checking this out.......

Larry
 
   / Landscape Rake Build
  • Thread Starter
#153  
mjncad said:
What? And spoil your fun Larry...:rolleyes: The rake is looking good and I'm glad you're powder coating it instead of rattle canning it. That much work and craftsmanship deserves better than a Mal-Wart paint job.

I'm interested in seeing how your DIY powder coating works out.

LOL - Mike Better check page 15 reply # 150, we were posting at the same time and you may have missed some really good close ups of the powder coating and my redneck powder coating "system". I sure am glad you brought up the idea of powder coating. If it were not for your suggestion I would have never even considered it, after reading up on it a bit, and finding out it's not really all that hard or expensive to get the best, most durable finish possible. Thanks! (Easy clean up too)


Larry
 
   / Landscape Rake Build #154  
Holy crap Larry, that is the cleanest, best, most sanitary project build EVER!
What a terrific job. Not only your fabrication and design skills, but that powder coating is just over the top! You're not kidding that looks like candy. Looks like a delicious desert any one of us would LOVE to have.
Everything...just outstanding Larry!
Send me your plans, man.
 
   / Landscape Rake Build #155  
Larry,

Very nice work.

Did you use a powder coat primer, or regular primer?
 
   / Landscape Rake Build #156  
All kidding aside, that Rake is a THING OF BEAUTY! :)
Top notch work, but that goes without saying.

I like your powder coat process of heating the metal, glad to hear it worked for you. In the winter when my woodstove is fired up in the shop, I find that placing metal items on it for about 10 or 15 mins. , then spraying (enamels paint not powder) works like a charm.

Again, that is a nice build!
Well thought out, well executed.
 
   / Landscape Rake Build
  • Thread Starter
#157  
3RRL said:
Holy crap Larry, that is the cleanest, best, most sanitary project build EVER!
What a terrific job. Not only your fabrication and design skills, but that powder coating is just over the top! You're not kidding that looks like candy. Looks like a delicious desert any one of us would LOVE to have.
Everything...just outstanding Larry!
Send me your plans, man.

Flattery will get you........my CAD plans :D Maybe you want to wait and see if the rest of it goes together first?
Rob,
Thanks for your very generous compliments, they are much appreciated.
__________________________________________________________________

J_J said:
Larry,
Very nice work.
Did you use a powder coat primer, or regular primer?

Thank you J.J. -
I hope I have this right, with powder coating there is no primer, the finish coat is sprayed directly onto sand blasted metal for optimum adhesion. Do you know of a primer to be used with powder coatings? I did not notice anything about that in my research.
_________________________________________________________________

SkunkWerX said:
All kidding aside, that Rake is a THING OF BEAUTY! :)
Top notch work, but that goes without saying.

I like your powder coat process of heating the metal, glad to hear it worked for you. In the winter when my woodstove is fired up in the shop, I find that placing metal items on it for about 10 or 15 mins. , then spraying (enamels paint not powder) works like a charm.

Again, that is a nice build!
Well thought out, well executed.

Thanks Mr. SkunkWerX,
Using the "heat first, spray later" method of powder coating seems to work. I'm surprised I did not read anything about it or see it mentioned anywhere, but hey, what do I know. Maybe it's dangerous or something and I just lucked out that I didn't blow myself up.

I thank everyone who took the time to check this out and post all your wonderful compliments. My hope is the rest of it will come out just as nice. Thanks...

Larry
 
   / Landscape Rake Build #158  
GuglioLS said:
Thanks Mr. SkunkWerX,
Using the "heat first, spray later" method of powder coating seems to work. I'm surprised I did not read anything about it or see it mentioned anywhere, but hey, what do I know. Maybe it's dangerous or something and I just lucked out that I didn't blow myself up.

Larry

Maybe nobody else thought about cheating the process :) Think I'll stick with the heat lamp option over direct flame though. I'll definitely give it a whirl soon. , I don't have the full required redneck gear so mine may not work as well :(
The stand add-on was a definite plus. Did you get powders from HF too? The colors look really good.
 
   / Landscape Rake Build #159  
Larry, About the primer.

I did not know either, so I went on the Internet and found this.

Powder Chemistries Available
DeLoKa offers a wide variety of Powder Chemistries, consisting of Polyesters, Epoxies, Hybrids, and Urethanes. DeLoka also offers a Zinc Rich Primer that can add durability and life to parts that are introduced to the elements.

For this type of extended use and high film thickness outdoor application. I would suggest that perhaps a two coat powder system is appropriate.

First Coat - A zinc loaded epoxy powder primer to partial cure

Second Coat - A TGIC Polyester color/top coat

This will give you about 5-8 mils film thickness and more salt spray resistance then you need.


I really don't know if this is necessary. I guess you will tell us in the long term.
 
Last edited:
   / Landscape Rake Build #160  
While checking out the Internet, I did notice that some of the Powder Coating company's sandblast and then immediately clean and preheat the metal to specifically remove moisture, since bare metal will start to rust in a couple of hours. I also found out that Powder Coating paint has better chip resistant capability.
 

Tractor & Equipment Auctions

2003 Big Tex 10PI 16ft. T/A Pipe Top Utility Trailer (A55973)
2003 Big Tex 10PI...
2374 (A60432)
2374 (A60432)
1700 (A60430)
1700 (A60430)
2000 ITASCA SUNCRUISER 37G CLASS A RV (A58214)
2000 ITASCA...
2016 Ford F-150 4x4 Ext. Cab Pickup Truck (A59230)
2016 Ford F-150...
2019 Deere 550K (A53317)
2019 Deere 550K...
 
Top