OP
3RRL
Super Member
- Joined
- Oct 20, 2005
- Messages
- 6,931
- Tractor
- 55HP 4WD KAMA 554 and 4 x 4 Jinma 284
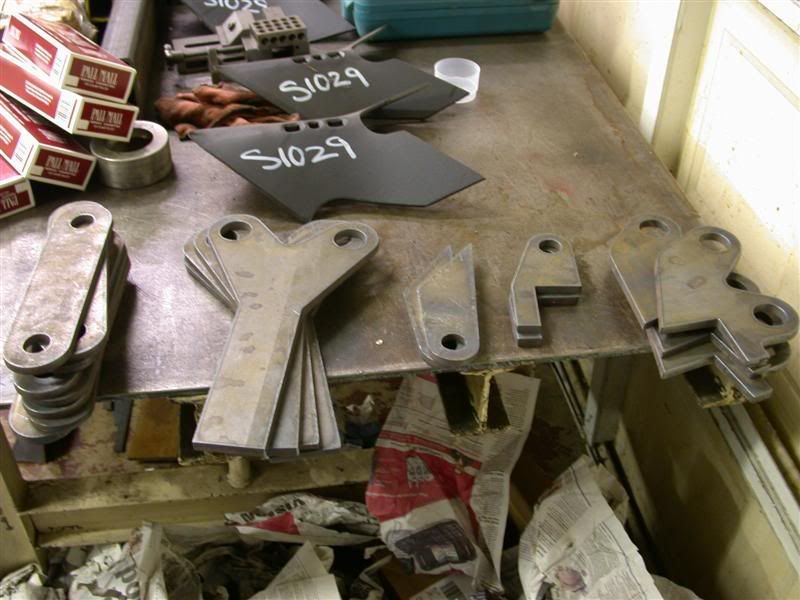
Hi Mike,MJPetersen said:Larry, thanks for the videos. I have heard LOTS about Plasma, but have never seen one in action. Now I have! That makes really nice clean parts, and FAST!
Rob, What program do you use to make your sketches and then the parts layout? I really like the way your plans come to fruition.
Mike
I use an old (very old) version Of CadKey 99. I have their workshop solid modeling v21.5 too, but don't know how to use it.
")