Thanks David.
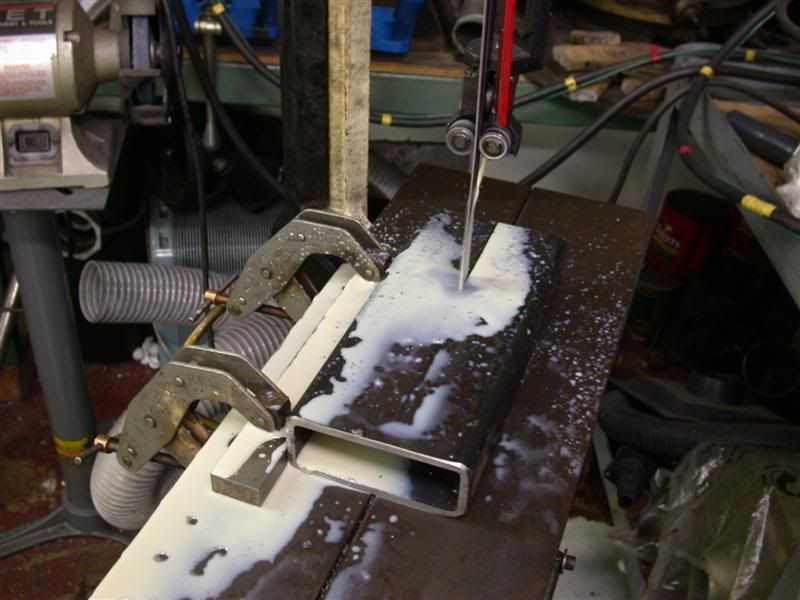
My steel just looks like I got the rust off, but there is still some on it. I try to get it off by using an India stone and oil, but if you look closely at some of those pictures, you will see it's still there. The parts that look new might be where I machined some off or oily?
Thanks too Larry,
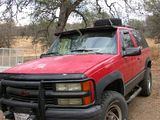
The Blazer is up at camp with that stick through the window.
Got to get that fixed too.

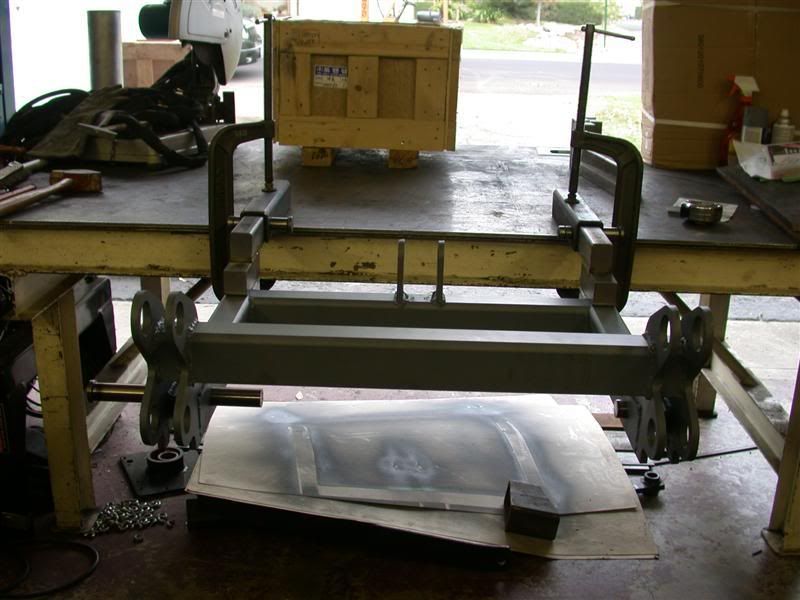
Lucky the rest of the wheel assembly is already up there. I posted some pictures of what I did up there (see post #125) and also of the assembly already painted black and greased. It is waiting for this part now.
Then I have to deal with the hydraulic part of it. You know I'm on a tight budget and wanted to make this project out of as much scrap and spare parts as I could. So I will be scrounging for hoses since the ones I have will be used for my hydraulic winch. I'll need to scrounge up a bunch of fittings and quick disconnects to make this happen this weekend. I know I have some spares but not sure how many? I really hope to have this done this weekend.
I forgot to tell you that during one of the visits, one of the kids was racing my Ranch ATV and it busted a rear axle, brake caliper, disc, hoses and cables. So I'm bringing all those replacement parts too. I spent all week online trying to order them. I hope I got the right parts because I don't have a shop manual for it. Crap.
I've also been trying to figure out a QA hydraulic winch mount. Which may end up not being QA since it's so big. Oh, plus I've got to put new tarps over the tents themselves, since the old ones are leaking. I already changed the main tarp over the big decks. Not to mention taking pictures of the log home progress. So I've got a billion things to do.
But believe me, if I get this thing finished, you will see photos and a couple videos for sure. THEN you get to see that big smile on my face.