OP
BravoXray
Elite Member
- Joined
- Dec 17, 2019
- Messages
- 3,672
- Location
- Nothern Indiana
- Tractor
- Kubota BX2230, John Deere 430 Diesel
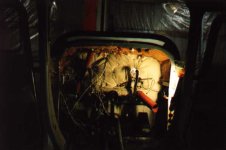
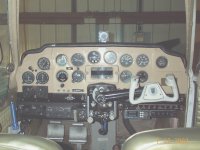
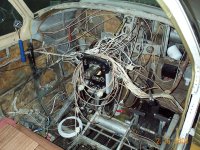
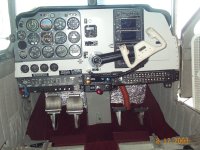
I have never had any problem with moisture inside the cab, and certainly not any salt, so that really isn't an issue for me. Some of the wires have been in there for going on twenty years with no problems. If they were on the outside, I would have used shrink tube splices with the soft sealer on the inside..
I had three semis for over 30 years, so I am an expert at wiring exposed to the elements. Only time I had problems was when someone else had ****** with it, like taking the cover off the junction box on the rear of a trailer and not putting it back on, if the wires were damaged, or the connectors to lights or switches failed. So-called weatherproof connectors on wiring harnesses leave a lot to be desired.
I had three semis for over 30 years, so I am an expert at wiring exposed to the elements. Only time I had problems was when someone else had ****** with it, like taking the cover off the junction box on the rear of a trailer and not putting it back on, if the wires were damaged, or the connectors to lights or switches failed. So-called weatherproof connectors on wiring harnesses leave a lot to be desired.