Eddiewalker: thanks for the tip on the headers, I would not of thought about the glue and 1/2 plywood, and would of come up short.
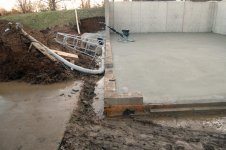
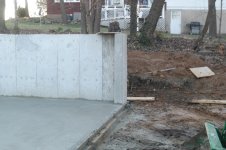
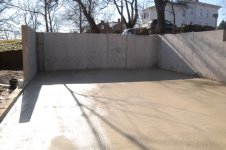
As far as the drain tube: I have it laid on the footing on all three sides. But the east sid has a hill that fall to level ground about half way down the wall, so the promblem is where to end the drain tube. in the hill with a cap, or do I bring it to the front of the garage? The troulbe with that is it is almost ground level and in front is the drive way. Along side of it is the patio and my walk out door. I might try and draw it out. I am hoping I can cap it and there by force any waer to the other end.
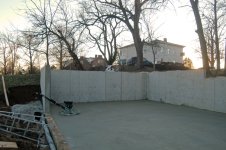
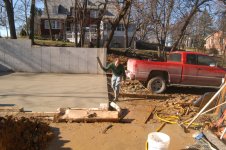
I am starting to frame sat.
to date I have spent the following
1900 in the footing
1400 in walls
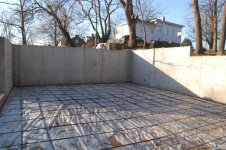
1500 in floor
450 in steel
2500 in labor for my brother in, well worth it.
600 in the pump truck
450 in back hoe
400 rock.
180 in some lumber.
total 9,380
I have this to finish
180 in studs
200 plywood
200 in headers
1200 in garage doors
300 in plywood for roof
700 in roofing
500 to get elec to garge.
total 3,080
toal projects $12,460
I will finish the interior later this winter when I get my saving built up, I am paying as I go. I just paid off my house a year ago and hated the idea of having a house payment again, but boy it hurts to let loose of the money. but I will sit in it know its mine and not the banks.
More pics as I go along
Thanks to you all I am moving ahead
Roger