AWSubie
Platinum Member
I chose to go with a 3rd function on my NX5010. The pics show the basics of what I did. Of course there are many different ways that it can be done. I couldn't figure out how to rotate the pictures correctly, you'll have to save a screen shot and rotate them for easier viewing.
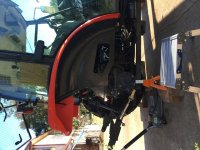
This pic shows the right aft wheel removed to see the access hole where I mounted the servo valve. There are existing threaded holes in the transmission casting that allow convenient mounting of a bracket to support the subplate and valve. This location is also near the loader valve so that splicing in to the power beyond (Kioti calls it "Carry over") is easy.
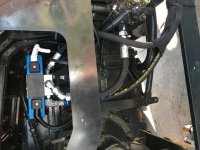
Close up of the servo valve. The power beyond line is 1/2 inch and the working port lines are 3/8.
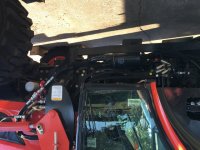
This shows the routing of the working port lines to a bracket that I mounted just below the loader Quick Disconnects.
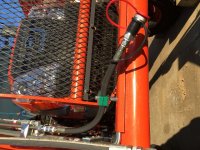
The Quick Disconnects for my grapple mounted in a simple hose clamp. Nothing fancy.
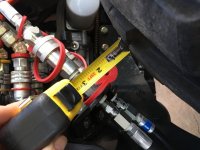
The clearance between the 3rd function Quick disconnects at the loader arm and the right front wheel in a hard right turn.

This pic shows the right aft wheel removed to see the access hole where I mounted the servo valve. There are existing threaded holes in the transmission casting that allow convenient mounting of a bracket to support the subplate and valve. This location is also near the loader valve so that splicing in to the power beyond (Kioti calls it "Carry over") is easy.

Close up of the servo valve. The power beyond line is 1/2 inch and the working port lines are 3/8.

This shows the routing of the working port lines to a bracket that I mounted just below the loader Quick Disconnects.

The Quick Disconnects for my grapple mounted in a simple hose clamp. Nothing fancy.

The clearance between the 3rd function Quick disconnects at the loader arm and the right front wheel in a hard right turn.
Last edited:

