OP
3RRL
Super Member
- Joined
- Oct 20, 2005
- Messages
- 6,931
- Tractor
- 55HP 4WD KAMA 554 and 4 x 4 Jinma 284
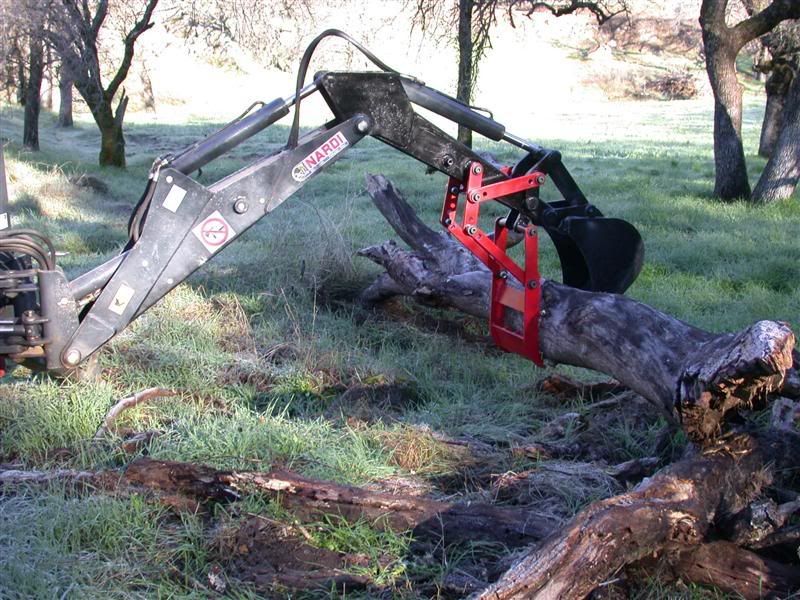
I couldn't help but notice that my thumb folds as neatly as most of the "stationary" thumbs I've seen. So I was pretty happy with that. I took a few more shots of the finished project.
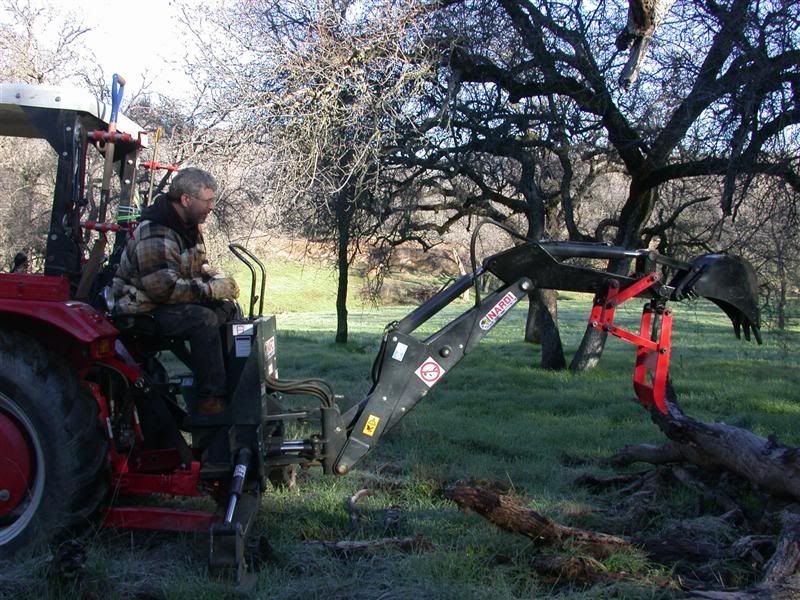
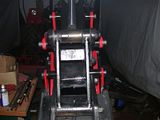
This is from the very front showing all the pivot points welded on.
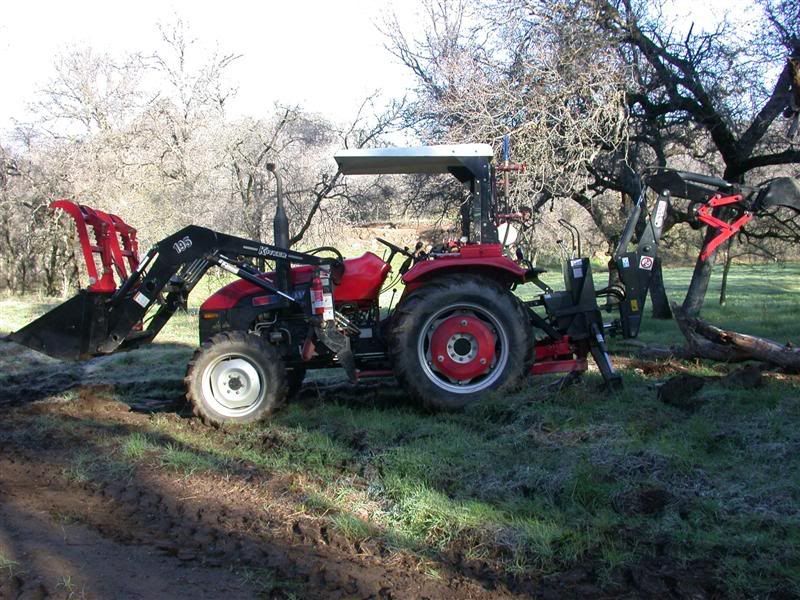
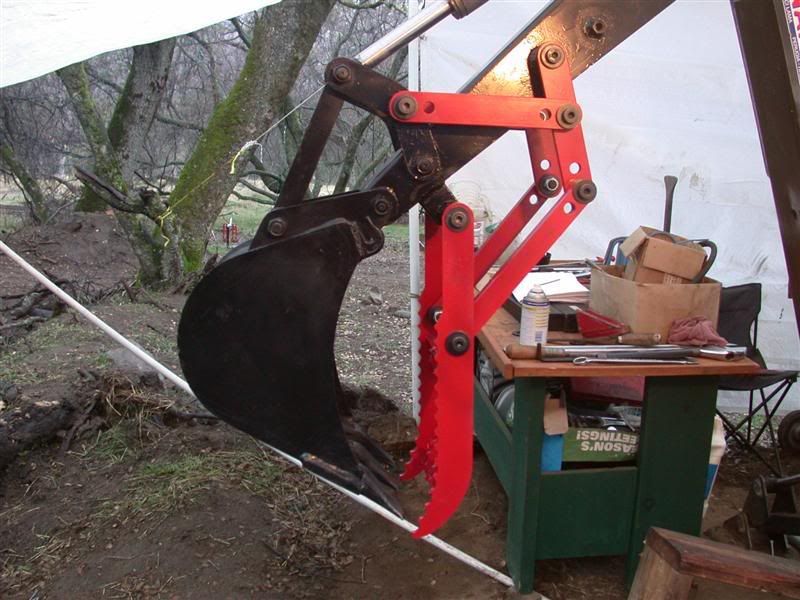
And one last one from the side.
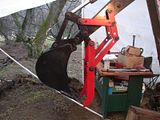
I hope you enjoyed the project as much as I did. I was very pleased to see it all come together so nicely. When I get my tractor running, I'll show some photos or maybe a video of it picking rocks and other stuff.
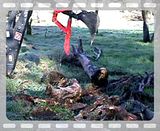
Finally, here's a video of the finished "Mechanical Thumb" taken after welding but before it was re-painted. I took some videos of it but they came out too dark, so I'm showing this one instead. You can clearly see how all the articulting linkage works here. Also note the additional holes to vary the acceleration (how fast the jaw closes in relation to the bucket curl) and how wide or narrow the initial gap between the bucket and jaw can be set.
Thank you for looking.
Rob-
This is from the very front showing all the pivot points welded on.

And one last one from the side.
I hope you enjoyed the project as much as I did. I was very pleased to see it all come together so nicely. When I get my tractor running, I'll show some photos or maybe a video of it picking rocks and other stuff.
Finally, here's a video of the finished "Mechanical Thumb" taken after welding but before it was re-painted. I took some videos of it but they came out too dark, so I'm showing this one instead. You can clearly see how all the articulting linkage works here. Also note the additional holes to vary the acceleration (how fast the jaw closes in relation to the bucket curl) and how wide or narrow the initial gap between the bucket and jaw can be set.
Thank you for looking.
Rob-
")