OP
supermansv
New member
I retired from Shell Oil and I have removed many broke fastnerns in my 34 years.
Removed from setscrews to large bolts.
In my young years a journeyman taught me this trick.
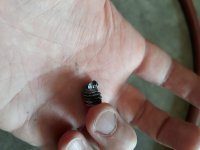
Drill your screw/bolt.
Have a bottle of water with the top having a hole drilled in it, as to squirt a stream of water.
Heat the screw And surrounding metal nice and HOT. Not warm, but HOT!
Let it heat soak for a bit(20 seconds)
Now squirt a stream of water into the hole that you drilled into the screw. Use about the whole bottle of water.
Then quickly Tap in the screw extractor and try uncrewing the broken screw.
Sometimes it may take two attempts.
Now. Process reasoning is...
Heating the screw and surrounding area allows the metal to expand. And, with the base metal area having more mass and holding the heat longer, the Quinching of the screw with water allows the screw to cool and shrink just a bit allowing its removale.
Note- with the size of screw/bolt that your dealing with, there's a lesser chance of breaking the screw extactor. Just don't go "Gorilla" on it.
At Shell, they called me....
Dr. Ruth the "screw doctor"
I also was successful with the above mentioned weld method.
Now, on you fuel issue....
I fought a similar issue.
Cheched & cleaned everything including the filters. I finally pulled the fuel filter/petcock assembly appart. I replaced a small O-ring in the petcock valve, reassembled, and my ym226D ran like a champ!
I was sucking in air through the small worn O-ring.
Just maybe your issue.....
Good luck!
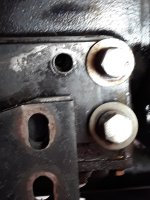
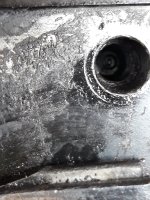
Thank you for this! I'm starting to realize that I'll likely need to remove the loader in order to get this bolt out
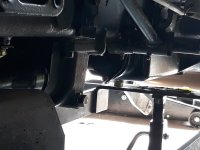
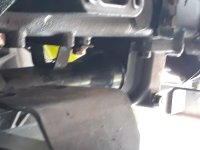
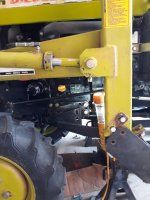
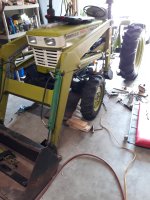
 . I have soaked the bolt/hole with Deep Creep for 24 hours, still not even budging. I tried to get heat on it, however the 2 mounting plates are not allowing much of the heat to reach the bolt. So I think the only way I'm going to get clear access to the hole and bolt, is going to be removing the FEL and mounts.
I'm trying to determine the best way to go about that, given the weight and awkwardness of the FEL. Currently the tractor is in my garage and not running, so I'm in a somewhat tough spot. I plan to wait on the new banjo bolt to arrive, see if I can get the tractor running again, then find somewhere I can drop the FEL. I was thinking some kind of hoist in a tree to keep the tractor side up in the air. Anyone have expierence with this that can offer suggestions?
And great tip on the petcock o-ring. I'll pull that apart and replace it. I did notice that when I was turning it the other day, it looked like air bubbles were being created inside the bowl, so that very well may be my issue.
Thanks again folks for all the help.
-Zach
Last edited: