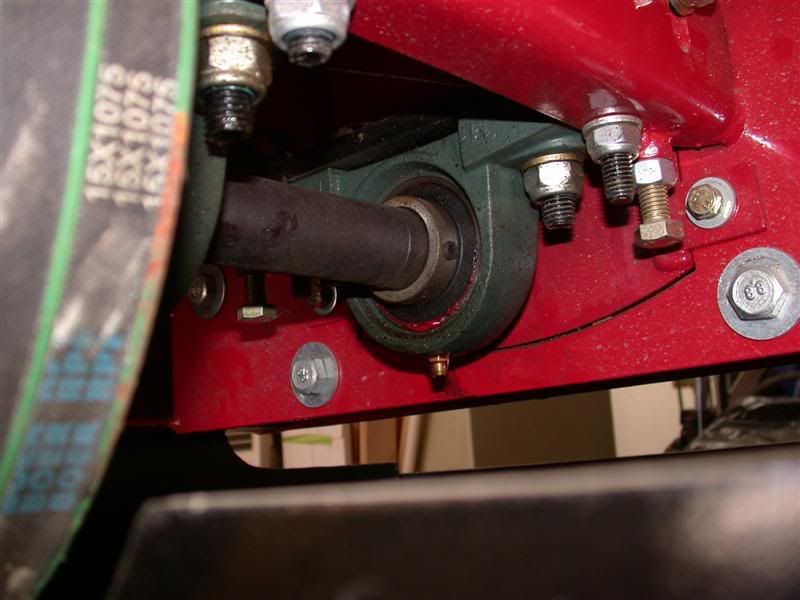
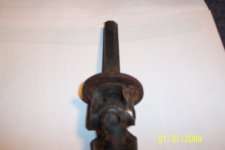
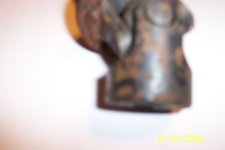
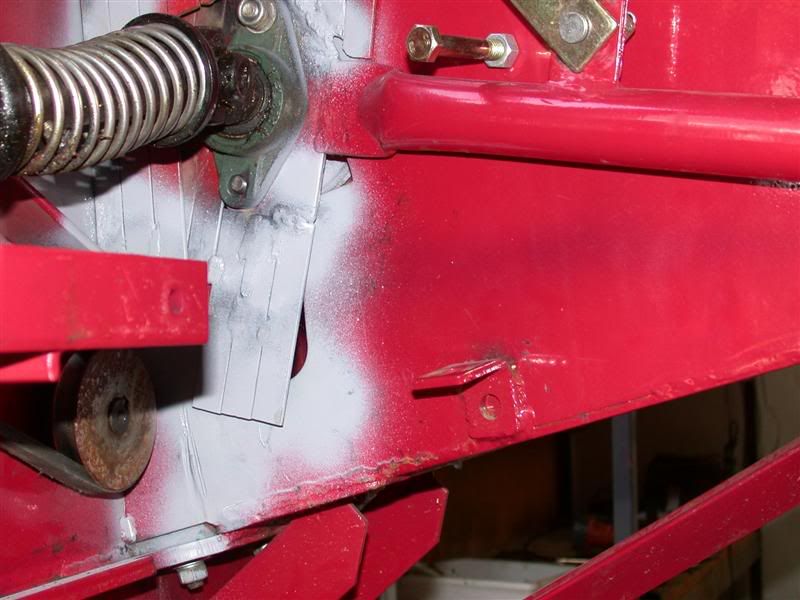
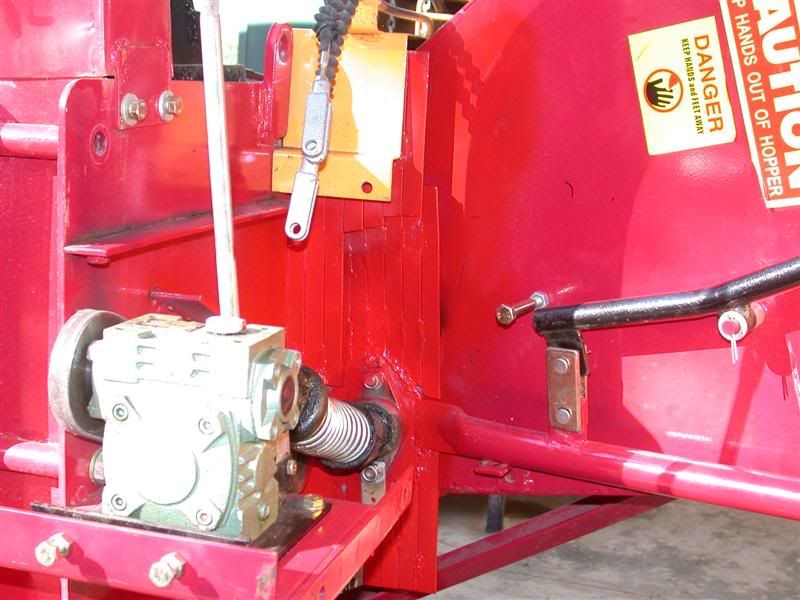
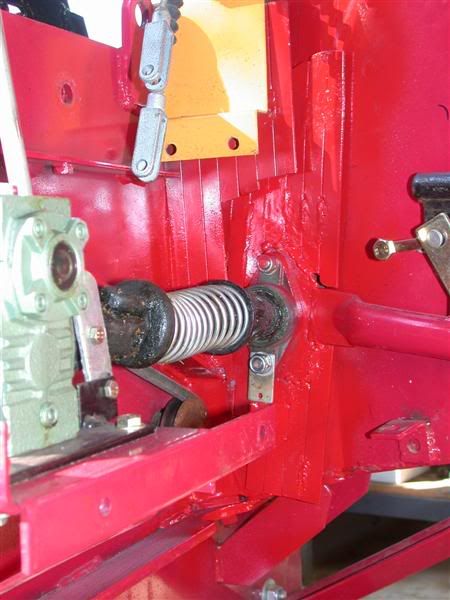
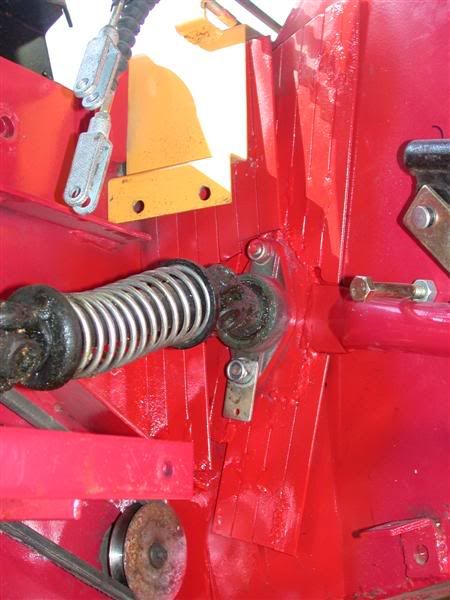
Rob, I blew up the feeder driveshaft in my WC-06 today, and was looking at the pictures of yours in this post. The picture looks to me like yours has actual small U-joints in it with bearing's etc. Mine has just pins and is made like a standard 1/2" wobble joint. The pins are worn about slap out and the assembly came apart.
Anyway, could you look at yours and tell me if they are actually a cross bearing or are they just pins?
Also, just a question, and keep meaning to ask everyone this, when you see mention of this everyone talks of greasing the bearings, yet really, when you grease those points on those pillow block bearings, are you not just greasing the outer shell of the bearing in reference to the pillow block itself? I don't believe any of that grease actually reaches the rotational parts of the bearing itself or am I missing something there?
Thanks, any suggestions you could offer on that drive line would be appreciated.

 ) house when she comes in from tending the horses.