Chipper WC-6 Chipper Photos

   / WC-6 Chipper Photos #1  

3RRL

Super Member
Joined
Oct 20, 2005
Messages
6,825
Location
Foothills of the Giant Sequoia's, California
Tractor
55HP 4WD KAMA 554 and 4 x 4 Jinma 284
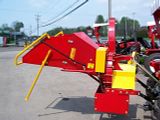
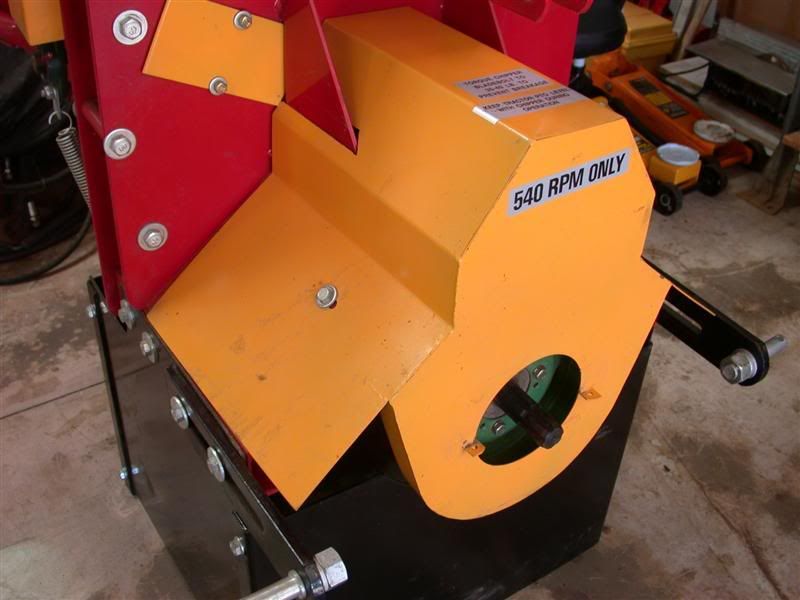
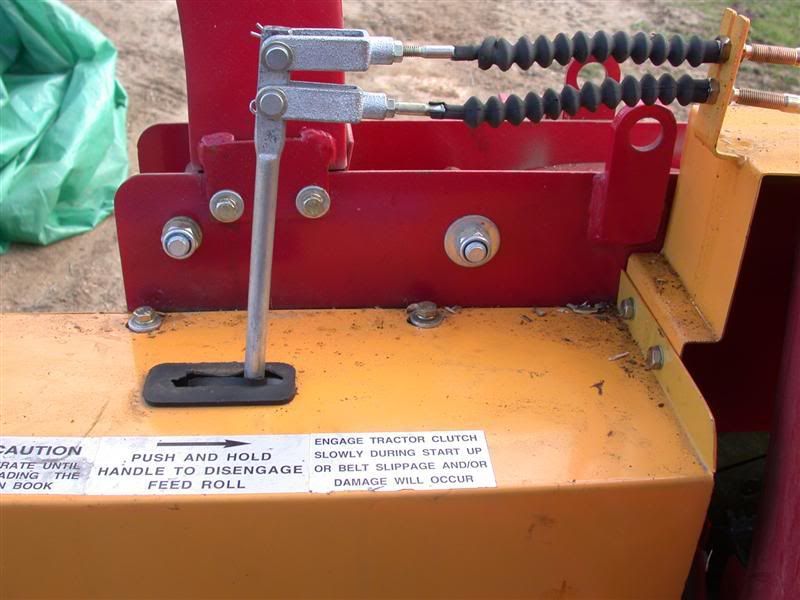
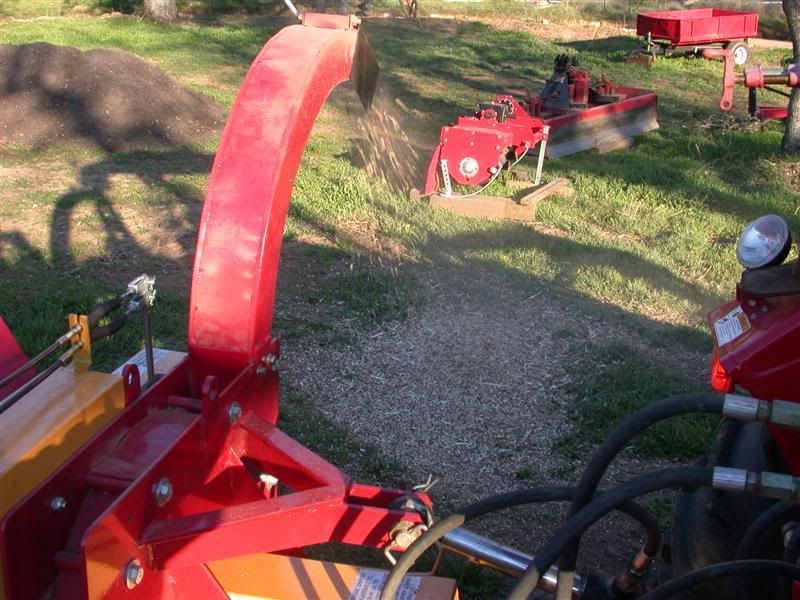
Last year, exactly a year ago when we bought Loretta's Jinma along with Scott's tractor purchases, we ordered a bunch of implements. One of them was the WC-6 Chipper which is similar to the Jinma Chipper so many of you have. It was literally half price of the ones we could buy here since our freight was already paid. Anyway, we just put it together and tried it out a little.
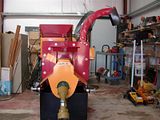
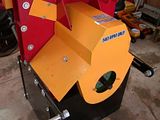
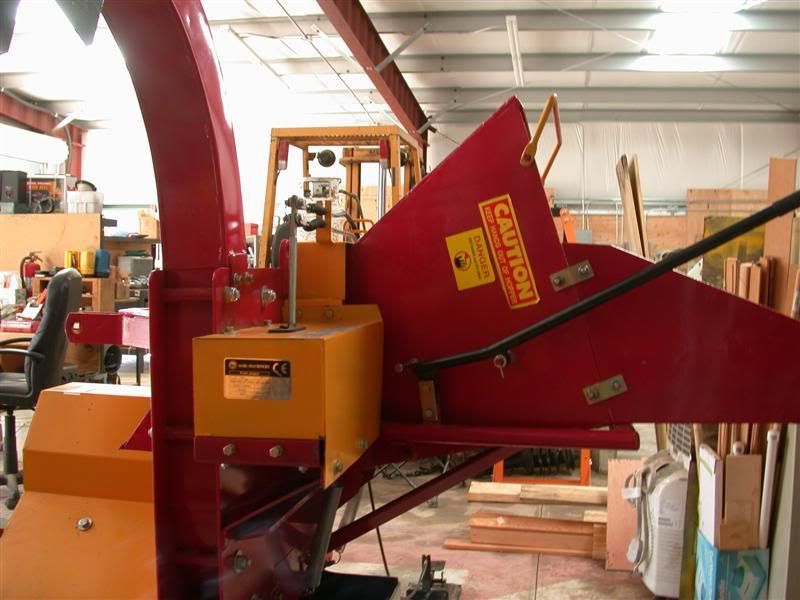
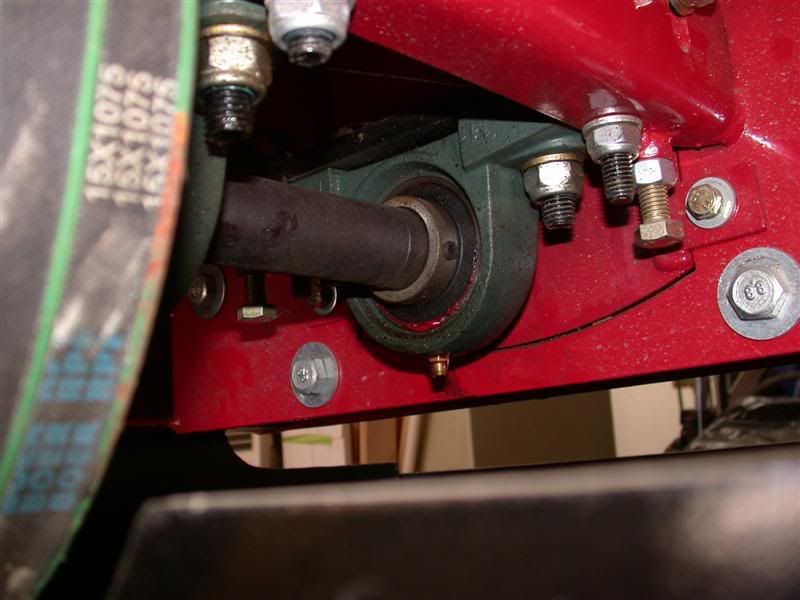
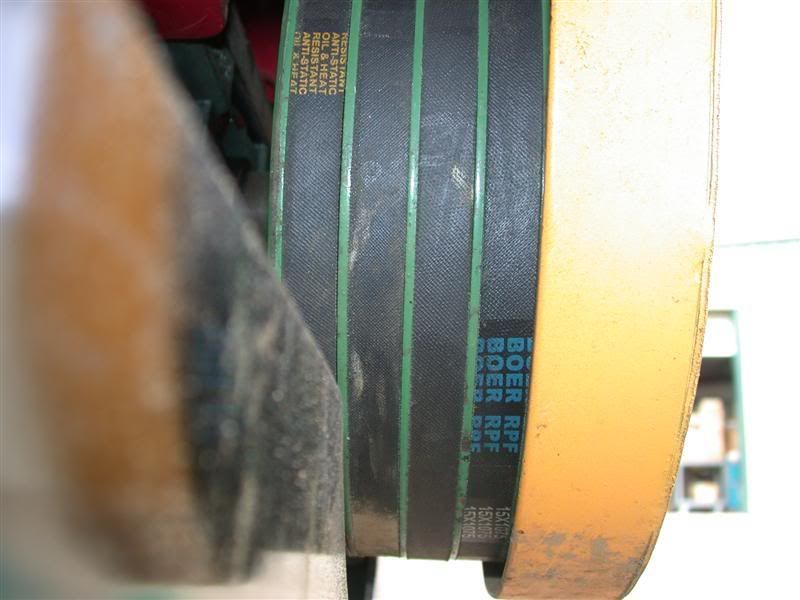
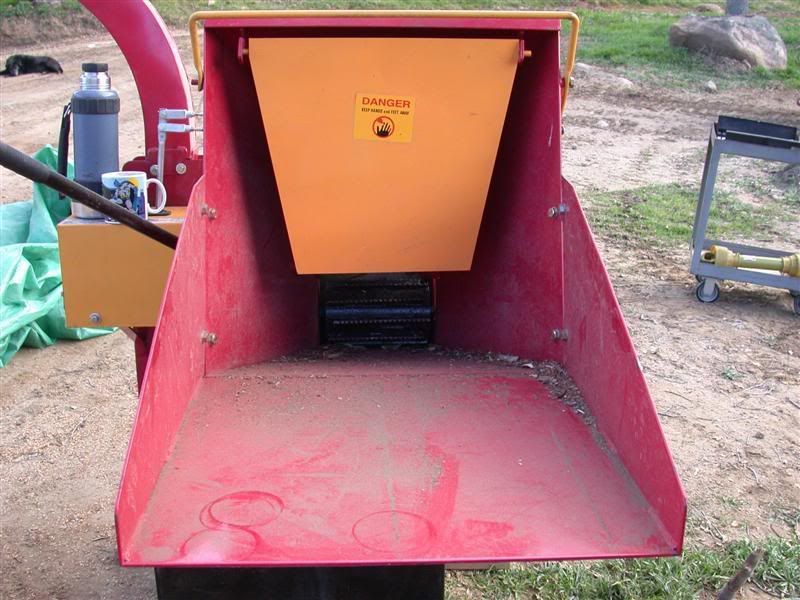
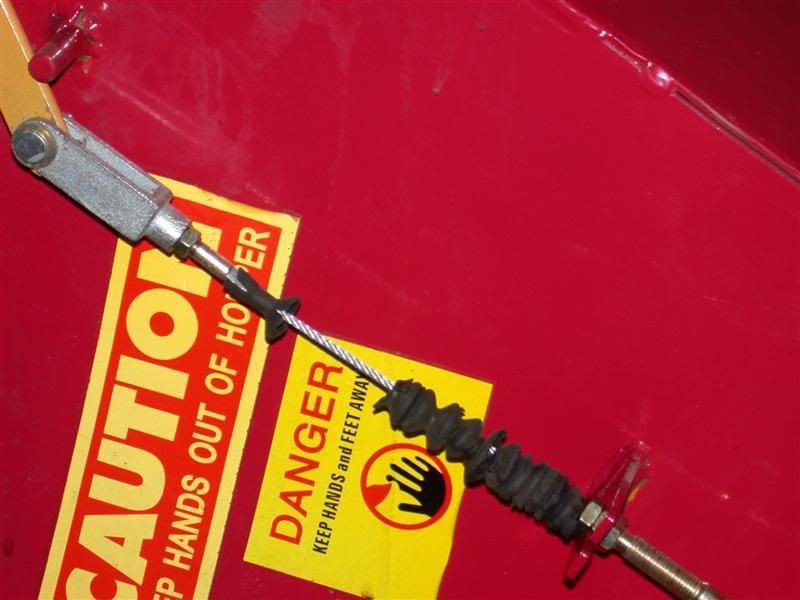
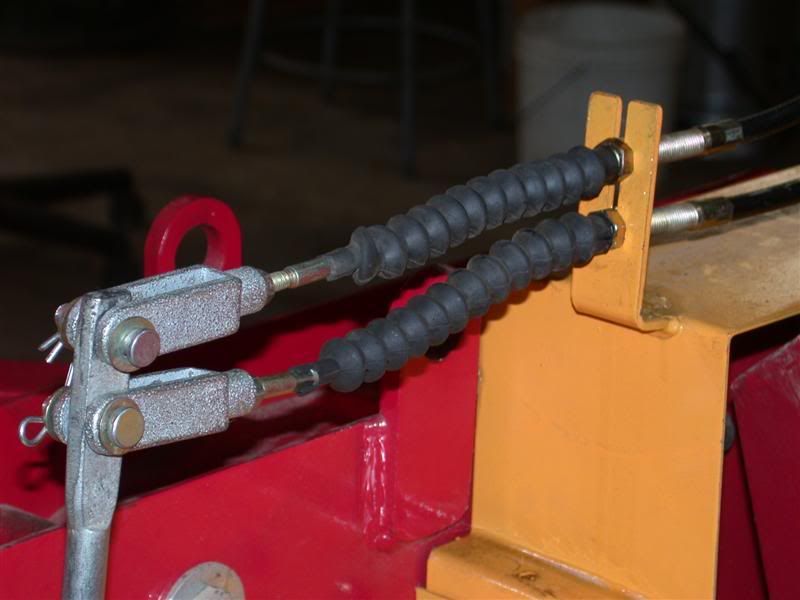
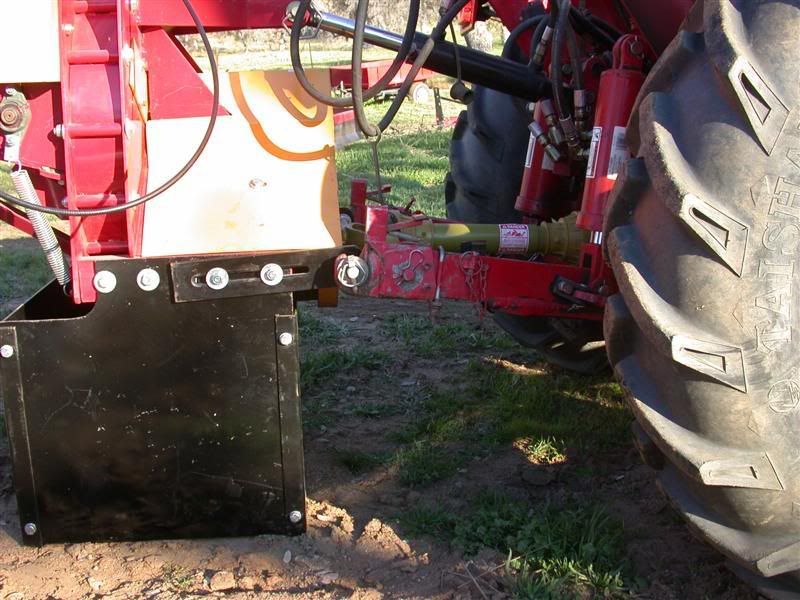
First photo is the one on the brochure and the other 3 are what it actually looks like assembled.
Rob-

 
   / WC-6 Chipper Photos #2  
Nice looking machine.

What does the flexible cable that runs out of the picture do?
 
   / WC-6 Chipper Photos
  • Thread Starter
#3  
Those cables are for the hand and foot operated clutch release for the feed roller. I have some photos of it coming up.
 
   / WC-6 Chipper Photos
  • Thread Starter
#4  
Since this is Loretta's new toy, she was responsible for helping assemble and also taking most of these photos. After reading the assembly instructions, she started to grease all the pillow block bearings. There are 2 that support the main drive and 2 smaller ones for the feed roller. It's best to grease them before bolting the base and cover on. Ken mentioned draining the gear box oil and re-filling it, but I could not find where to do that?
Can you tell me where that is?
Rob-

 
   / WC-6 Chipper Photos
  • Thread Starter
#5  
This unit has 5 main drive belts and a swinging safety cover over the opening. I should've taken the photos while the cover was off, but you can see 4 of them clearly and one just starting to show. The last photo is of the clutch "box" and the lever which attaches to the cables. The black handle on the left of the feed chute is to lift up the feed roller if it gets clogged. The skinny yellow handle above the chute is the hand operated clutch release for the feed roller.


Below are better photos of the hand and foot clutch disengage for the feed roller. All those linkages needed to be adjusted so the clutch engaged and disengaged the feed roller properly. There was a lot of slack to take out of the cables, so it took a little tweaking on some of the brackets as well as adjusting the cable nuts. You can also see the Chinese rubber cable covers starting to crumble. I don't know what it is about Chinese rubber parts like that, but all of them go bad very quickly like on my Kama. Anyway, no big deal, it has been sitting for quite a while and I'll just replace them later.
The foot operated feed roller release is pretty handy because you can put it on either side and move it around.
Rob-

 
   / WC-6 Chipper Photos
  • Thread Starter
#6  
Fitting the chipper to the tractor and getting drive shaft to be in almost a straight line was a trick.
I think they recommended not having more than 15 degrees angle on the PTO drive shaft while operating it. We originally intended the chipper to be on Loretta's 284. It turns out that this WC-6 Chipper sat way up too high on the 284 Jinma so we fit it to my 55hp Kama. You can see even in transport that the PTO drive shaft is not to steep an angle. It's hidden by the lower lift arms. Once it's on the ground ready to operate it was almost level. The sloping ground we were working on makes it look worse than it really is, but it's almost level. I fired up the Kama and used the 720 PTO speed. Then I throttled up to 1700rpm which will spin the PTO at around 540 recommended PTO speed.


We had a small pile of branches to try it out on. It should be able to take 4" saplings and branches but the larger branches we had were all seasoned Oak for the wood stove. We did throw a couple of 2-1/2" branches in for the photos though. Anyway we got a chance to run the chipper and crush some brush. We were happy to see it working correctly and will give it a work out next week. It was good to see it operate even on a small pile of brush.
Here are a few shots of that.
Rob-

 
   / WC-6 Chipper Photos #7  
Rob, your starting to sound like me,:rolleyes: waiting a year to put a new implement together.:eek: This is not a good thing. Hope that all is well.
 
   / WC-6 Chipper Photos #8  
Congrats on getting your Jinma, Son of a Jinma, Grandson of a Jinma chipper up and running.:confused: It looks just like mine with a few additions.

I had to replace a few zirks on mine due to non-standard size or difficulty getting the grease gun on because of another part in the way. 90º zirks can really make a difference.

The only change I would like to make to mine is a round transition on the discharge chute so I could spread the chips a little better without moving the tractor. But if you decide to do the same thing, please post the mod since you're pretty good at fabricating just this sort of thing.
 
   / WC-6 Chipper Photos #9  
Rob:

I was going to ask what your first modification to the chipper will be; but I'd say putting 90-degree zerks on those pillow blocks will be the at the top of the list.

That sucks about the rubber boots crumbling already.
 
   / WC-6 Chipper Photos #10  
Rob -- looks like a nice shop ya got -- I guess "tent city" is a thing long past;)... It was certainly a grand looking tent city though.:)


Top