Rob,
Excellent - It's EXACTLY what I had envisioned!
I am so super pleased with the precision and speed your turning this out. WOW!

I could not help but to commemorate this special milestone moment with a little thank you from the bottom of my heart:

What a great shot! Just look at that smile - He's so happy he could eat a banana sideways!
I have to wonder though if that smile is from knowing he's just about to "GET THIS THING OUT OF MY SHOP"
(J/K Rob's having a blast with this project - what a ham)
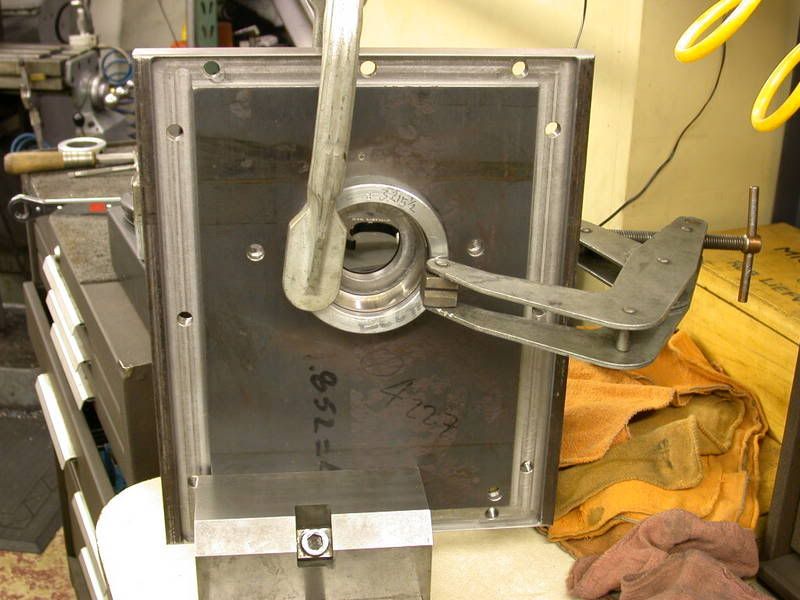
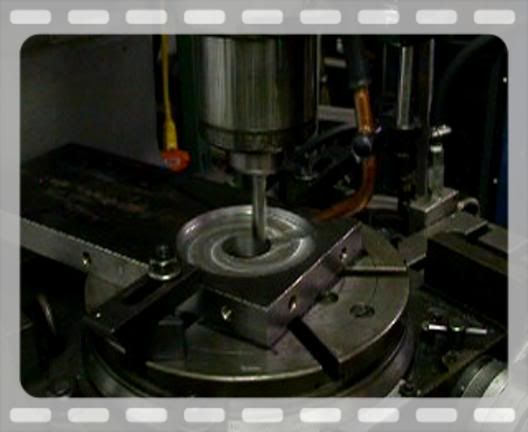
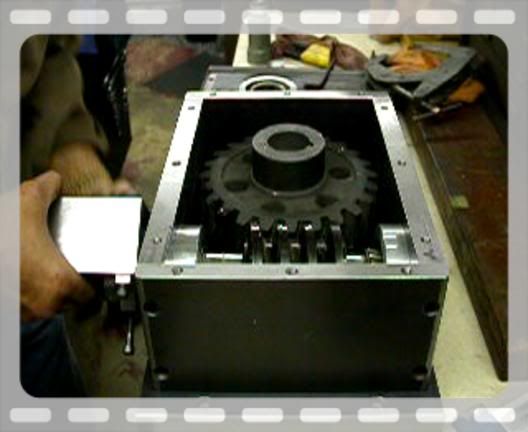
I think I ran the video of Rob rotating the gears so many times that the gears are now properly "Run In"
Has anyone ever noticed that nice "time peace" Rob always wears on his wrist? I can't believe he had that on while machining, Especially on the rotary table when his hands were quicker than the eye, it got SO close to the edge of that steel plate
I Imagine it will be late next week before Rob get a chance to work any more on this. I bet you'll be dreaming about it like me though.
Have a great time at camp. Tomorrow it will be three weeks since our visit together. It's amazing all you have accomplished in that short time. I bet you and Loretta are anxious to get back up to camp. You might even have blossoms on the peas in the food plot.
Have a save trip and a great time -
Larry
Eddie -
Thanks for the wonderful comments - Rob is truly amazing.
This is turning out pretty cool - huh?
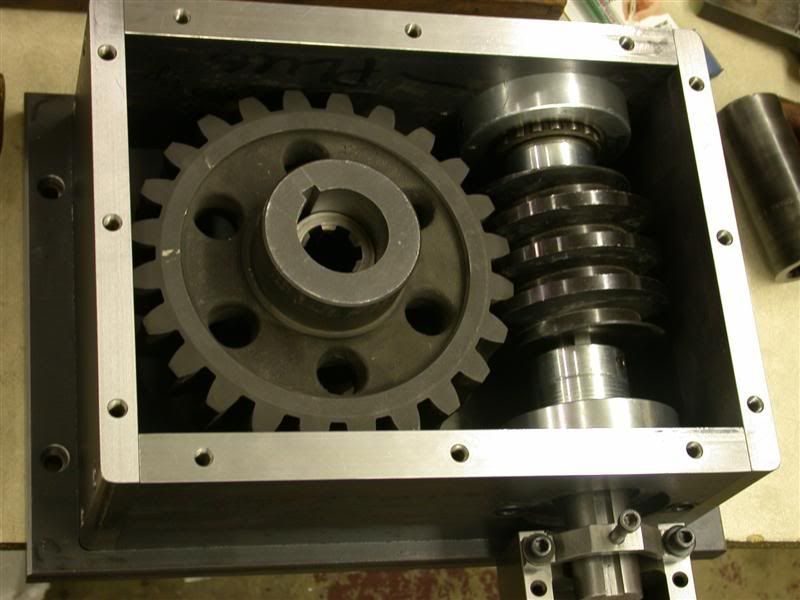
Is the gear box going to be full of oil? How do you fill it and how full do you keep it? Regular 90 weight gear oil?
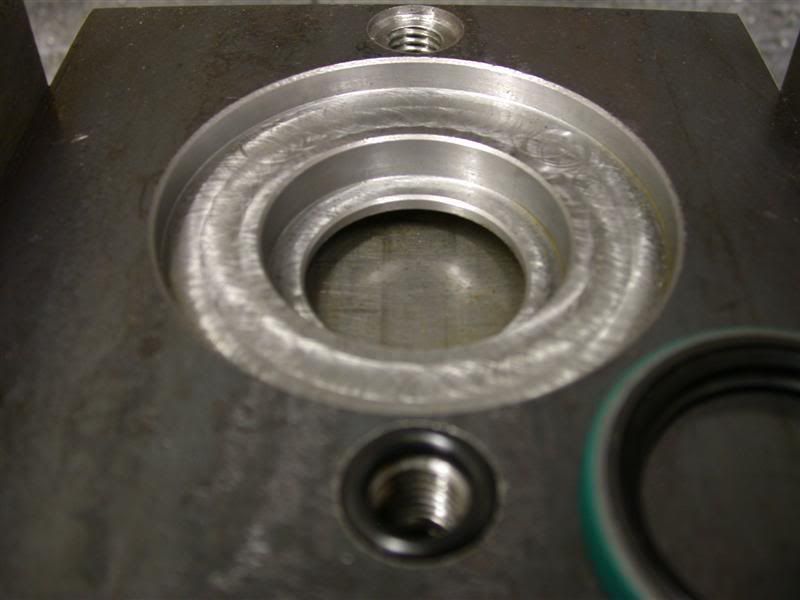
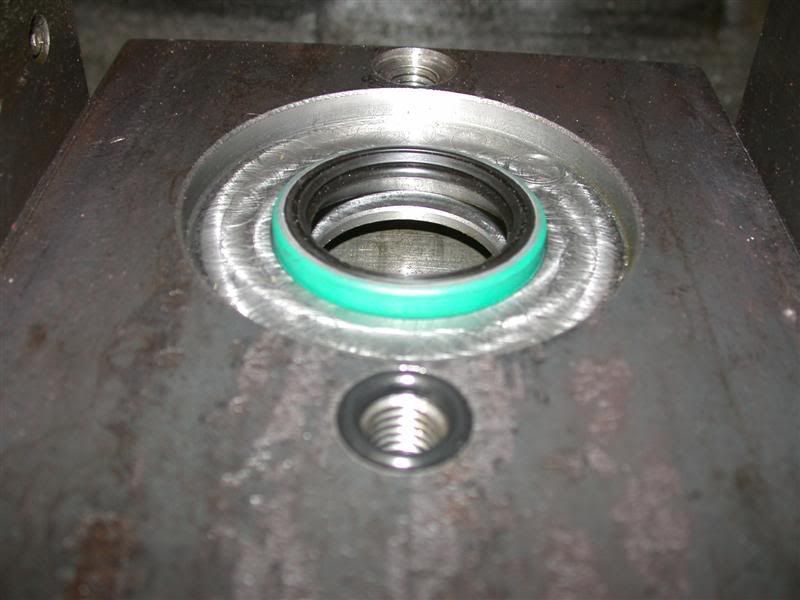
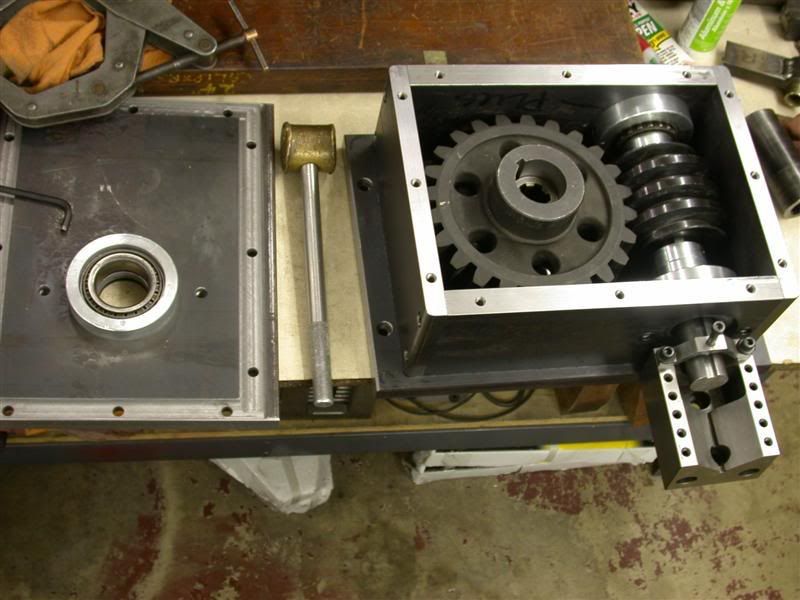
About 7/8 full of 85-90 W gear oil. I think the calculations are about 10 quarts total internal volume, minus the displaced volume of the gears, shafts, bearings and thrust washers so somewhere in the neighborhood of ~ 6 quarts. Rob put a filler and drain hole in the top & bottom plates for me.
Now that you have the gear box done, I'm very interested in how it will turn the blade and how it will be controlled.
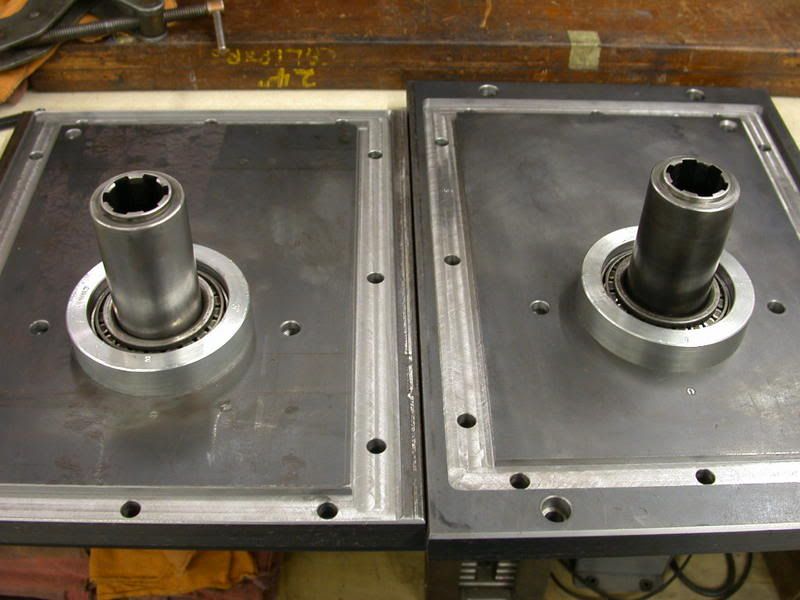
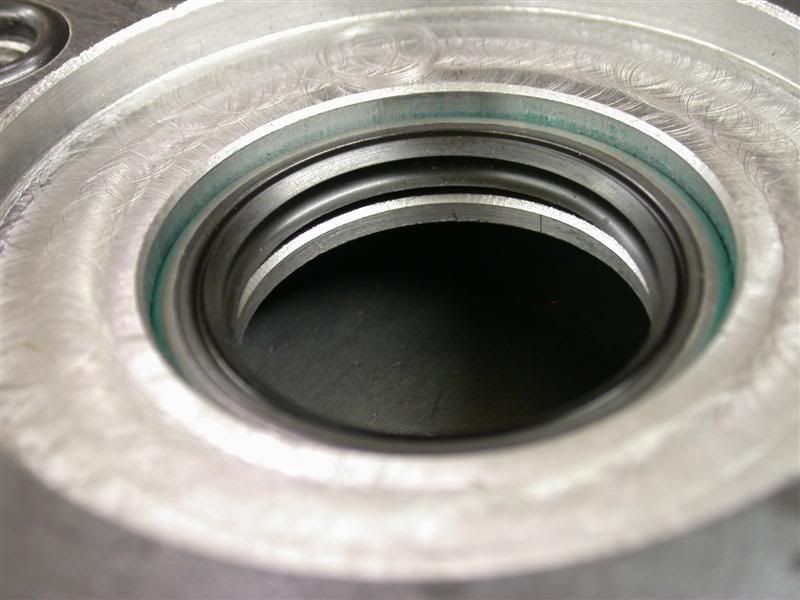
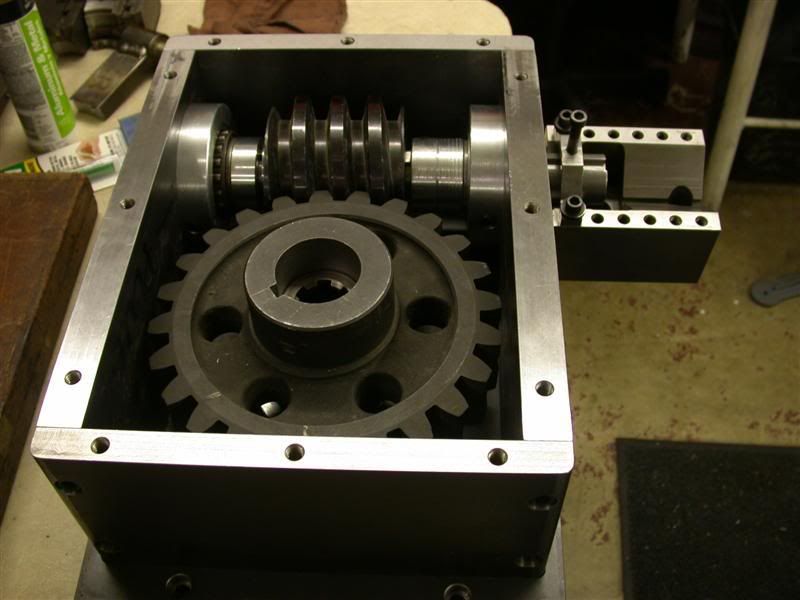
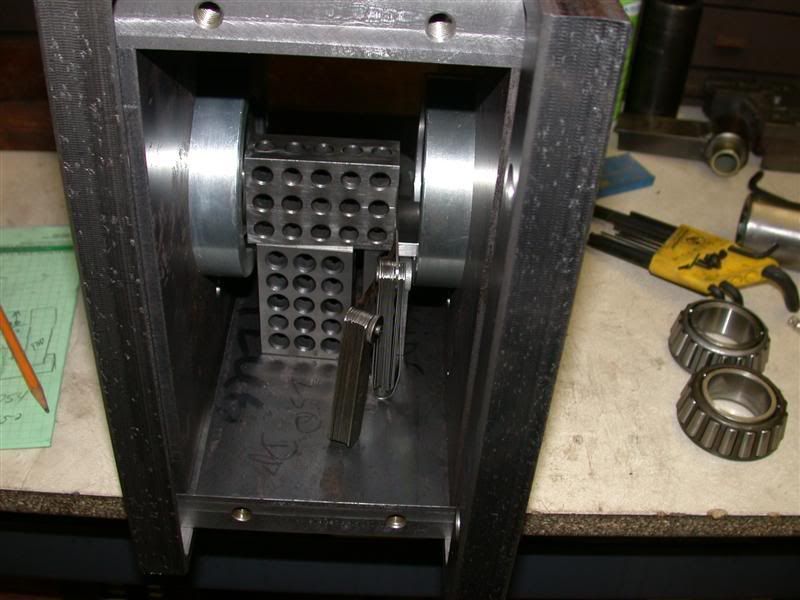
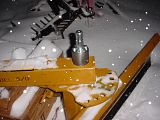
In the video where you see Rob rotating the gears by hand - There will be a hydraulic motor. I already have the control valve & hoses on my tractor ready to go. Take another look at the center shaft of the worm gear, there is a hollow 6 spline PTO shaft coupler that is going to be connected to the blade pivot shaft. Here is a pic of the blade and the PTO shaft that the Gear Box will couple to so it can turn the blade 360*. It's a slip fit between a hollow PTO coupler onto a 6 spline PTO shaft.
Just envision the gearbox sitting on top of the back blade then sliding over that coupler you see on the pivot point:
It wont be long now-
Larry