OP
GuglioLS
Veteran Member
- Joined
- Feb 13, 2005
- Messages
- 1,155
- Location
- Edgewood, NM USA
- Tractor
- Jinma 354, 1953 Ford NAA Golden Jubilee, Komatsu Bulldozer
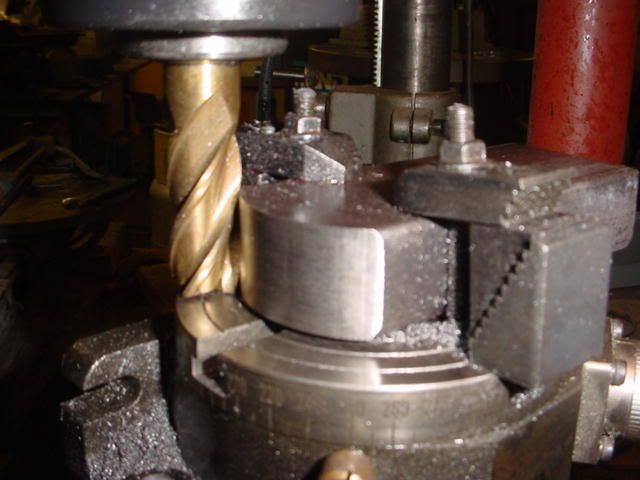
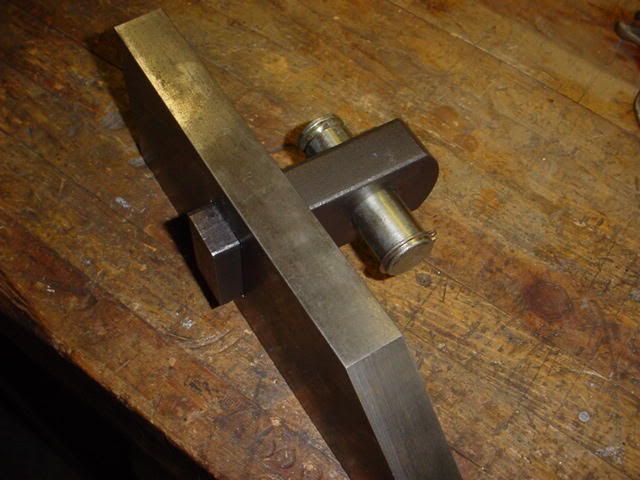
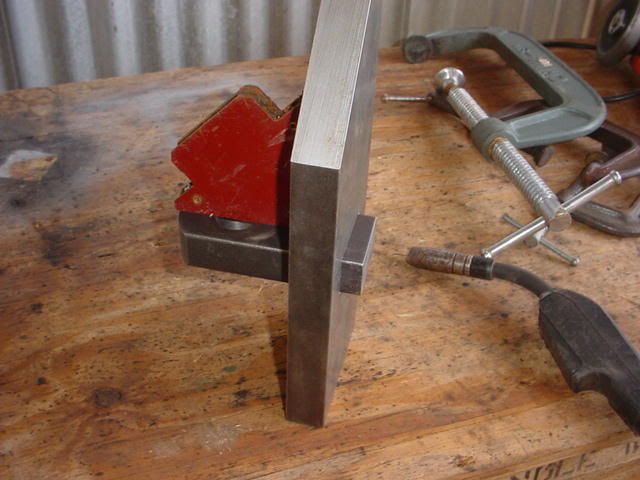
3RRL said:I mentioned that keyway because Larry was kind enough to machine that at his home for me. He was kind enough to cut it all the way through so now I had to plug it up where the oil seal has to ride around it.
................. Larry is going to owe me for life.
OOPS -
Larry is going to owe me for life Rob,
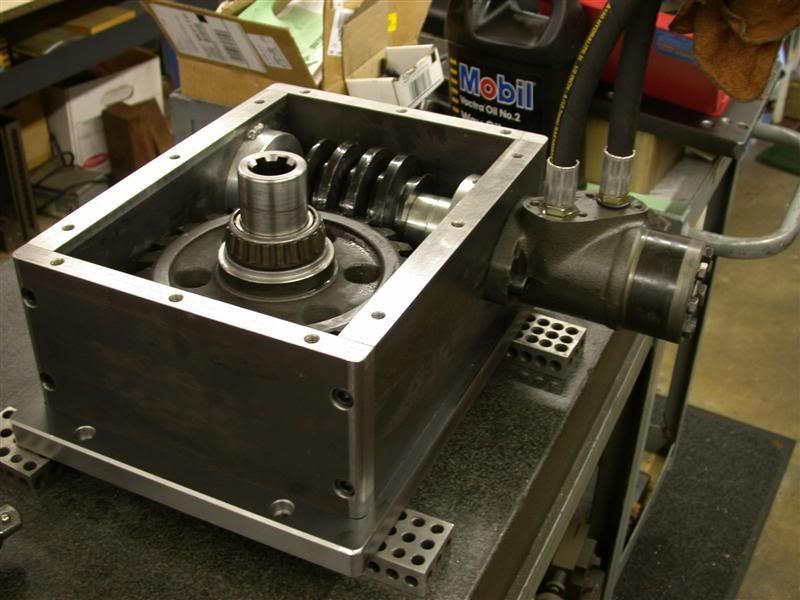
Simply fantastic! - I could not have asked for a better Birthday present. Seeing all the work you have accomplished in what seems like a blink of an eye is just amazing! I know you have put allot of Time, blood, sweat, and tears into my gearbox, and thank you from the bottom of my heart.
How are you ever going to top this ? (Don't worry I have something in mind for you in trade for a couple minuets of my time
hehehe.

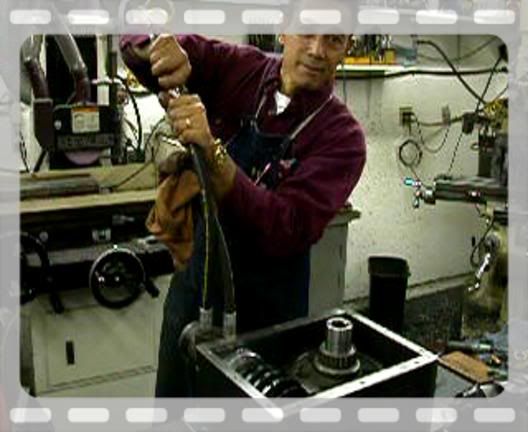
I'll owe you for the next several generations. Your great great great grandchildren will be all set! And to think, I got all this in trade for 9 minuets to fix Rob's Tractor - Wouldn't you say I'm a pretty good negotiator? (except for the owing him for life part) So what's a minor detail between friends anyway?
Esther and I are flying Rob and Loretta out here to New Mexico for a well deserved vacation. Just a small token of my appreciation for all he's done for me. I guess now I'm going to have to let him try out the gear box he so "graciously"
made for me. Thank you Rob!
Larry
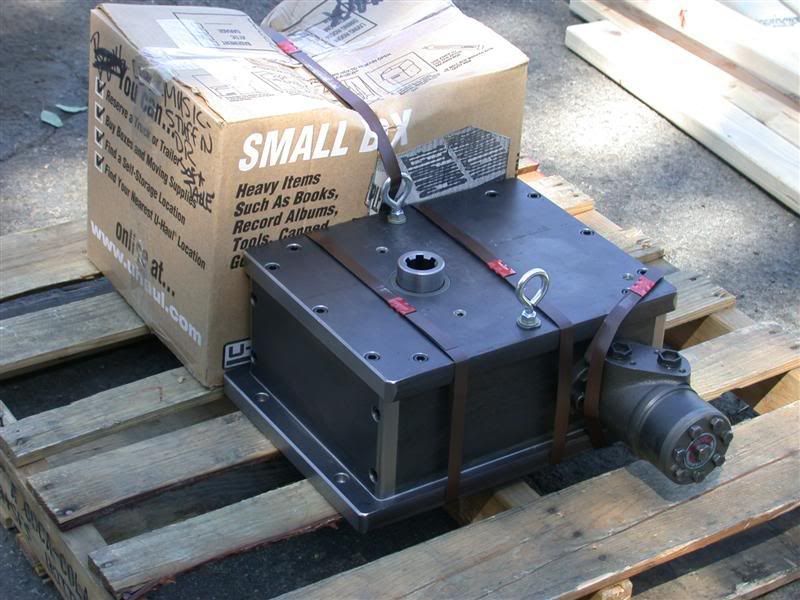
p.s. When's shipping day? I need to fire up the forklift to get it off the truck.


.JPG)