GuglioLS
Veteran Member
- Joined
- Feb 13, 2005
- Messages
- 1,155
- Location
- Edgewood, NM USA
- Tractor
- Jinma 354, 1953 Ford NAA Golden Jubilee, Komatsu Bulldozer
I hope you find this an interesting story and project, it has many different paths along the way that lead to an incredible friendship and collaborative effort. If it were not for an interesting turn of events, the results of what you are about to see would not have been possible -
This will take you through concept to completion (sooner or later, probably later):
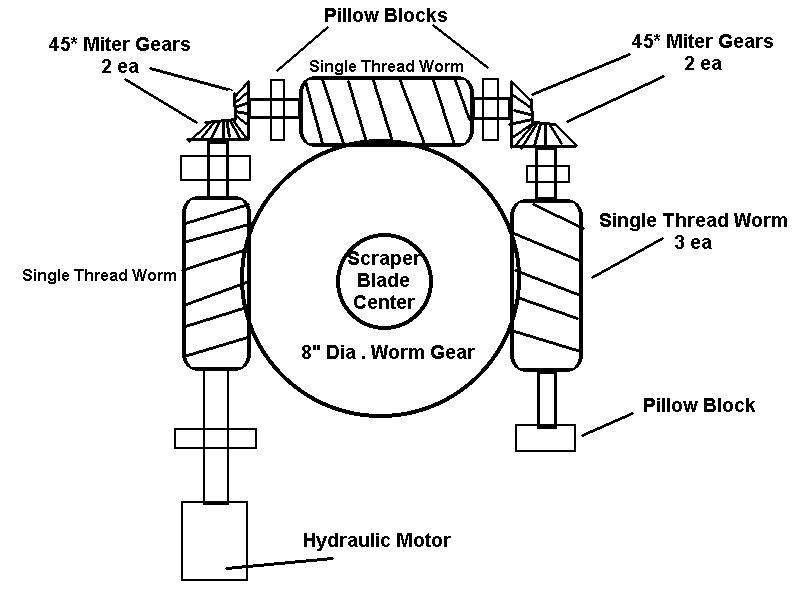
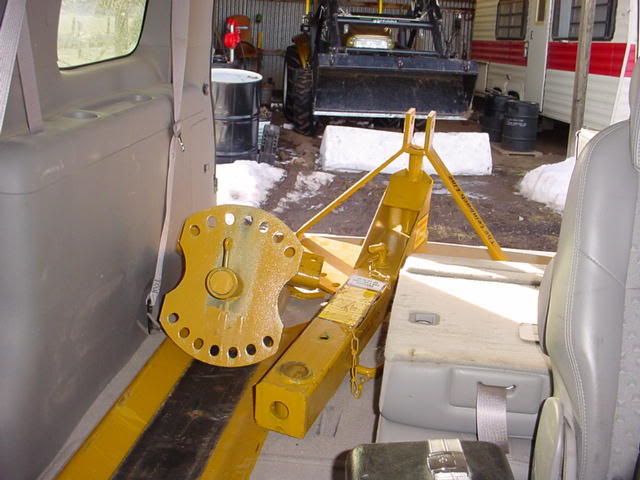
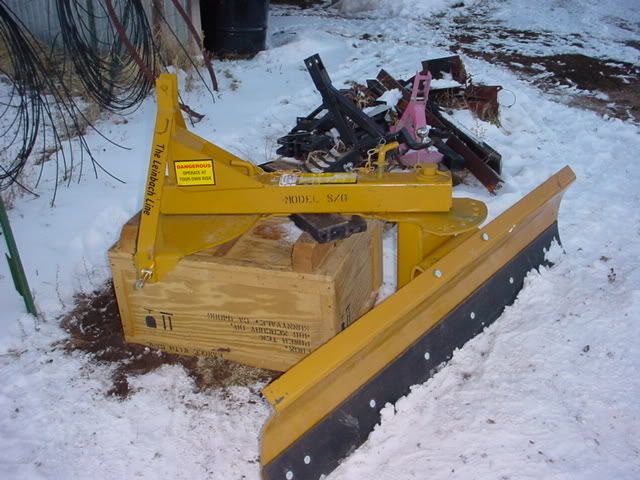
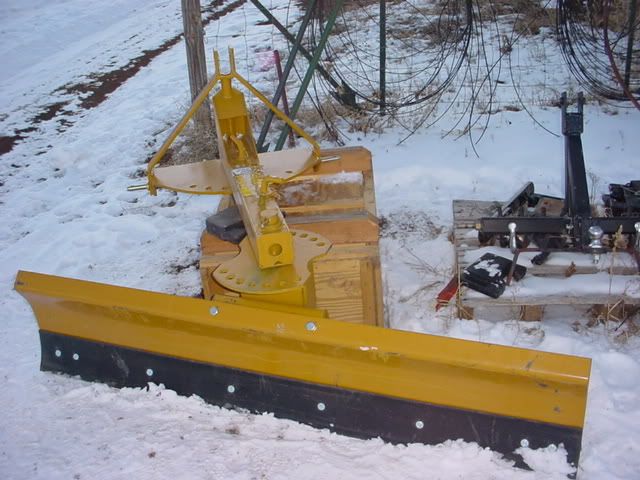
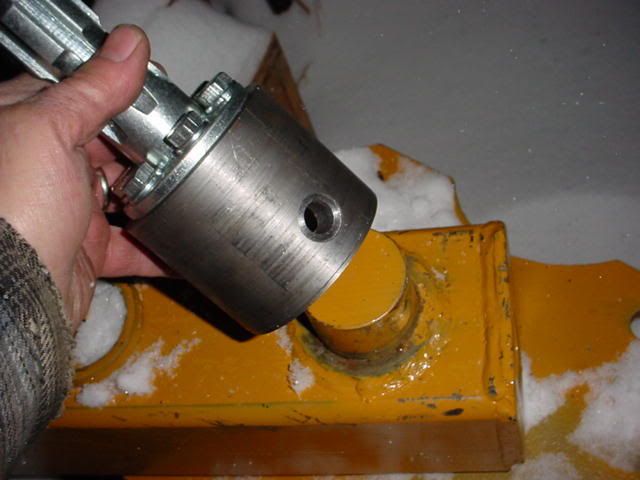
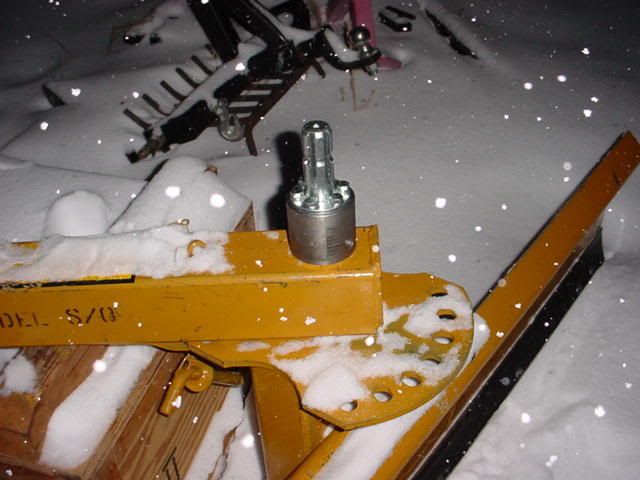
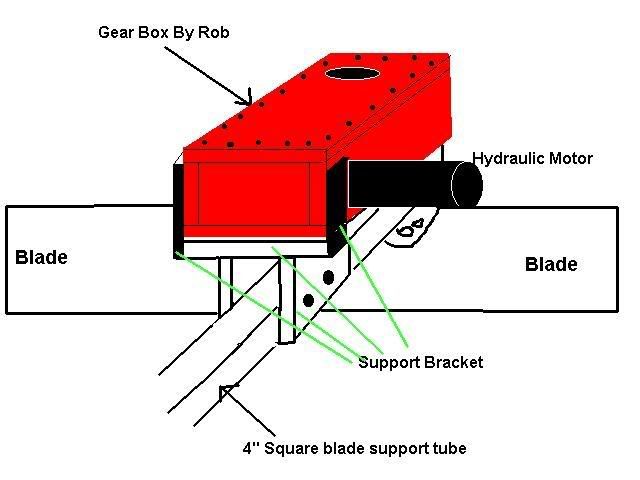
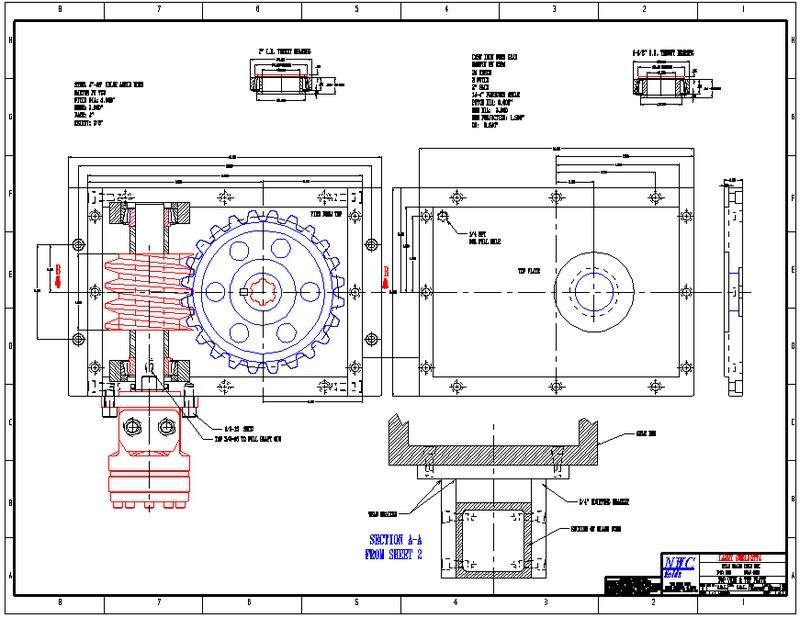
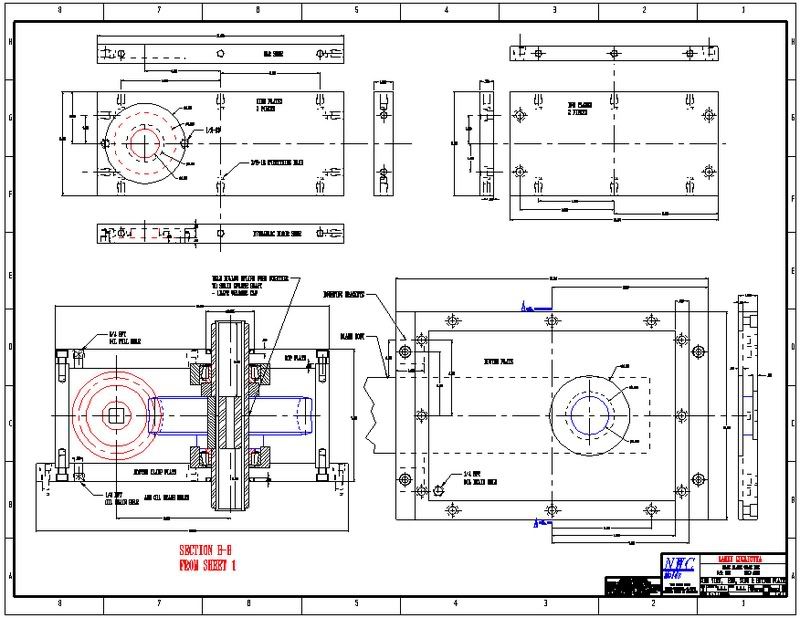
I got an idea a while back to make the rotational angle of my Back Blade automated. I was constantly getting off & on the tractor to adjust the blade angle for leveling dirt, plowing snow, cutting ditches, etc. I also reverse the blade and back drag the cutting edge for smoothing out high ridges. Anyway I've been thinking about this for quite a while. I've seen a few members that put hydraulic cylinders on them – and they are way cool. I am hoping this project will take their idea to the next level. With this setup I can rotate the blade 360* and everything in between. So I started kicking around some ideas starting with the following concept:

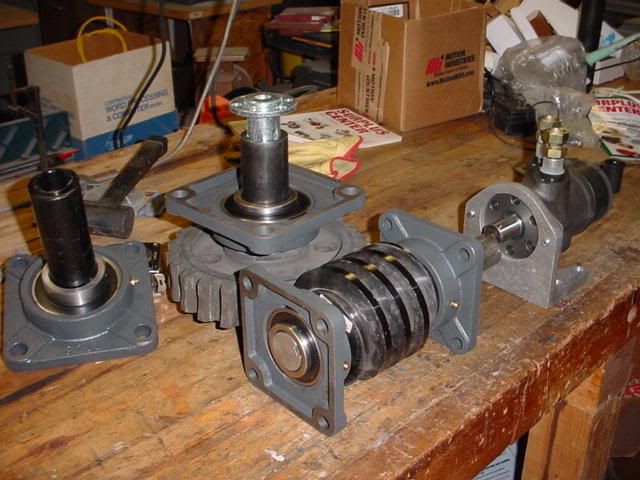
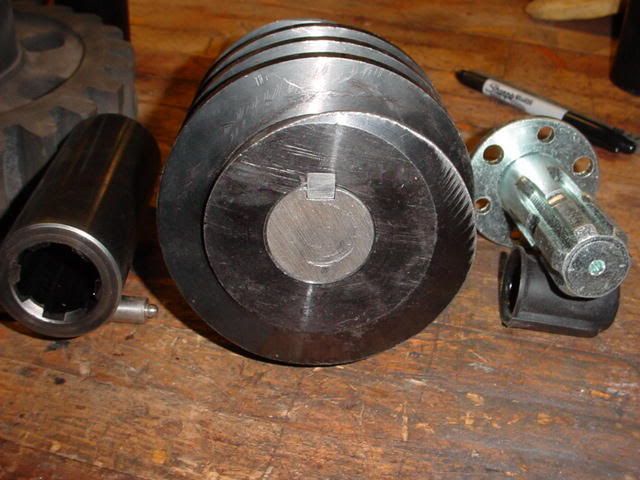
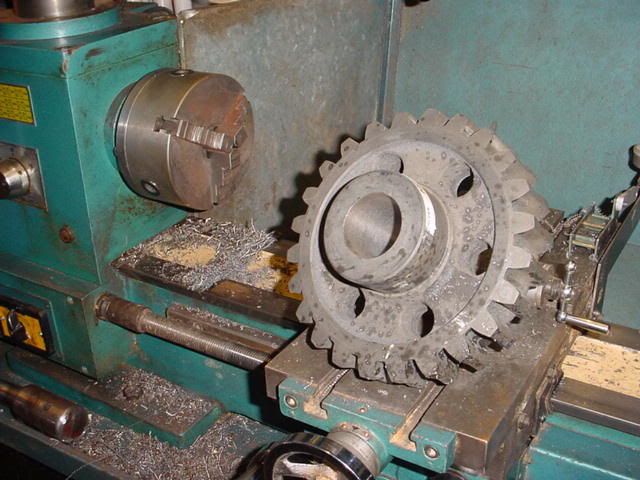
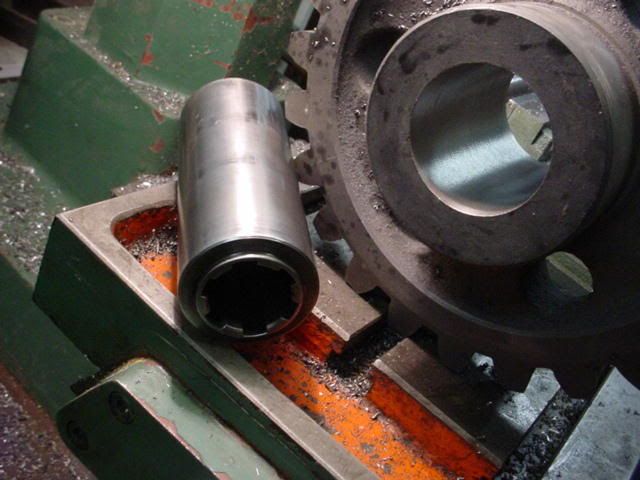
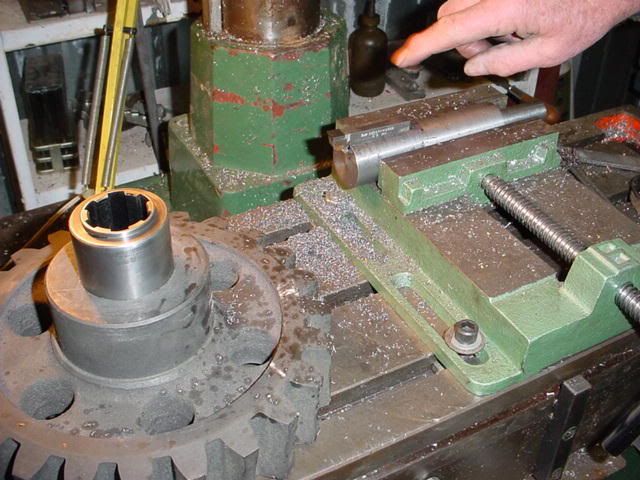
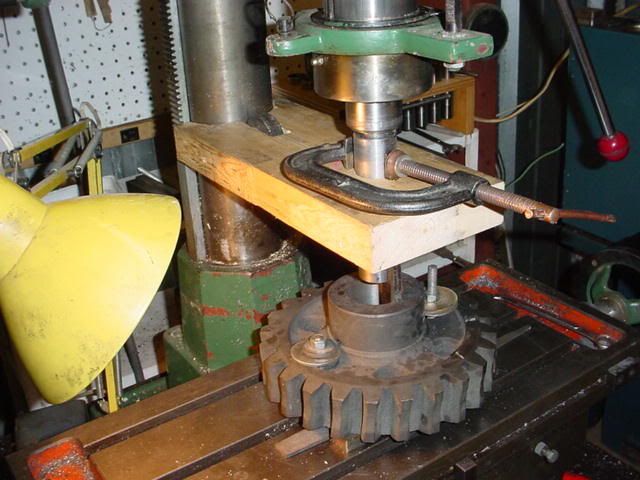
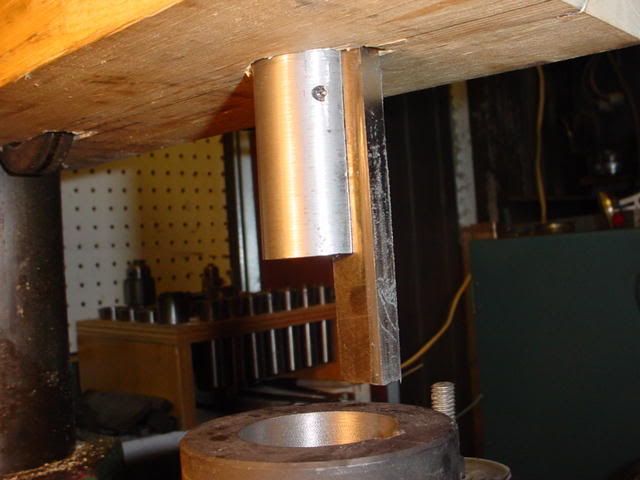
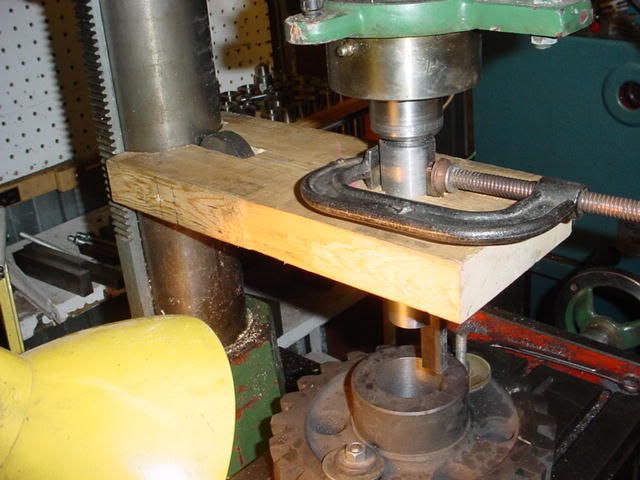
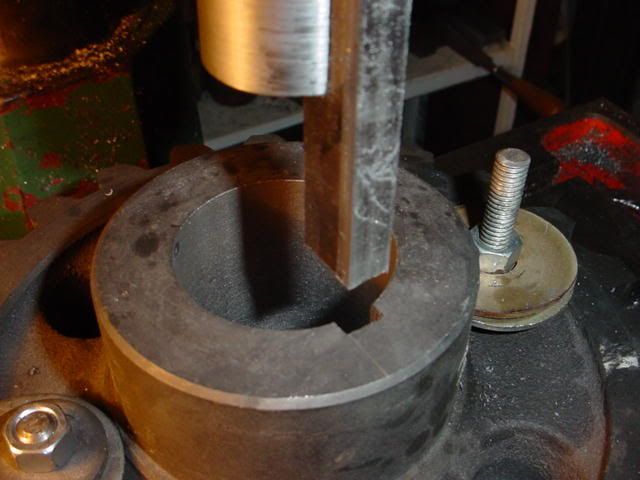
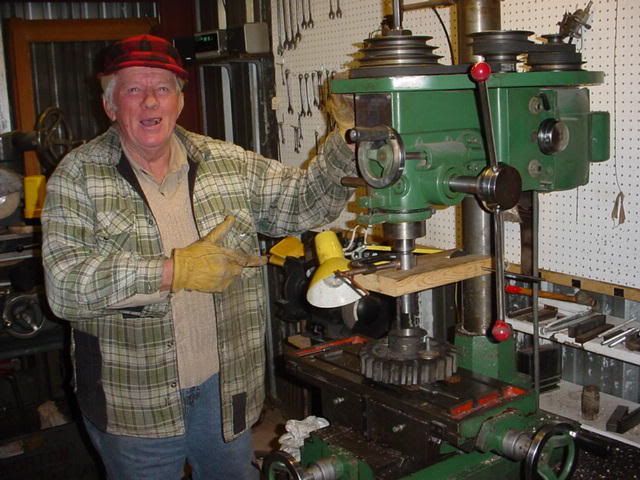
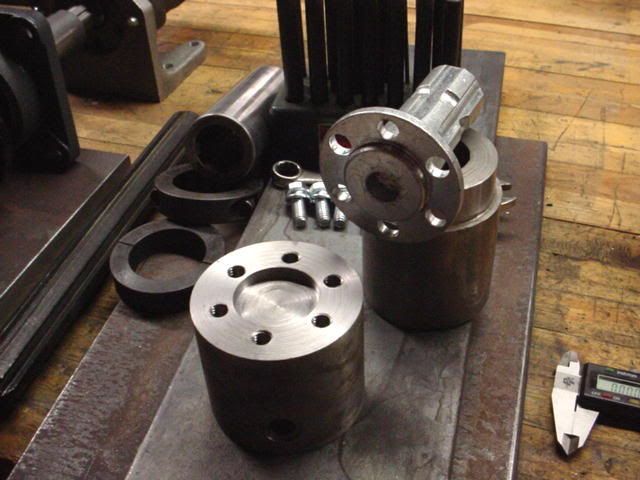
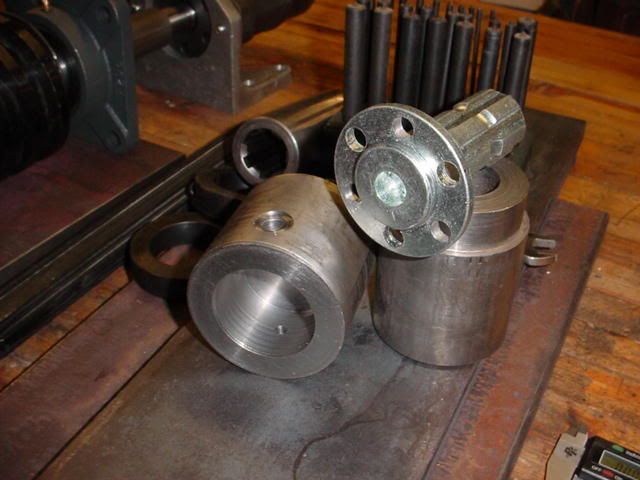
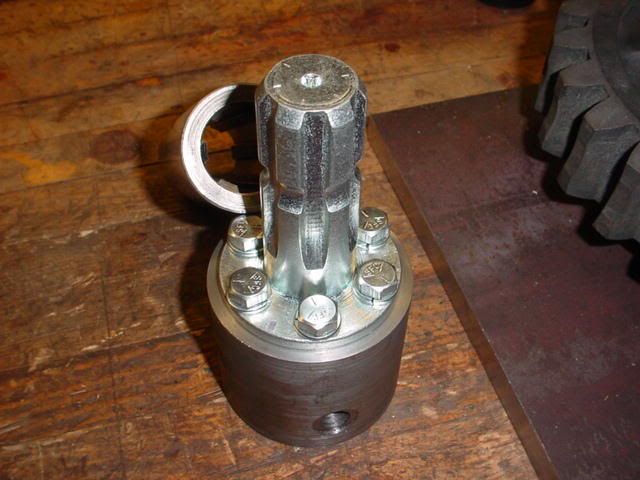
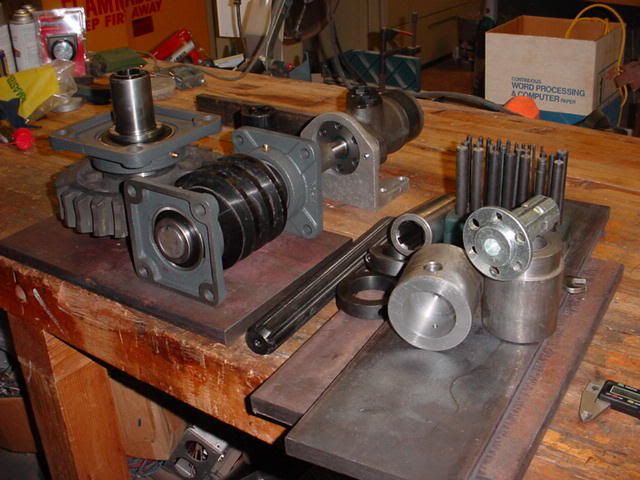
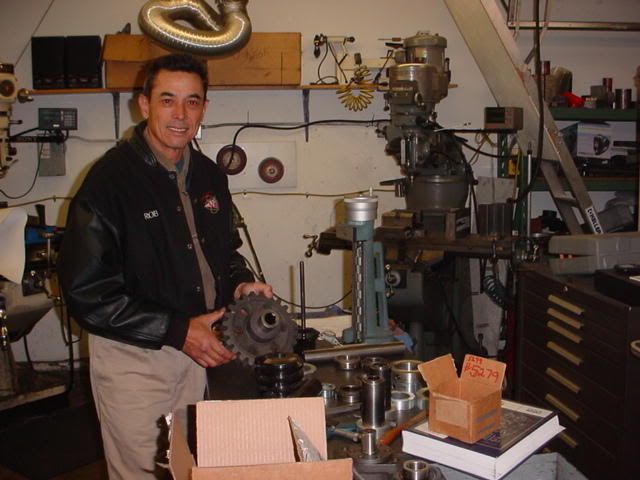
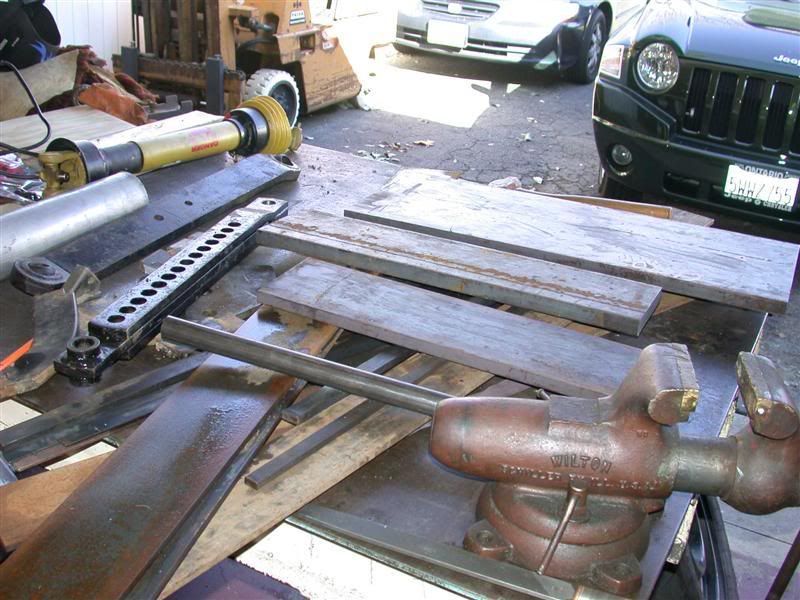
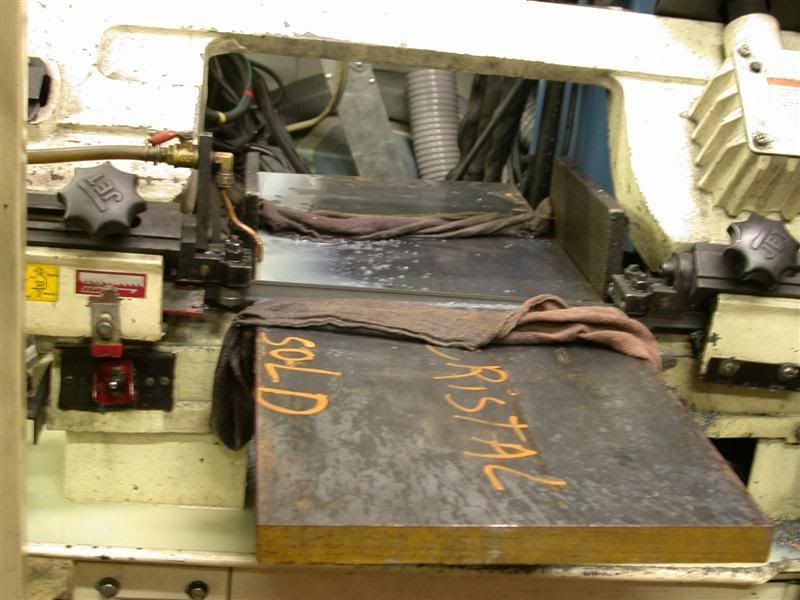
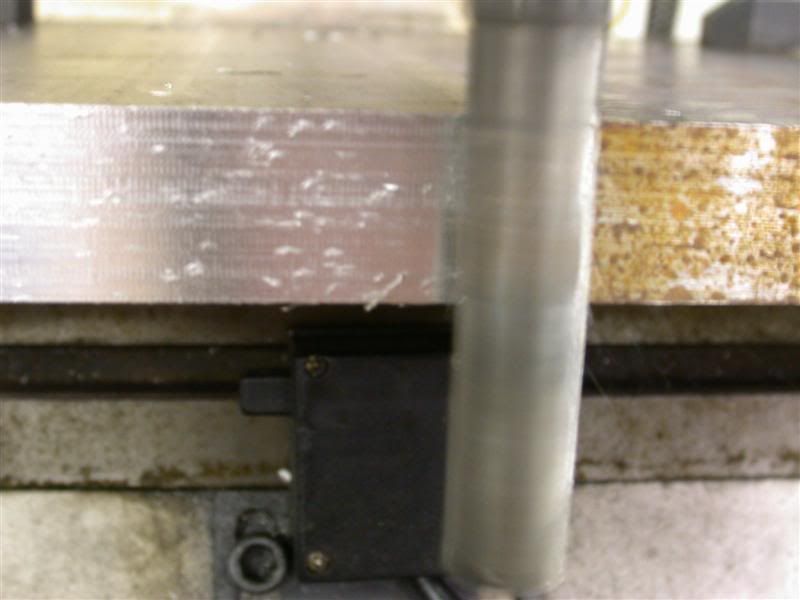
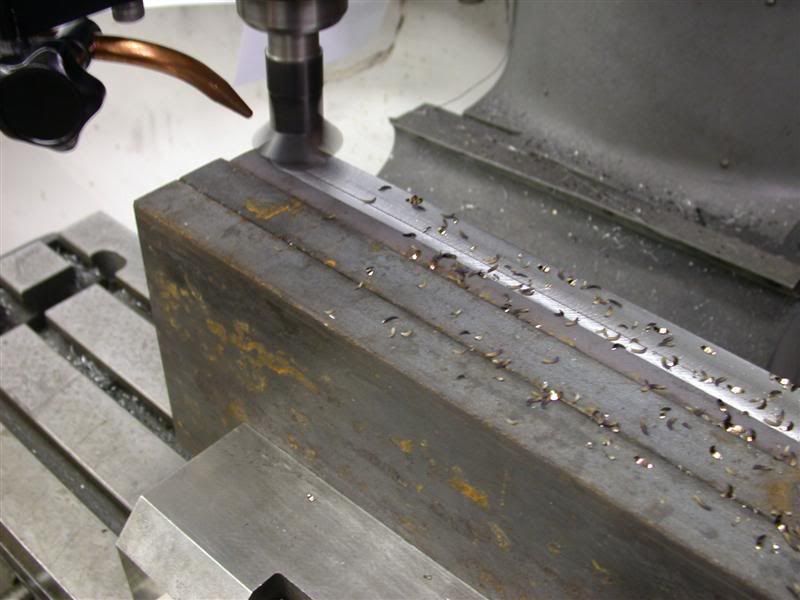
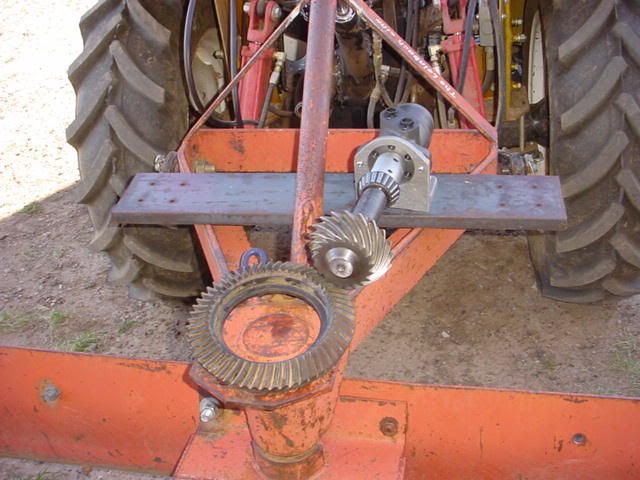
I've had the motor for a couple of years now from eBay. I have another just like it that I made into a TPH winch. The Ring & Pinion gear I salvaged out of an old rear-end I just happen to have laying around. I turned down the splined end of the shaft to 1" OD and cut a 1/4" key slot into it. I used a 1" keyed coupler to attach it to the motor. Man that metal was super hardened, it took a while to turn down and cut the key slot.
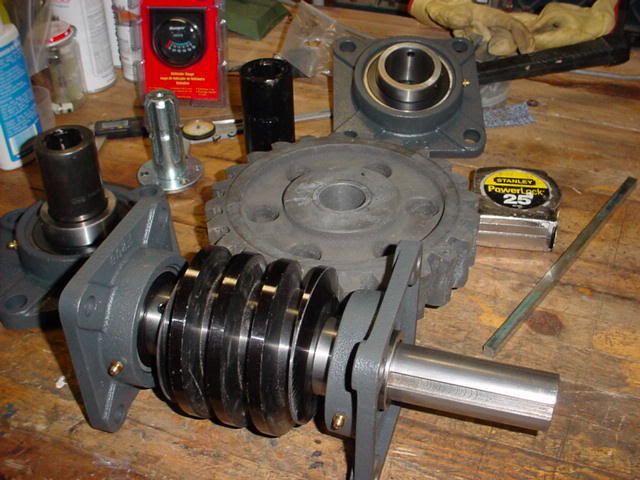
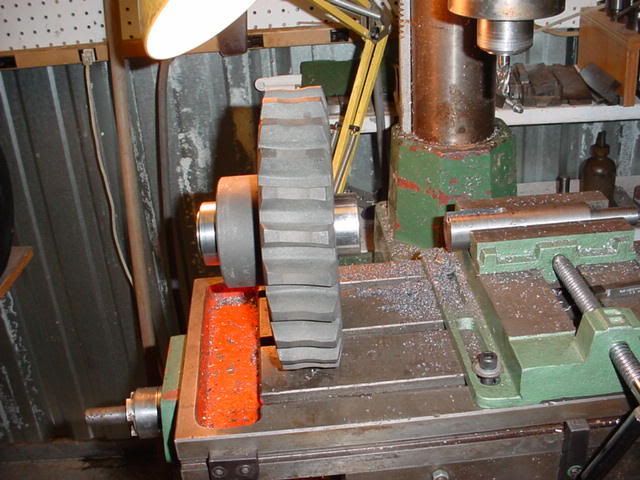
After careful consideration, I decided the basic idea of rotating the blade 360* was cool, but the gearing and the construction of the blade itself was not going to work, not at all.
I really want this in a bad way, so nothing is going to stop me.
This will take you through concept to completion (sooner or later, probably later):
I got an idea a while back to make the rotational angle of my Back Blade automated. I was constantly getting off & on the tractor to adjust the blade angle for leveling dirt, plowing snow, cutting ditches, etc. I also reverse the blade and back drag the cutting edge for smoothing out high ridges. Anyway I've been thinking about this for quite a while. I've seen a few members that put hydraulic cylinders on them – and they are way cool. I am hoping this project will take their idea to the next level. With this setup I can rotate the blade 360* and everything in between. So I started kicking around some ideas starting with the following concept:
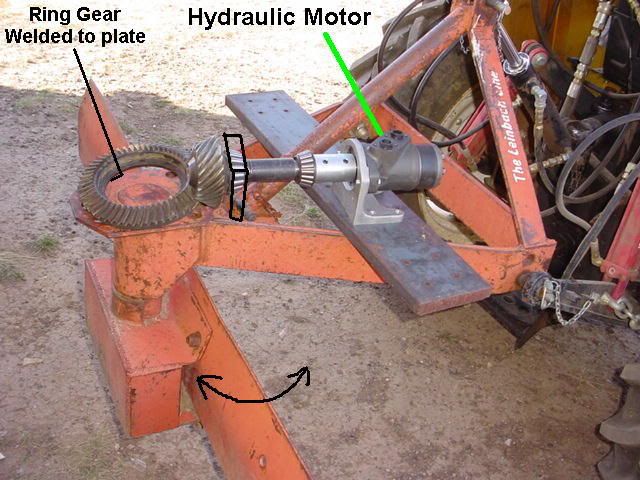
I've had the motor for a couple of years now from eBay. I have another just like it that I made into a TPH winch. The Ring & Pinion gear I salvaged out of an old rear-end I just happen to have laying around. I turned down the splined end of the shaft to 1" OD and cut a 1/4" key slot into it. I used a 1" keyed coupler to attach it to the motor. Man that metal was super hardened, it took a while to turn down and cut the key slot.
After careful consideration, I decided the basic idea of rotating the blade 360* was cool, but the gearing and the construction of the blade itself was not going to work, not at all.
I really want this in a bad way, so nothing is going to stop me.