OP
3RRL
Super Member
- Joined
- Oct 20, 2005
- Messages
- 6,931
- Tractor
- 55HP 4WD KAMA 554 and 4 x 4 Jinma 284
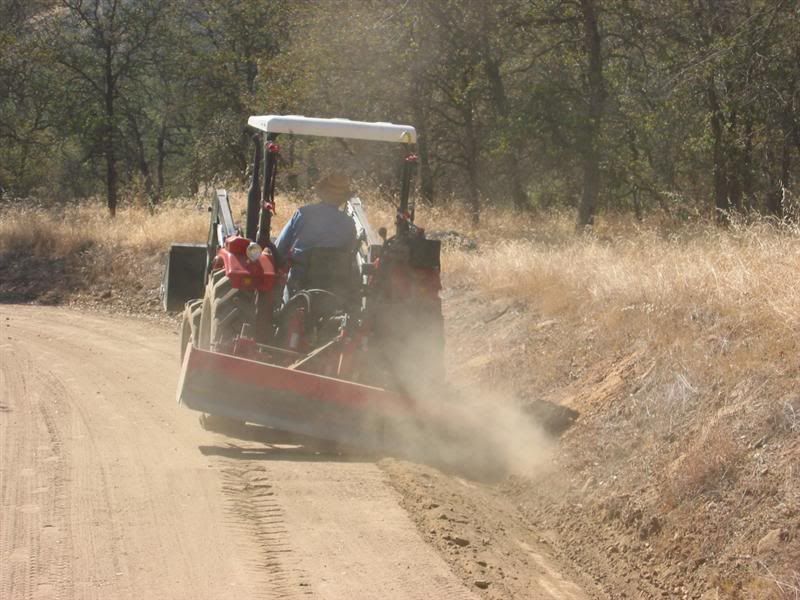
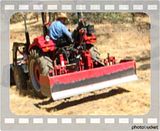
Ductape my buddy....Hahaha action pictures yes. I forgot all about taking a video. The wife and I were Dove hunting in between this installation so we were anxious to get out in the field.Ductape said:Looks fantastic ! But I'd expect no less. I'll be content when i do my remote install if it comes out half as professional looking. Just curious...... do you have a crimper to make your own hydraulic hoses? Or did you actually measure, then order them over the phone and have them the correct length the first time? I've had hoses made in the $90 range (obviously much longer)... so it wouldn't take much mis measuring to waste alot of money.
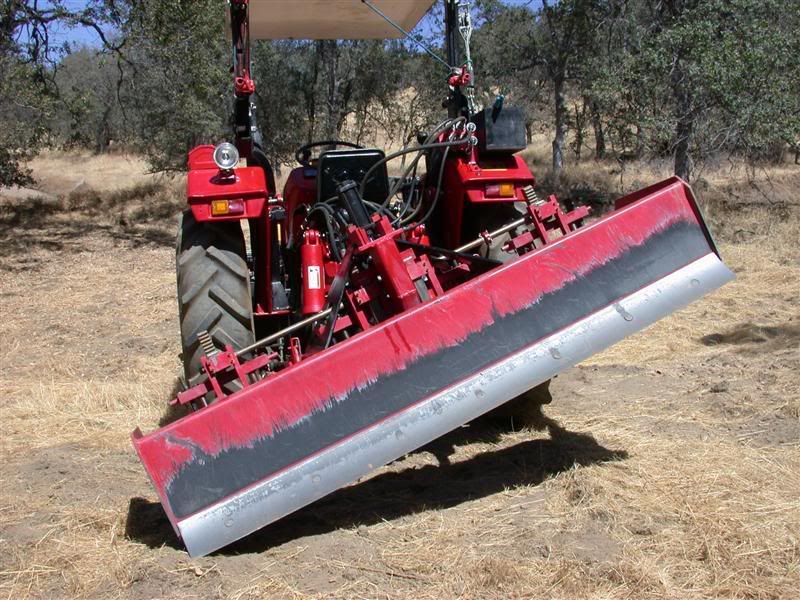
Nice work Rob ! Now we need some action pictures.
As far as the hoses, here's what I did. I measured (best I could) how long each hose run needed to be and wrote that down. I also made a note of what kind of fitting either end needed so that length and fitting end were for that hose only. Then I looked up either at Surplus Center or Agri-Supply for the least expensive hose that would work, being the correct length too. So on MOST of the connections, I went with Agri-Supply and figured on cutting off one end only to have the special fitting put on, and the other remaining the swivel male NPT. I got connector fittings to go from NPT to whatever and save a ton on making hoses up. I have a hydraulic store who then crimps on the other end for the JIC, Metric or SAE as needed. Many hoses I bought long enough (figured it out in advance) so that when I cut them on my abrasive wheel it made two hoses...each needing only one end put on, reducing waste.
Hope that helps.
 All you need is music for that waltz.