Yeah I would agree. It's a bit dry here but the temperatures are ideal almost all year round.Congrats on the house, sounds like the previous owner took care of it?
I致e been all over and, speaking strictly and only of weather, I think you live in the best weather area I致e ever been to.
That is, if you stay close to the water, which you have done, good on ya!
Not everyone wants to live in SoCal but, a bunch do!
You are using an out of date browser. It may not display this or other websites correctly.
You should upgrade or use an alternative browser.
You should upgrade or use an alternative browser.
Renovating my house in the suburbs
- Thread starter Muhammad
- Start date
- Views: 19739
/ Renovating my house in the suburbs
#101
s219
Super Member
- Joined
- Dec 7, 2011
- Messages
- 8,548
- Location
- Virginia USA
- Tractor
- Kubota L3200, Deere X380, Kubota RTV-X
Are you planning to put the fir and pine beams within visual range of each other? Douglas fir is tough when it comes to matching stains -- the pink always wants to bleed through. I had a project where we mixed fir and spruce on some porch furniture and I probably spent more time getting the finishes to come out even than the actual wood working. The trick was to stain the spruce with a diluted red stain first, to get it in the ballpark of the fir. Then proceed with the other stains and finishes. Came out fine in the end but I learned a lesson there.
They're in different rooms. We're going dark on the stain but I can see that it'll still look a bit red. Not a fan of staining oak or doug fir for this reason.Are you planning to put the fir and pine beams within visual range of each other? Douglas fir is tough when it comes to matching stains -- the pink always wants to bleed through. I had a project where we mixed fir and spruce on some porch furniture and I probably spent more time getting the finishes to come out even than the actual wood working. The trick was to stain the spruce with a diluted red stain first, to get it in the ballpark of the fir. Then proceed with the other stains and finishes. Came out fine in the end but I learned a lesson there.
dragoneggs
Super Star Member
- Joined
- Jun 9, 2013
- Messages
- 13,627
- Location
- Seabeck, Washington
- Tractor
- Kubota BX-25D, Kubota Z122RKW-42
Muhammad, that looks really good from my knothole!  :thumbsup:
I should just rename this thread "the beam thread" because that's all I'm doing.
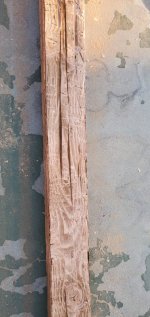
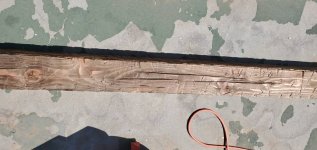
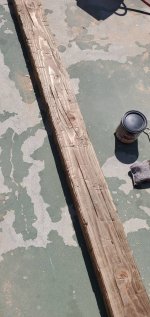
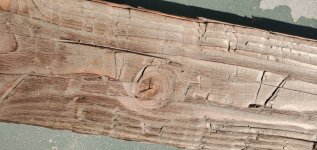
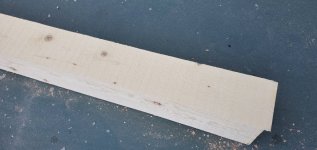
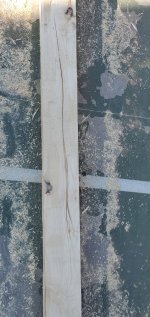
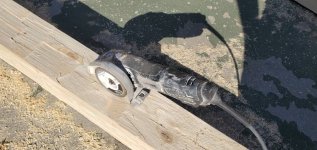
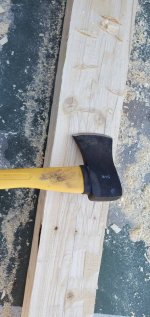
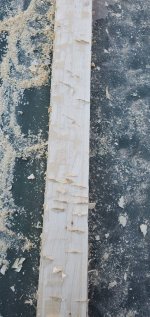
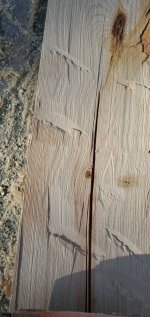
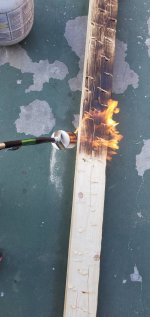
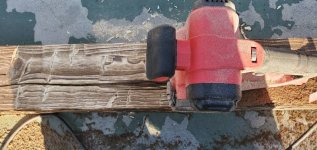
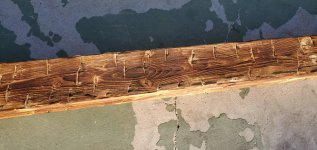
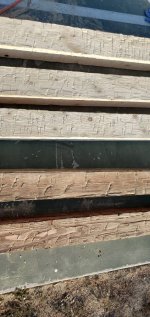
This is a good side-by-side of the beams prepped with planing, crack cutting, hatchet chopping, and wire brushing, and in the right is after torching and the aging formula.
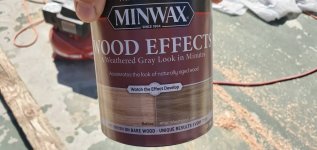
I picked up a $15 HVLP paint sprayer from HF and it made the minwax stage to much faster. With the wood being so rough, the sprayer is the way to go. It also stretched the formula 50% further as a quart lasted three beams with the sprayer versus two beams with a brush.
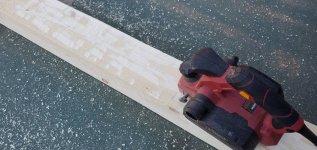
Did I already mention that destroying your planer blade by running it over some screw heads makes the planing texture look a lot more authentic? Well that's a tip if you don't mind ruining a blade for this type of thing.
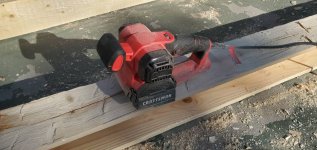
Other tips... the $99 craftsman drum sander with wire brush is barely adequate for this project. Makita makes one that is about $450 but nobody local had one in stock. Normally I'd rent something like that for this project. I also started researching tabletop wire brush drum sanders and they are quite expensive. But that would make the wire brush stage a lot easier.
The worst part is probably the hatchet step. It's just tedious and like today, three 20' beams with three sides each = 180 linear feet of chopping an acreage of 20 cuts per foot = 3600 hatchet swings. That's 3600 swings to think about a better way to do this.
It took me four hours of solid work to treat three 20' beams today. It's exhausting work and a good portion was done while kneeling on the ground... even with knee pads, not fun. Oh and the amount of dust this produces is staggering. My sinuses are getting irritated even with the use of a carbon mask. I figure in inhaling the dust while taking breaks. But I'm more than half way done now.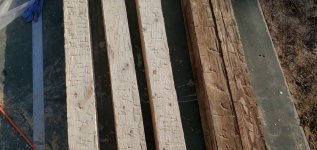


ultrarunner
Epic Contributor
- Joined
- Apr 6, 2004
- Messages
- 24,643
- Tractor
- Cat D3, Deere 110 TLB, Kubota BX23 and L3800 and RTV900 with restored 1948 Deere M, 1949 Farmall Cub, 1953 Ford Jubliee and 1957 Ford 740 Row Crop, Craftsman Mower, Deere 350C Dozer 50 assorted vehicles from 1905 to 2006
I was thinking of Wax On Wax Off reading 3600 hatchet swings...
Love the arch under the staircase.
Love the arch under the staircase.
EddieWalker
Epic Contributor
I'm always amazed at how hard people will work to make something new look old and worn out!!!
There is a local guy here in Tyler that has started up a fake beam company. He has quite a few different techniques from what I've seen in some of the houses he's done. Clients have told me that they pay from a grand to twice that depending on how distressed he makes them look, and how long they are. Overall thickness doesn't seem to be as big a factor as length is.
There is a local guy here in Tyler that has started up a fake beam company. He has quite a few different techniques from what I've seen in some of the houses he's done. Clients have told me that they pay from a grand to twice that depending on how distressed he makes them look, and how long they are. Overall thickness doesn't seem to be as big a factor as length is.
Yep. That's the going rate here as well. Since I need five 19 footers, one 14 footer, and four eight footers, it would be nearly $20k to order these beams. I was hoping to find a product on the market that was close enough that I could just stain but since I couldn't find that, might as well go all out and get some blisters out of the deal.I'm always amazed at how hard people will work to make something new look old and worn out!!!
There is a local guy here in Tyler that has started up a fake beam company. He has quite a few different techniques from what I've seen in some of the houses he's done. Clients have told me that they pay from a grand to twice that depending on how distressed he makes them look, and how long they are. Overall thickness doesn't seem to be as big a factor as length is.
