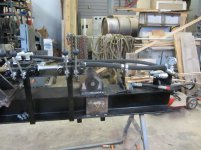
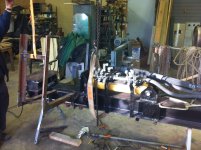
Bob, EMT is too flimsy for the outfeed.
I made mine out of sched40 and i still bent it up. I wouldnt use anything less than sched40 and be sure to weld support brackets at the end closest to the wedge ( I didnt, but i will have to do it next year). Plus you can weld it, which is faster and cheaper than gas welding. I cant recommend enough to do both the outfeed and the lift. They are the two best features on mine, with the 4 way wedge right up there. Its the accessories like these that separate a store bought to a custom home built high end splitter.
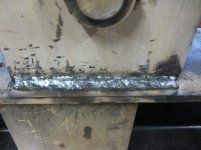
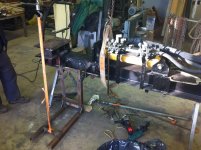
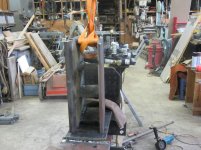
Funny thing about hydraulics, they arent so expensive WHEN SOMEBODY ELSE IS BUYING!!:laughing:....................... Scooby, I cant really tell from the angle of the pic posted showing your bent outfeed table, But it looks like there behind the blade quite a bit and need a ramp in front to prevent further conflects with wood coming of the wedge, dunno cant tell alot from that angle, Eric