3R Home and Barn Project

   / 3R Home and Barn Project #21  
   / 3R Home and Barn Project #22  
So when you gonna hike up the ridge behind your place and take a nice overall areal shot so we can have an idea of what it all looks like.... :p
 
   / 3R Home and Barn Project
  • Thread Starter
#23  
schmis-
I might have some I took right after the road was pushed in. I'll have to find them.
Oh, and thanks for the tip on how to find the posts. Geez ... what a blabber mouth I've been.:)
Now I just have to take a day to find the right one.
 
   / 3R Home and Barn Project
  • Thread Starter
#24  
This is the log style we picked.


I will post a few more photos of the work I did with the tractor before I get to the latest developments. This is still back in April. It was a lot of work, but also a lot of fun and lots of seat time for me.

Don't let anybody tell you that you can't dig with the fel bucket. Mine with the toothbar did outstanding. It was time to go back to the DG pit and cut more of it out with the fel and the boxblade.


Here you can see how much dirt I move in one pass. The fel bucket, which is a half yard, is filled with about a yard of DG. My roboblade holds about a half yard too and is pushing another half in front of it. So I am getting maximum performance out of my tools. Look at the front tires...and they are 3/4 loaded with water/anti-freeze!

 
   / 3R Home and Barn Project
  • Thread Starter
#25  
It rained at night and sprinkled on and off over that weekend. There were a couple of pretty sights as I was working. One was looking from the DG pit going to the barn pad.


Here are a couple more I took while taking a break, drinking my coffee and smoking a Pall Mall.


That is really pretty country this time of year.
 
   / 3R Home and Barn Project
  • Thread Starter
#26  
OK, these are for schmism...
This is the best I can do for now. This first picture is of the valley below our property. Inside that tree line in the background is the South Fork of the Kaweah River. Our property is at the base of this hill and goes to the culdesac of the paved road. It does not go to the river.


This is a zoom in photo. We are about 1,000' above our property. South camp would be at the lower left corner of this picture and the homesite at the far right, but they are both out of view from our vantage point. But you can see part of our dirt road winding through our property.


That structure is our nearest neighbor. They are about 3,000 feet from the homesite.
 
Last edited:
   / 3R Home and Barn Project
  • Thread Starter
#27  
Here are a couple more pictures looking down the DG pit. You can see how hard the DG is to cut out. I was able to cut a lot by back dozing with Robo boxblade but sometimes it just stopped the tractor in it's tracks leaving all 4 wheels spinning. Then I tried to rip it and sometimes it would catch and dig in, sometimes skid. I also took the fel bucket and jammed the toothbar into it to pry chunks out. All three methods allowed a ridge where I could then cut off another slice. All this was really tough on the big Kama. That tractor has paid for itself just doing this job. I am so proud of it!


The pit overlooks the solar panels from East to West.
OK schmism, now they are both in the shade...

 
   / 3R Home and Barn Project
  • Thread Starter
#28  
I wanted to talk a little more about the decomposed granite on the property. This is the same stuff that is spread on my dirt roads as a topping. It was all cut from pits like this one.


Once you get through a couple feet of dirt, there is the DG, and it is HARD man! Here you can see the different layers as I cut lower and lower.

 
   / 3R Home and Barn Project
  • Thread Starter
#29  
This stuff makes great topping since it is basically crushed rock. When the D-9 and excavator was here, they cut through it a hundred times easier than the Kama by comparison. But then the Kama is not a bulldozer either.
Here you can see a close up of how rocky it is when I cut chunks out.


Then after scraping a layer off, it turns into coarse sand. After I get piles and piles of it dug up, I move it to the barn pad and distribute it layer by layer. Compacting it with the dirt mixed in will make for a solid foundation.

 
   / 3R Home and Barn Project
  • Thread Starter
#30  
Here is another interesting comparison between the dirt and the DG. This photo shows the Kama tire track in the dirt.


This one is the Kama tire track in the DG.
Notice the difference between the depth of tread where the DG holds up much better than the dirt. That's why my dirt roads hold up so good under the rainy conditions. And where there is very little DG on the road, it is slippery and muddy.
There is a noticeable color difference too.

 
   / 3R Home and Barn Project
  • Thread Starter
#31  
So this is all I got done that weekend. That is how I left the barn pad until next weekend. It's getting close to being finished now, but there is still more leveling and grading to get it right. But it's starting to look like something now.


I have indeed learned a lot about dirt work. I am especially impressed with the control the top and tilt allows for both grading and digging with the boxblade. I have never had any worries about the Koyker fel performance digging and moving dirt or other objects. It does not discriminate in work assignments. The addition of the dual grapples is just icing on the cake.

Right now I figure I've dug and moved about 500 yards total. How many truck loads would that be? Anybody know? It is more than one truck load right? ... I have no idea. The pad is built up large enough to easily fit the 40' x 50' barn structure. It is about 65' by 80' now and high enough on all sides where I can concentrate on just cutting/grading it level without having to dig more DG. I think I can finish it the next weekend.

After that, I will start clearing the vegetation off the homesite pad. I don't need to grade it, because much of the house will be stem walled footings. The natural slope of that area will lend to how the house is built and fits the terrain. It will have a small basement where it slopes down, a main floor at rock height, and a top floor.I wish I had more time to spend up there and did not waste 8 hours driving every weekend, but that's just the way it is. Plus I am so busy at home with my new project (real work) that I can't get away during the week.
 
   / 3R Home and Barn Project #32  
Rob,

You're moving right along with the pad, but didn't you say the deadline for it was next year in spring? Will you pour the pad right away, and then wait for the logs to arrive? Are you going to cover the pad in plastic until the concrete is poured? Or just fix what erodes during the rains from now and then?

Eddie
 
   / 3R Home and Barn Project #33  
How many truck loads?

Depends on the size of the truck....

Small ones are 5-6 yards and they go up to some impressive amounts. Figure about 12 yard a load so you have moved 40 truck loads.

Not bad for the weekend warrior!

jb
 
   / 3R Home and Barn Project #34  
EddieWalker said:
Rob,

You're moving right along with the pad, but didn't you say the deadline for it was next year in spring? Will you pour the pad right away, and then wait for the logs to arrive? Are you going to cover the pad in plastic until the concrete is poured? Or just fix what erodes during the rains from now and then?

Eddie


Eddie,

Now I need Rob to answer too :confused: I thought the pad he was doing was for the barn and the logs will be for the house in the spring.
 
   / 3R Home and Barn Project
  • Thread Starter
#35  
Good morning guys,
Eddie and Knight,
Sorry if my first posting was unclear.

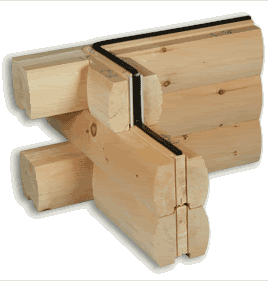
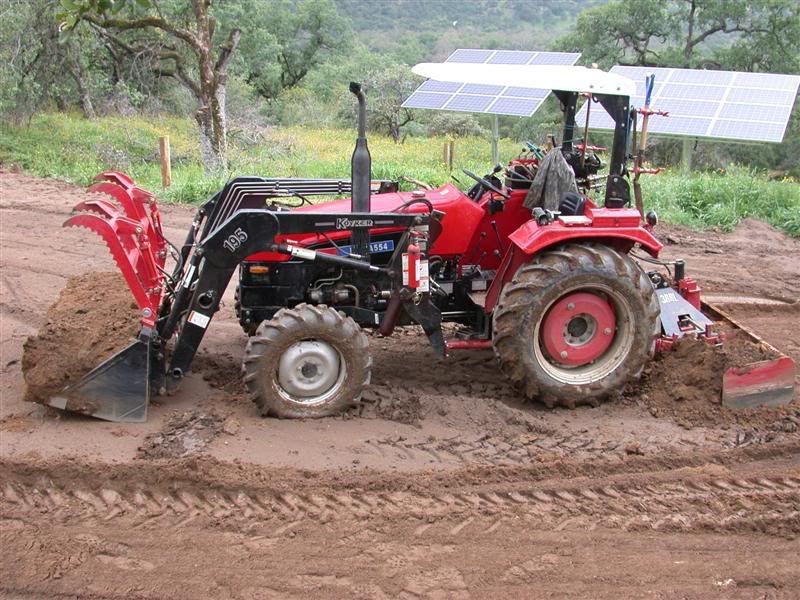
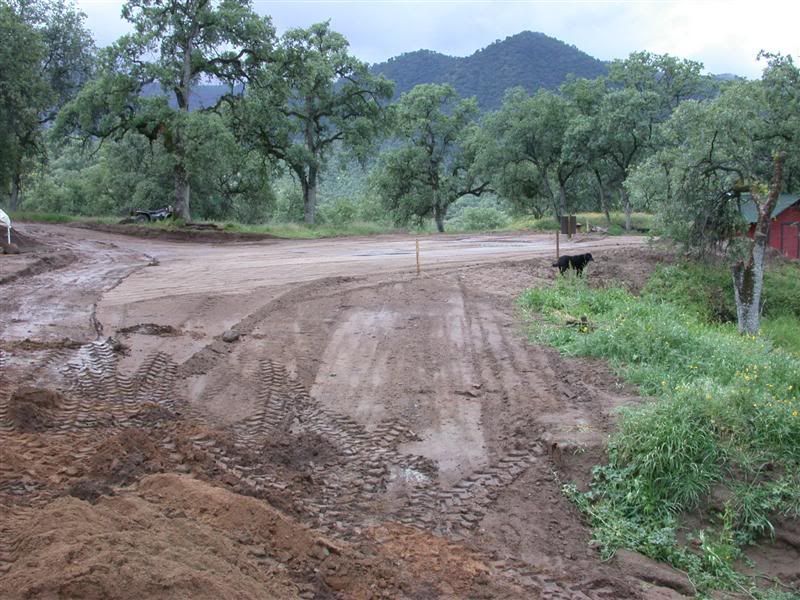
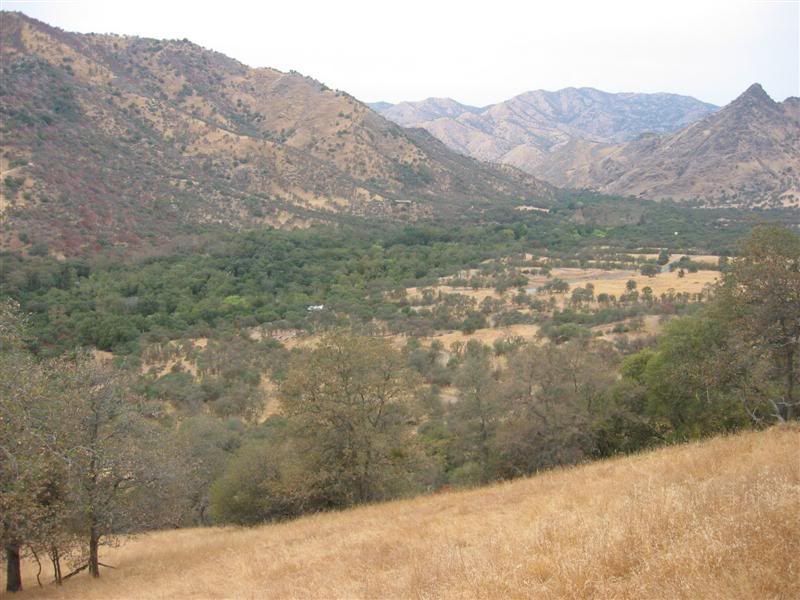
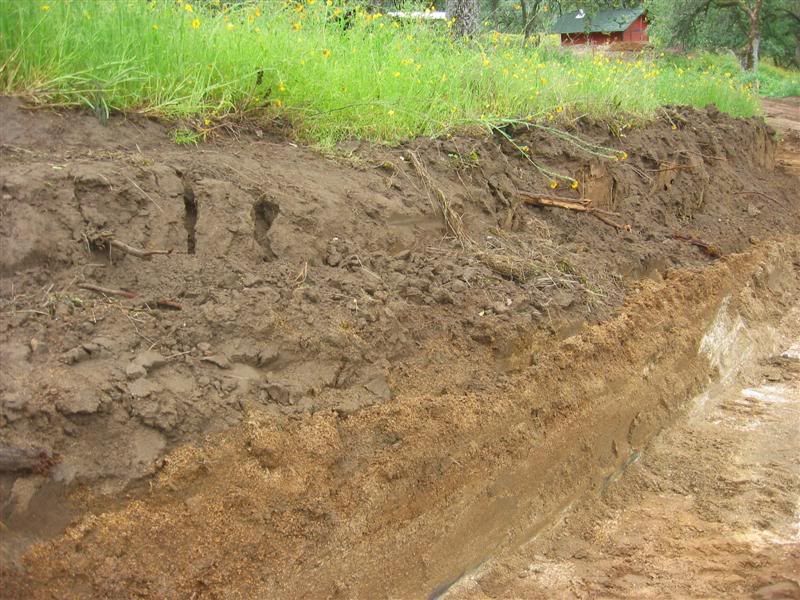
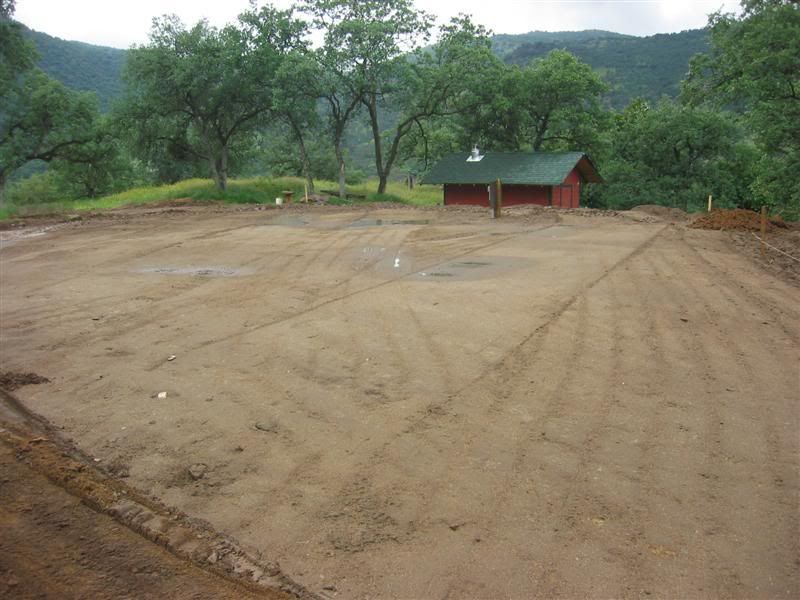
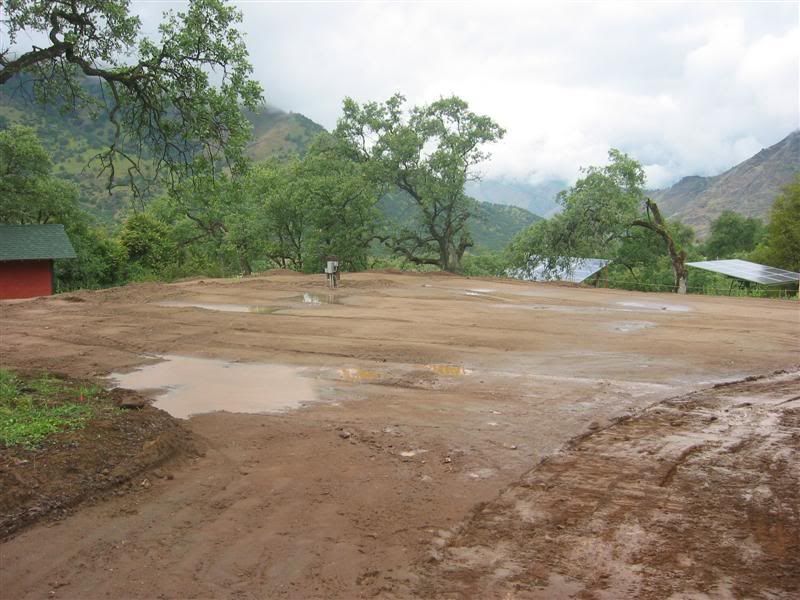
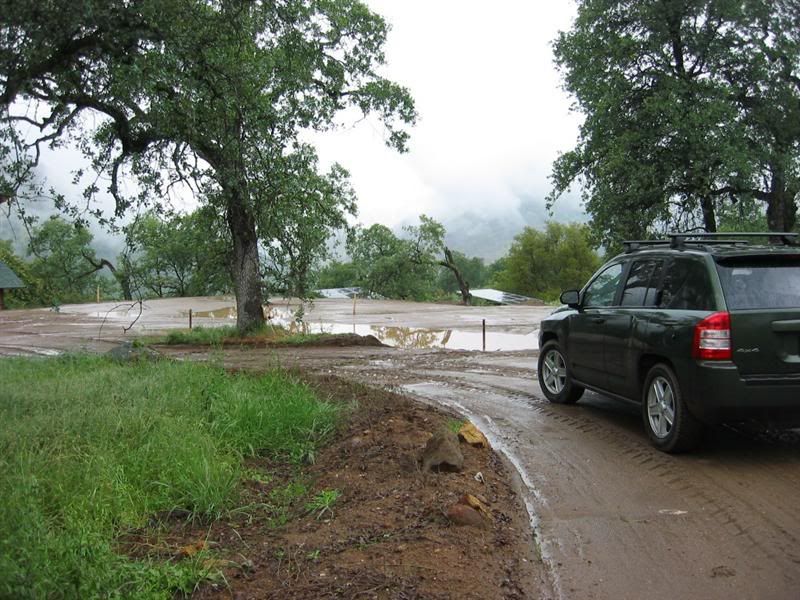
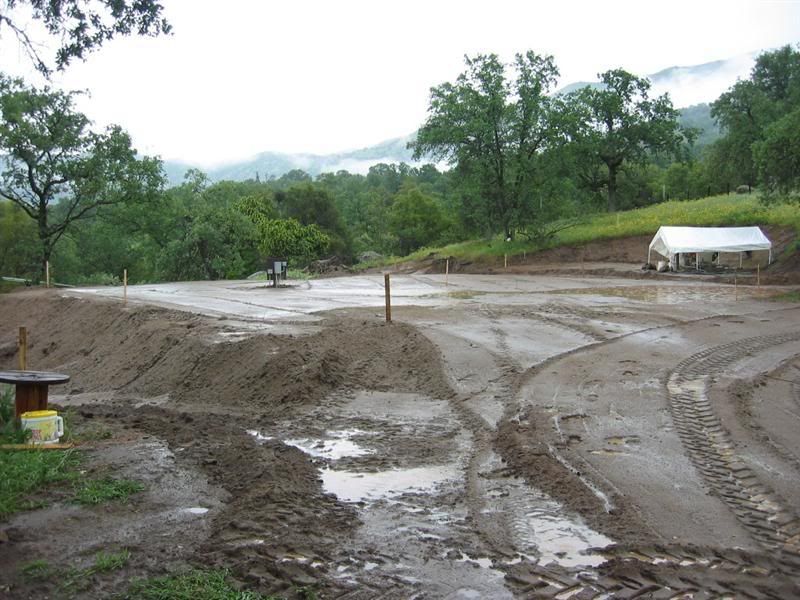
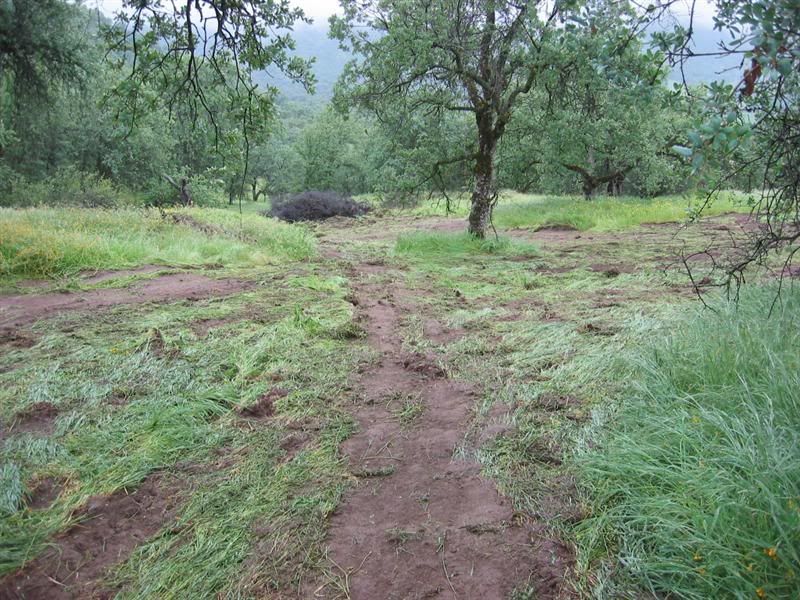
This project was started in April of this year, 2007....both the homesite clearing for the log home and the barn pad. They were BOTH to be completed by May of this year 2007.

That was when the GC wanted to start, assuming the bank loan and everything else was in order. So what I am doing is bringing you up to date from April of this year 2007 to present. That means the barn pad and homesite will only sit for one ... a couple of months, max.

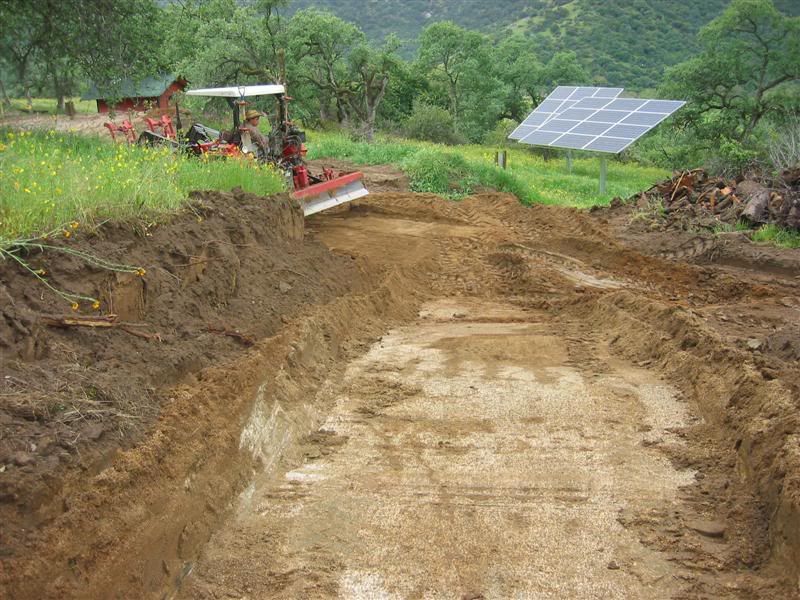
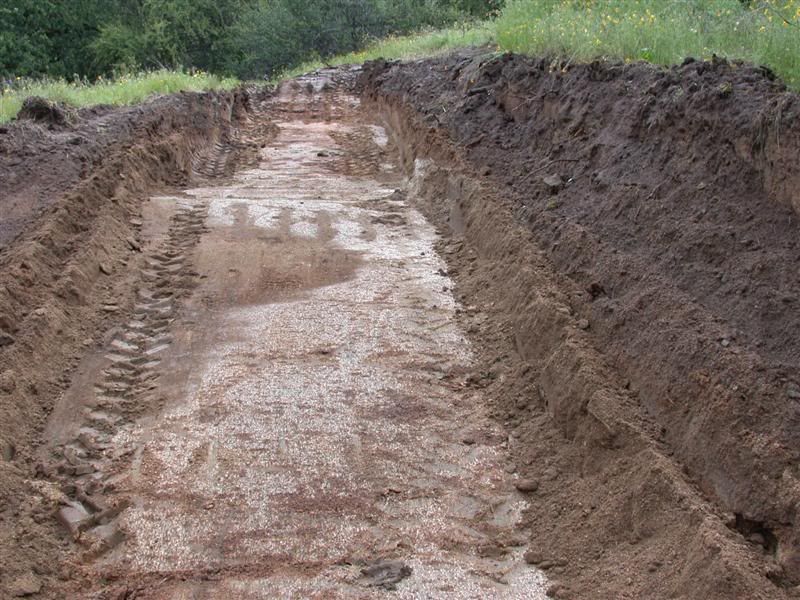
To clear things up further, instead of starting construction in May as planned, he actually started this June 2007. So that is only a month ago from today. And yes Knight, the pad is for the barn, not the log home.

But both the barn pad and the clearing/site prep work for the log home had to be done at the same time, since I did not know which one he was going to start on first. I know I'm kinda crummy at explaining myself at times, so I hope that helps.

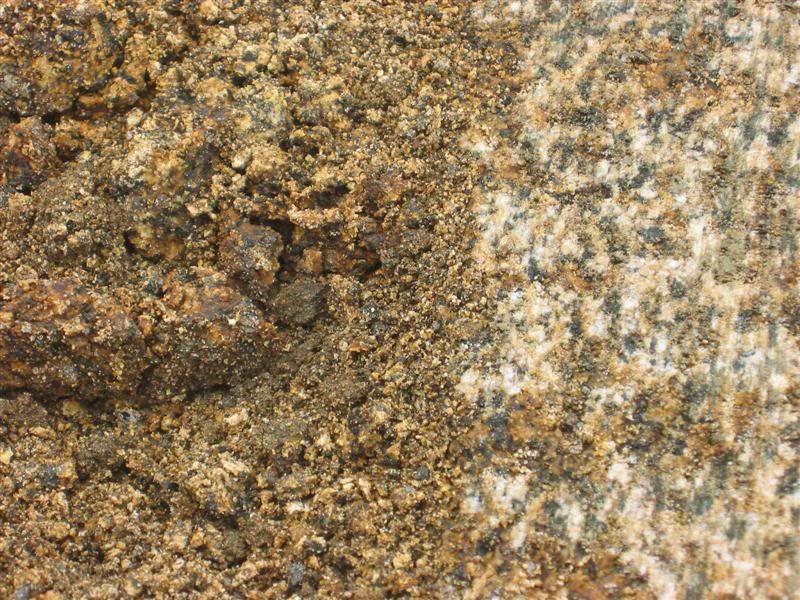
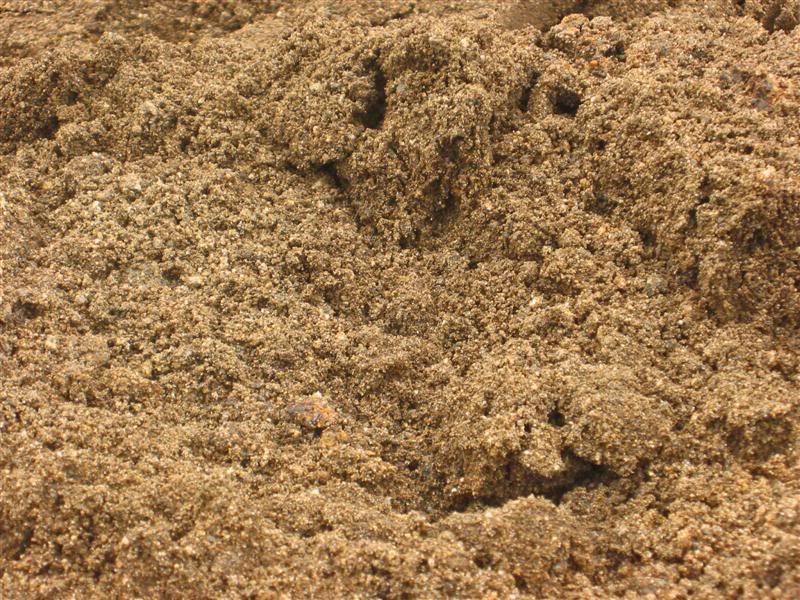
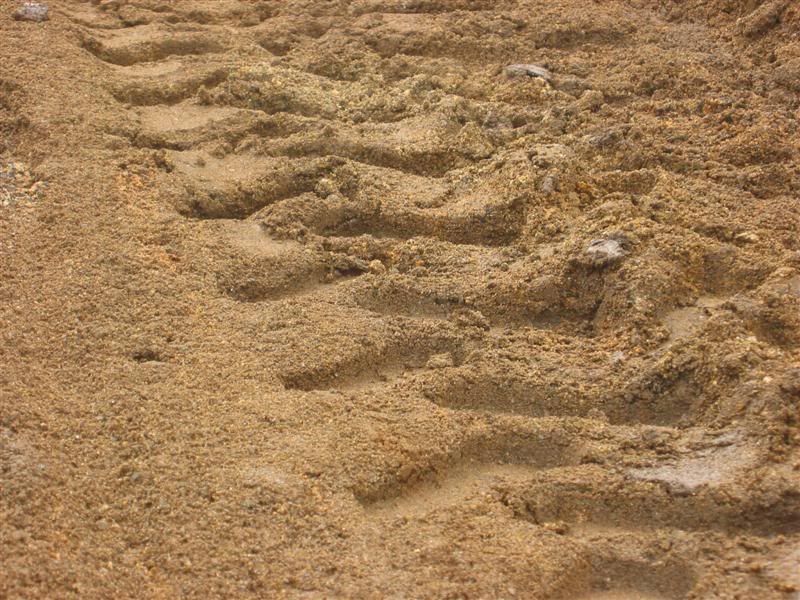
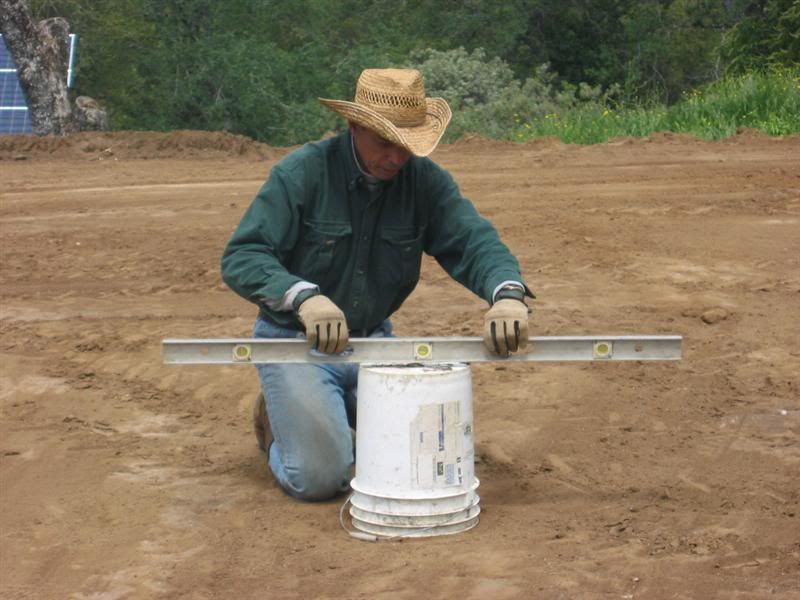
Anyway, these events took place earlier this Spring and I will get you caught up to the present ... and sorry for misleading you. LOL, you can tell I'm a mold maker and no writer huh? That's why I always put a lot of pictures in the threads.
 
   / 3R Home and Barn Project #36  
Good news. I suppose it would be a spoiler then to show the photo of today's status. We can be patient we can be patient.
 
   / 3R Home and Barn Project #37  
3RRL said:
LOL, you can tell I'm a mold maker and no writer huh? That's why I always put a lot of pictures in the threads.

there are words? i just like all the pics.... :D

keep em comming....

My blog was intended to do the same... document various parts of the homestead, accompiend by the many pics we take and host on our site.... but the deal was i spend the time setting it up, manageing the back end... and Julie was suposed to generate the content. :cool:

but not so much....

anyway lets see more!
 
   / 3R Home and Barn Project
  • Thread Starter
#38  
Hi Joe,
How are you doing these days? Loretta has dropped the ball on updating the website, so I'm making up for it by posting here.

LOL...I wanted to show how much I used my Kama tractor in this thread, so it would be tractor related too. And schmism just love those photos. He needs to get out more...:)
 
   / 3R Home and Barn Project
  • Thread Starter
#39  
OK, a little more about bumbling Rob and how he leveled the barn pad. Then I will get to the homesite part.

Loretta and I drove up on a Friday afternoon to continue preparing the barn pad. The weather forecast was for rain, so we wanted to get as much done while we could. The first thing I did was set up a 5 gallon bucket as a leveling stand so I could use a laser level to shoot level.


We pounded in wood stakes all around the perimeter of the pad, larger than the footprint of the barn ... about 15' to 20' per side larger. Then used the laser level on top of the bucket and marked each stake. We determined which stake mark was closest to the ground and measured it. Then we measured down on all the other stakes to determine ground level. We were going to string twine from a center stake to each perimeter stake and also around the perimeter. That would tell me where to cut and where to fill, but it started getting dark.

Well, it rained that evening and it was still wet and muddy when I arrived with the tractor the next morning. I had forgotten my camera so Loretta drove up the next morning and took these shots.


You can see there are some low and high spots that I want to level out better. But overall, it is not too bad. It should not take too long to do the final leveling. Compacting all the dirt I moved last week took a long time, but paid off. Unfortunately, this is how we left the pad until next week when it is supposed to be sunny again.

 
   / 3R Home and Barn Project
  • Thread Starter
#40  
It was raining most of the day so there was no way I was going to get any grading done on the barn pad. I decided to start clearing off the homesite vegetation. This was a big and messy job with everything being wet and muddy.
I made a trail to a dump area where we had previously stowed some brush. Someday I'll either chip or burn that pile.


This is the homesite itself with the rock formation in the background. I still have a lot to do but I decided to wait for a drier week to complete it as well, so we went home early that week.


Marketplace Items

207283 (A52708)
207283 (A52708)
2012 Chevrolet Camaro Coupe (A59231)
2012 Chevrolet...
2020 CHEVROLET SILVERADO CREW CAB TRUCK (A59823)
2020 CHEVROLET...
2014 HYUNDAI 53FT DRY VAN TRAILER (A59905)
2014 HYUNDAI 53FT...
2011 DOOSAN G25KW GENERATOR (A58214)
2011 DOOSAN G25KW...
2021 CATERPILLAR 259D3 SKID STEER (A60429)
2021 CATERPILLAR...
 
Top